


 In this post we will federate our previously deployed NSX-T sites, the imaginatively named Site A and Site B.
This post is part 4 of a multipart series. Find the other parts here:
- Part 1: Lab Setup and Overview
- Part 2: Site A Build
- Part 3: Automated Site B Build
- Part 4: This Part: Multi Site Federation
- Part 5: Remote Tunnel Endpoints
- Part 6: Federated Tier-0 Gateway
- Part 7: Federated Tier-1 Gateways
- Part 8: Egress Traffic and MEDdling with BGP
As a reminder, in this series we will be building the following lab:
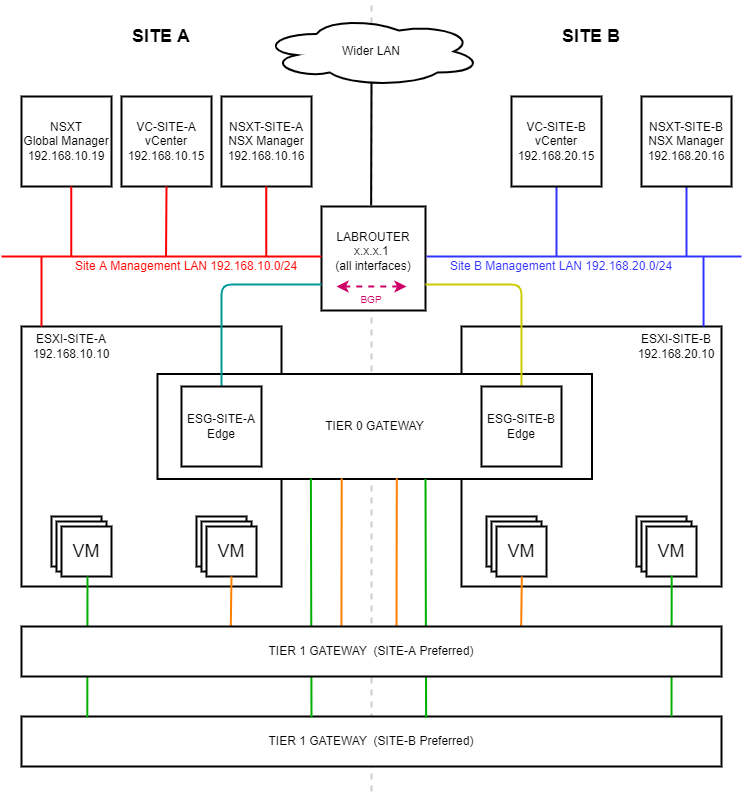 (Click image to zoom in)
Overview
Deploy Global Manager
First step is to deploy our Global Manager. This being a lab we will make do with just one global manager. Production deployments should have a minimum of three global managers for quorum and redundancy. This is also the case for site NSX Managers.
As this is a lab, we can get away with the bare minimum of one global manager to match our one site manager per site model already deployed.
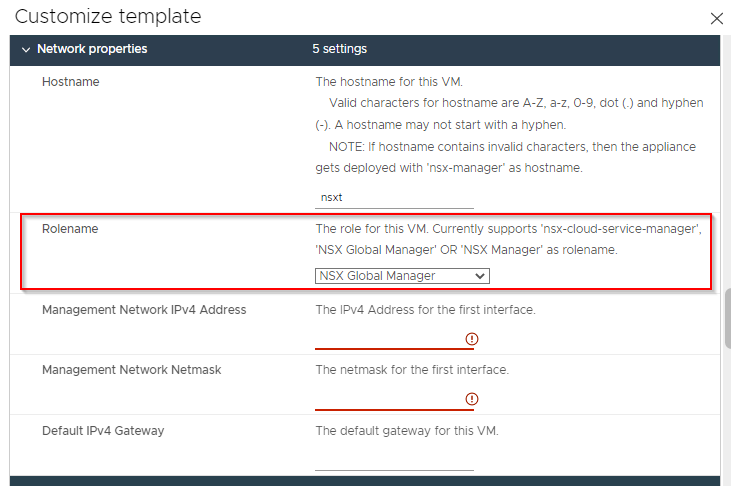
Deployment is the same as deploying an NSX manager, ensuring that NSX Global Manager is selected during the NSX Manager OVA deployment:
Once deployment completes, power on the global manager VM and allow it time to settle.
Create Site VIPs
As already mentioned, normal NSX-T site deployments consist of a cluster of three NSX-T managers per site. So that our global NSX-T manager can communicate with our cluster, we need to create a shared Virtual IP (VIP) that the global manager can use to communicate with our site NSX-T cluster.
Let’s setup our site VIPs.
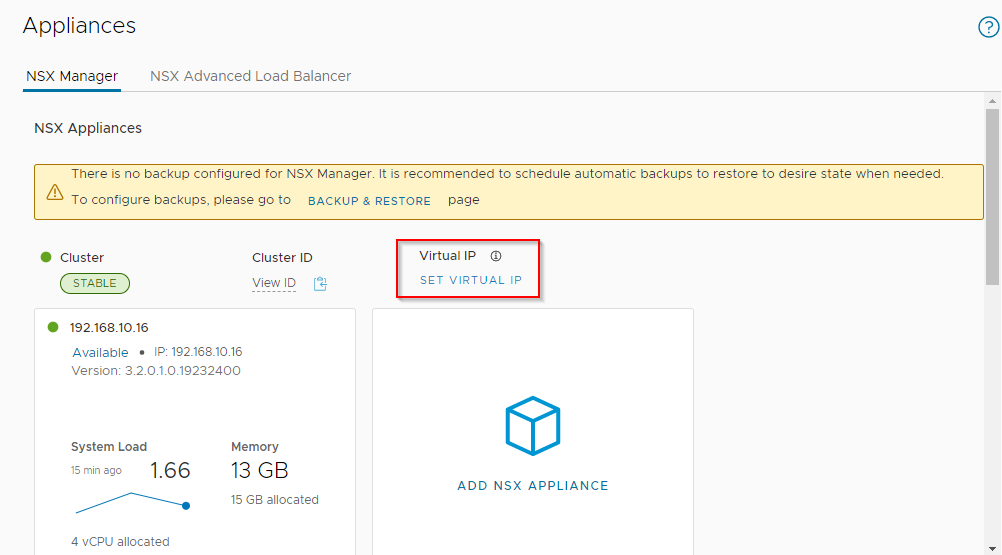
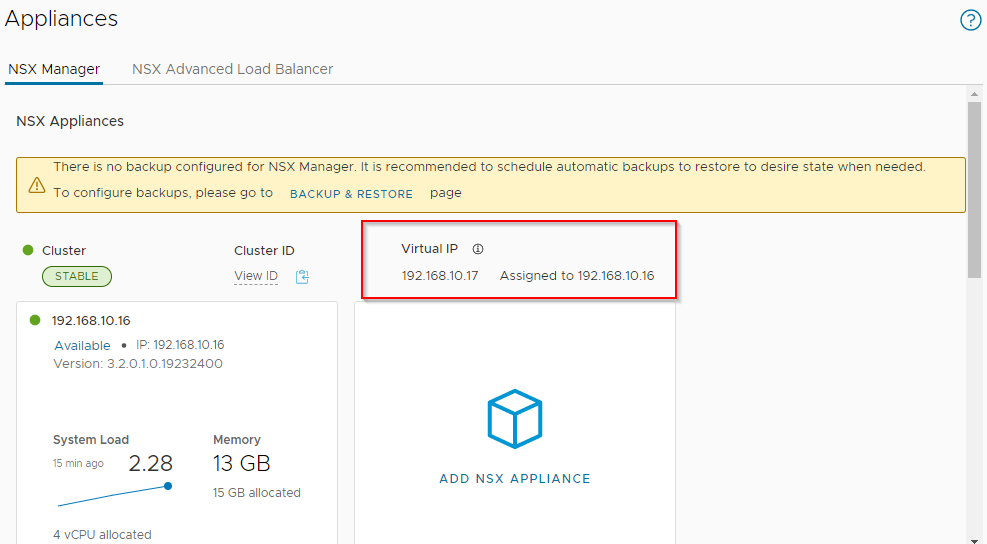
Log on to a site NSX-T manager, select System > Appliances > Set Virtual IP:
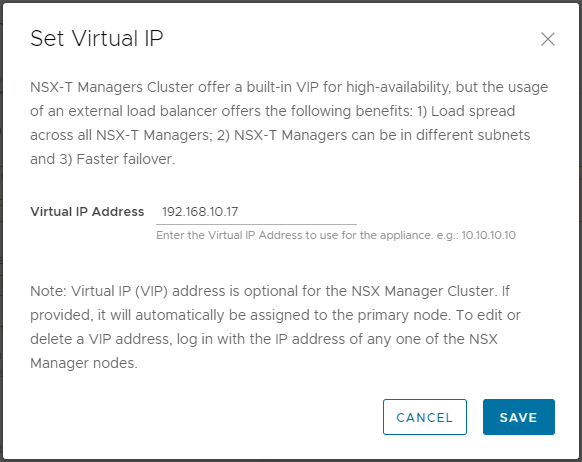
As per our IP schema discussed way back in part 1, we will assign 192.168.10.17 and 192.168.20.17 to our Site A and Site B NSX-T manager VIPs respectively.
Once complete, looks good:
Obtain Site Cluster Thumbprints
As you will see below, registering the site NSX-T managers with the global manager involves supplying the global manager with the certificate thumbprints from each of the site NSX-T clusters. The thumbprints can be obtained by opening an SSH session to each of the site NSX-T managers and issuing the command:
get certificate cluster thumbprint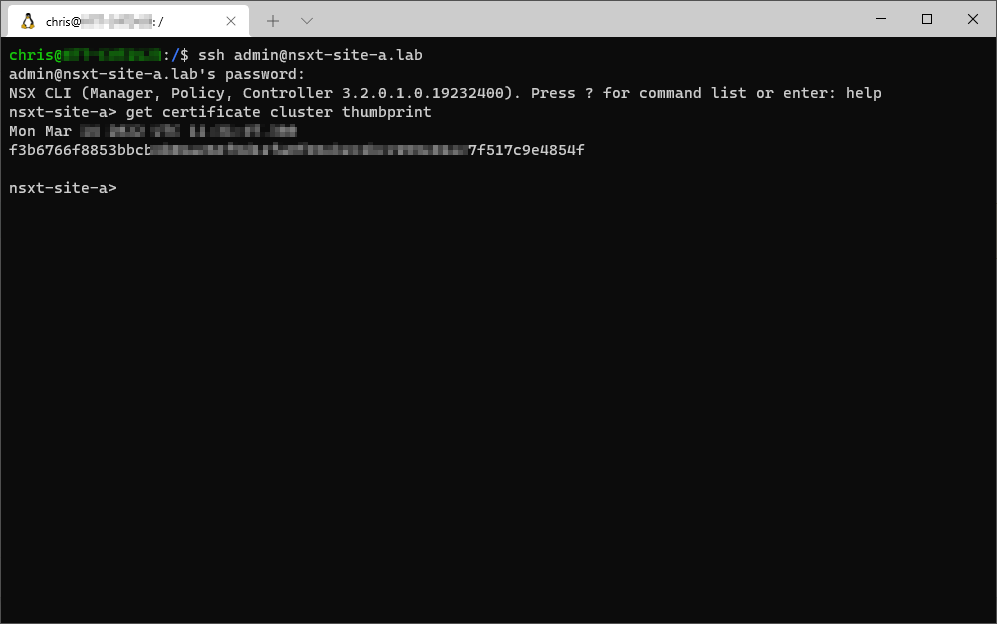
Global Manager Config
Let’s log into our global manager for the first time. Good news is that we don’t need to licence the global manager, so after accepting the licence agreement, we are free to begin configuration.
Select System > Location Manager, select Make Active and supply a name. I’ll name mine NSX-T Lab:

Add Site NSX-T Managers to Global Manager
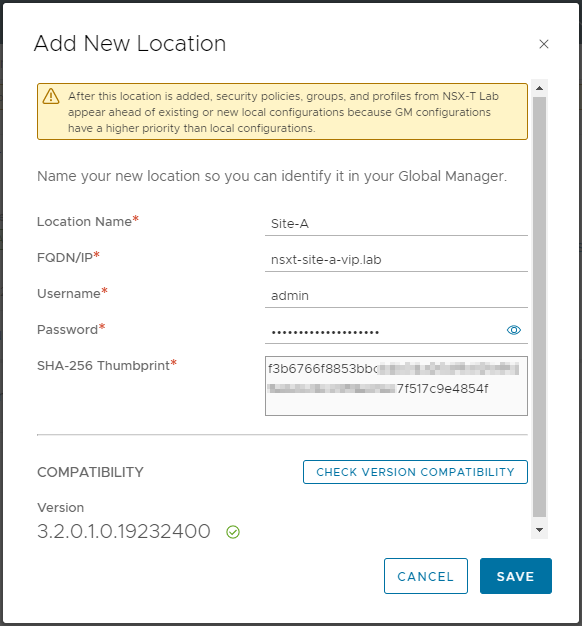
Select System > Location Manager > Add On-Prem Location.
Complete the required information along with the thumbprint gained above and select Check Version Compatibility:
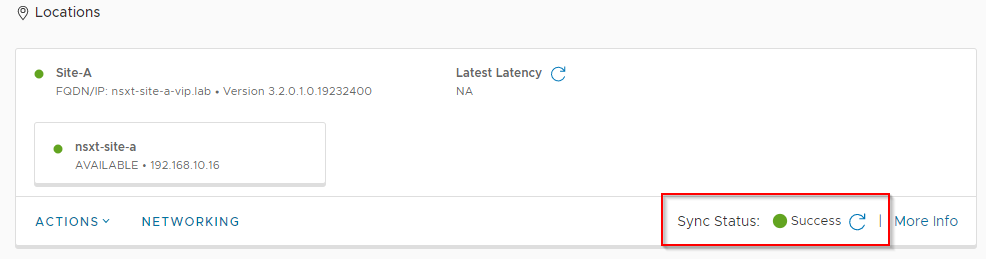
Once saved, confirm that the global manager and site successfully sync:
Repeat above steps for Site B.
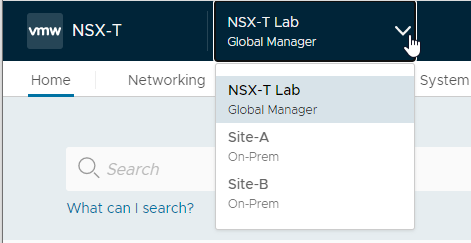
Log out and back into the global manager. Confirm that both sites are available on the global manager NSX-T taskbar:
Finally, confirm via Site > System > Fabric > Compute Managers that both vCenters are listed in their respective sites:
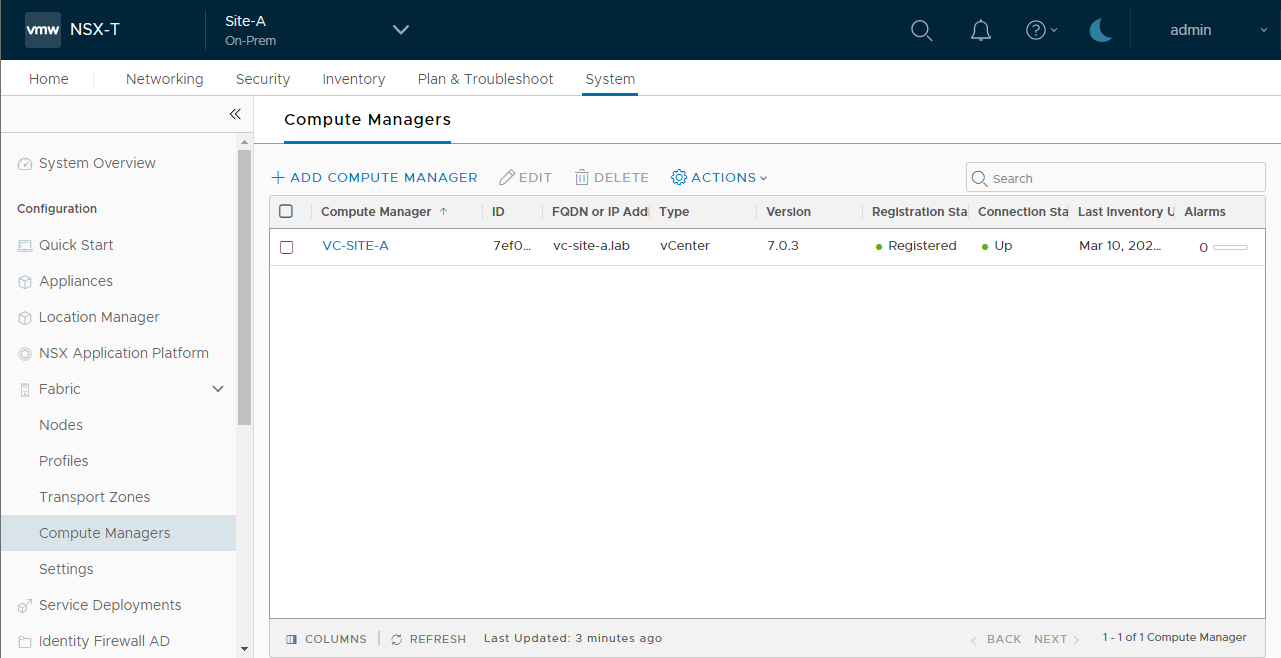
And:

Conclusion and Wrap Up
We made it!
In this post we deployed our Global NSX-T Manager and federated our sites.
We still have to create our Remote Tunnel End Points (RTEPs) and cross site global tier 0 and tier 1 logical routers before we can hook any VMs into our NSX-T build. We will work on those in the following parts of this series.
This was post part 4 of a multipart series. Find the other parts here:
- Part 1: Lab Setup and Overview
- Part 2: Site A Build
- Part 3: Automated Site B Build
- Part 4: This Part: Multi Site Federation
- Part 5: Remote Tunnel Endpoints
- Part 6: Federated Tier-0 Gateway
- Part 7: Federated Tier-1 Gateways
- Part 8: Egress Traffic and MEDdling with BGP
-Chris