


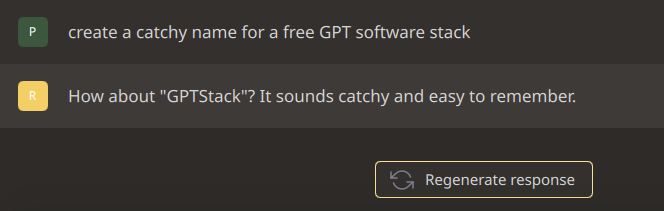
Don’t blame me - it came up with the title itself:

Let’s rephrase:
Unlocking the Power of Free GPT with Nutanix Community Edition
That’s right - Your own GPT-In-A-Box …for free. Let me explain how we got here and the steps involved.
Overview
What is GPT?
Unless you’ve been living under a very large rock, you have probably heard of Artificial Intelligence (AI) and GPT. But what is GPT?

In A Box?
As you may or may not be aware, Nutanix now offers an enterprise solution called GPT-in-a-Box:
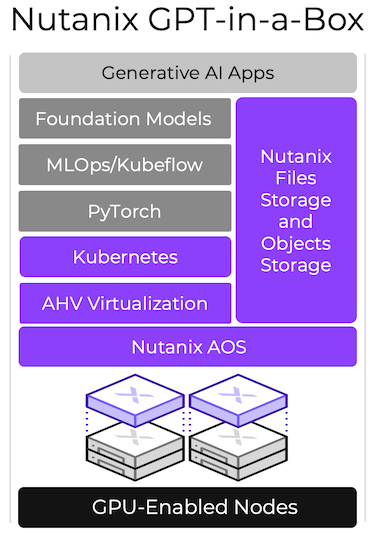
GPT-in-a-Box is a turnkey AI solution for organizations wanting to implement GPT capabilities while maintaining control of their data and applications. It includes everything needed to build AI-ready infrastructure, including:
- Nutanix Cloud Platform infrastructure on GPU-enabled server nodes
- Nutanix Files and Object storage for running and fine-tuning GPT models
- Open source software to deploy and run AI workloads, including PyTorch and Kubeflow
- Support for a curated set of LLMs (including Llama2, Falcon, and MPT)
For more information, see https://www.nutanix.com/solutions/ai.
Whilst the enterprise GPT-in-a-Box is a full on commercial grade scalable AI solution, what can we do on a more wallet friendly level?
In other words, what can we do for free?
Introducing GPTStack
Let’s breakdown our (free) GPTStack:
- Nutanix Community Edition (CE) - a free version of Nutanix AOS, which powers the Nutanix Enterprise Cloud Platform.
- Ubuntu - a Linux distribution based on Debian and composed mostly of free and open-source software.
- GPT4All - a free-to-use, locally running, privacy-aware chatbot. No GPU or internet required.
A little less complicated and certainly wallet friendly! Private too!
OK, so if this is just an app running on Ubuntu, why not just run GPT4All on a standard desktop/laptop/server - why do I need Nutanix CE?
Given that the world of AI is evolving at breakneck speed, I’d rather treat my GPT solution as a cattlebeast rather than a pet… Confused? Take a watch of this 55 second explainer - YouTube.
Creating a Free GPTStack
What follows is a scripted method of Ubuntu VM creation and GPT4All installation into the Ubuntu VM. As this method makes it very simple to deploy a Free GPTStack, it also means that when done we can take our GPT solution around the back of the woodshed, shotgun in hand and… Well you get the idea.
We can then spin up one, two, five, however many VMs for other AI tasks and know that they will all be built in the exact same way. Infrastructure as Code if you will.
Nutanix CE
I won’t cover CE installation here, as I have covered it here previously. You can obtain your free copy of CE from here: Download Community Edition (free account required). I’ve even covered making your CE install run faster via HBA Passthrough.
Automation
With our hypervisor sorted, lets look at how we can automate the build of our GPTStack VM.
For this we are going to use Cloud-init, this offers a cross-platform, cross-distribution approach to automating server initialization. An yes, you guessed it - use of Cloud-init is simple with Nutanix CE!
First off, let’s take a look at our Cloud-init script, GPTStack.yml:
1
2
3
4
5
6
7
8
9
10
11
12
13
14
15
16
17
18
19
20
21
22
23
24
25
26
27
28
29
30
31
32
33
34
35
36
37
38
39
40
41
42
43
44
45
46
47
48
49
50
51
52
53
54
55
56
57
58
59
60
61

#cloud-config
apt_upgrade: true
repo_update: true
repo_upgrade: all

# Set the hostname
hostname: free-gpt-stack

# User Authentication
users:
   - default
   - name: chris
     groups: sudo
     shell: /bin/bash
     lock_passwd: false
chpasswd:
   list: |
     chris:Password123
   expire: false

# Assign static IP address
write_files:
   - path: /etc/netplan/50-cloud-init.yaml
     content: |
        network:
           version: 2
           renderer: networkd
           ethernets:
              ens3:
                addresses: [192.168.10.123/24]
                gateway4: 192.168.10.1
                nameservers:
                  addresses: [192.168.10.10]

# Run the commands to add packages and resize the root partition
runcmd:
   - netplan apply
   - apt remove --autoremove gnome-initial-setup -y
   - wget -P /home/chris/Downloads https://gpt4all.io/installers/gpt4all-installer-linux.run
   - chmod +x /home/chris/Downloads/gpt4all-installer-linux.run
   - mkdir /Desktop
   - cd /home/chris/Downloads && ./gpt4all-installer-linux.run install --accept-licenses --confirm-command
   - cp /Desktop/GPT4All.desktop /usr/share/applications
   - rm -rf /Desktop
packages:
  - lightdm
  - ubuntu-desktop
  - wget
  - libxcb-xinerama0
growpart:
  mode: auto
  devices: ['/']
  ignore_growroot_disabled: false

# Specify power state
power_state:
  delay: "+1"
  mode: reboot
  message: Rebooting after cloud-init
  timeout: 10
  condition: True
Breaking this script down, lines:
- 1-4: Identify this as a cloud-init script and run package updates on launch
- 6-7: Set the hostname of the VM
- 9-19: Create a user, call him chris, add to sudo group and set password
- 21-33: Set a static IP address for the VM
- 35-36: Run the following commands during the VM deployment
- 37: Apply static IP set above
- 38: Remove the ‘Welcome to Ubunbtu’ initial setup wizard
- 39: Download the GPT4All installer
- 40: Mark the GPT4All installer as executable
- 41: Workaround a GPT4All installer limitation (see #849)
- 42: Install GPT4All application
- 43: Move GPT4All launcher to applications
- 44: Remove workaround from line 41
- 45-49: Install desktop and dependencies (more on this later)
- 50-53: Grow the partition to fill the disk (more on this later)
- 55-61: Reboot VM on completion
For some examples of Nutanix compatible Cloud-init scripts, take a read of the Nutanix Prism Element Web Console Guide. Further examples are available in the Cloud-init documentation.
OK, with our script written, save it as GPTStack.yml and lets talk about Ubuntu.
Ubuntu 22.04 Cloud Image
As we are using Cloud-init, we need to be careful around which version Ubuntu we use. Therefore, rather than using a standard desktop installer, we will be using an Ubuntu Cloud Image.
Ubuntu Cloud Images are the official Ubuntu images and are pre-installed disk images that have been customized by Ubuntu engineering to run on public clouds that provide Ubuntu Certified Images, Openstack, LXD, and more. In other words, we get a pre-installed Ubuntu server on a hard disk image that we can then install GPT4All on top of.
As the Ubuntu Cloud images are based on Ubuntu server, we will need to install a desktop into our VM (lines 45-49 of our GPTStack.yml script above). I’ve opted to install the standard desktop. Other desktops are available.
Another consideration when using an Ubuntu Cloud image is that whilst the image comes pre-installed, it is sized accordingly. For example the Ubuntu 22.04 server cloud image is just 2.2GB. We will need to resize the image to give us enough disk space for GPT4All and our selected model(s). Lines 50-53 of our GPTStack.yml script will partially handle this for us.
Whilst the full list of available Ubuntu cloud images is available at https://cloud-images.ubuntu.com/, for this GPTStack, I’m going to use the 22.04 Long Term Support (LTS) version of Ubuntu cloud image, available here: https://cloud-images.ubuntu.com/releases/22.04/release/.
Specifically I’ll be using the ubuntu-22.04-server-cloudimg-amd64.img image.
Deployment
Ubuntu Image Upload
Right, let’s get onto the fun stuff.
First off, let’s upload our Ubuntu Cloud Image to Nutanix CE. Log into Prism Element running on your CE cluster (https: // your-cluster : 9440). Click the settings cog in the top right hand corner of the Prism Element UI, select Image Configuration from the menu on the left.
Select Upload Image and complete the wizard, selecting image type of disk and entering the selected Ubuntu 22.04 LTS Server image URL:
https://cloud-images.ubuntu.com/releases/22.04/release/ubuntu-22.04-server-cloudimg-amd64.img 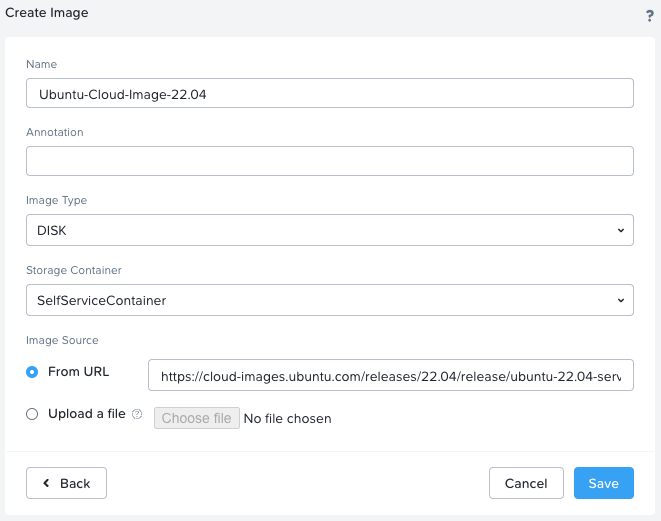
(Alternatively you can download the Ubuntu image first and then upload to CE - up to you)
Click Save when done.
Create a GPTStack VM Template
Without Prism Central, we can’t create ‘proper’ VM templates, but we can still create VMs and then use them to clone from later. A sudo template VM if you like.
Let’s create a template VM to clone from each time we need to deploy a GPTStack.
Again from the Prism Element UI, click the CE logo  and select Home > VM > + Create VM (+ Create VM is located in top right hand corner of the VM UI).
- Name: GPTStack-Template
- Timezone: UTC (which matches my timezone)
- vCPUs: 4
- Number Of Cores Per vCPU: 2
- Memory: 12 GiB
- Boot Configuration: Legacy BIOS
- Disks:
- Delete CD-ROM
- Add New disk, clone Ubuntu image from image service
- Network Adapters: One NIC on my home LAN
Click Save when done.
Once saved, right click the GPTStack-Template VM and select Update. Click the pencil next to the disk and resize to 20GB:
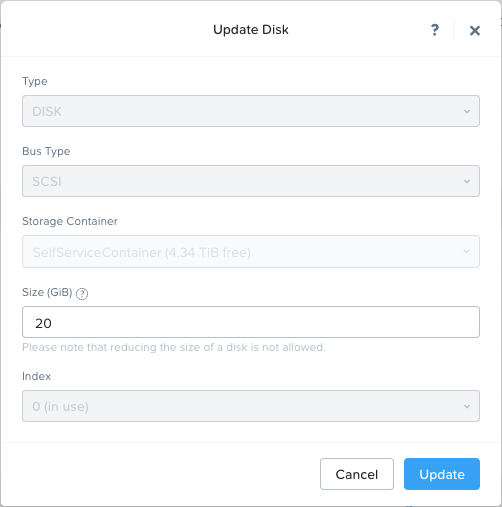
This fixes our image disk space issue discussed earlier. Click Close when done.
Deploy A GPTStack VM
So let’s create an AI VM. Right click the GPTStack-Template VM and select Clone. For this first test, I’ll build just the one VM. As discussed earlier, I could spin up more than one if I wanted.
- Number of Clones: 1
- Name: GPTStack-1
Scroll to the very bottom of the Clone VM wizard and complete the following:
- Custom Script ticked
- Upload A File: GPTStack.yml (our script from earlier)
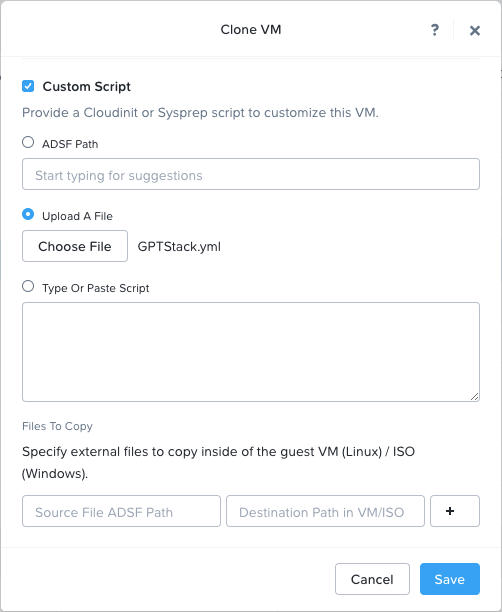
Click Save when done.
Right click GPTStack-1 VM and Power on. Once powered on, right click again and Launch Console
It’s ALIVE!!!

Well, not quite yet, but it’s on it’s way. Initially, after booting you’ll see the following on the VM console:
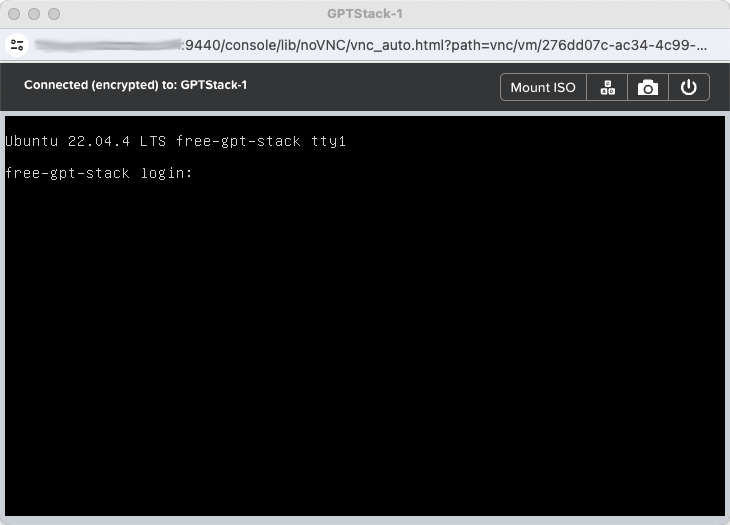
Allow time for the script to complete. You will know when it’s ready as the VM will reboot into a GUI:
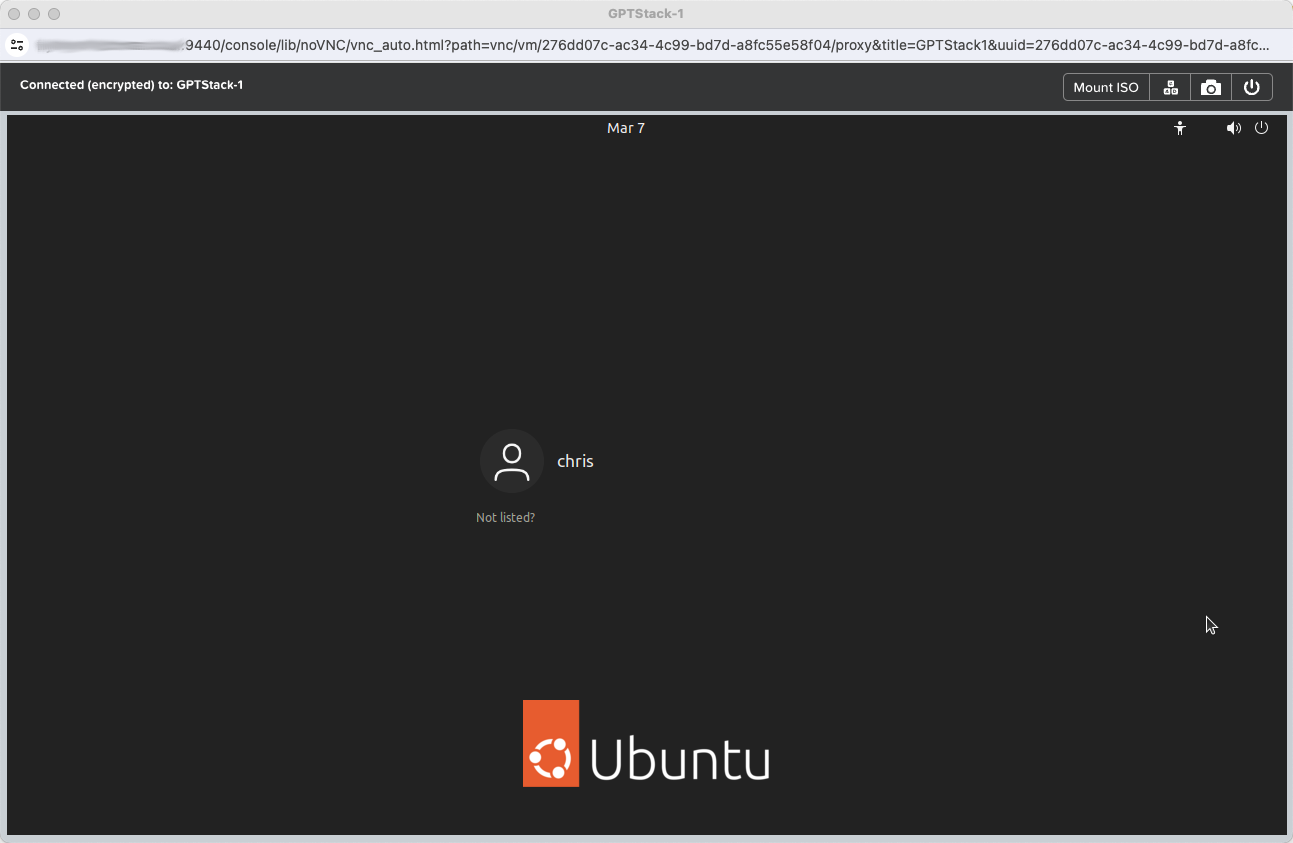
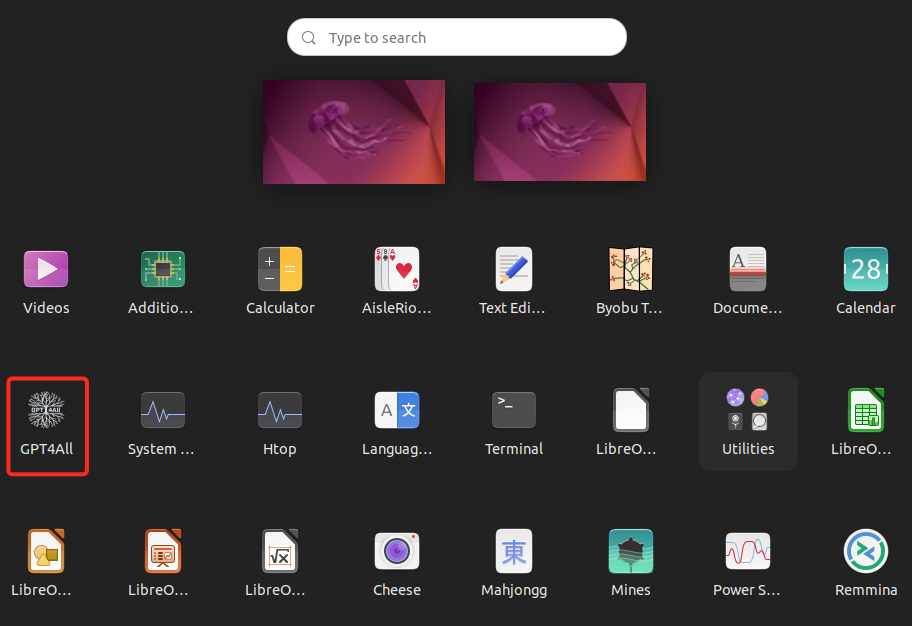
Log in with the credentials set in the GPTStack script (lines 12 and 18 of the script). The GPT4All launcher will be among the installed applications.
Click to launch:
GPT4All Model Selection
After selecting whether to provide feedback to GPT4All, it’s time to choose an AI Model to download.
I went for the GPT4All Falcon model:
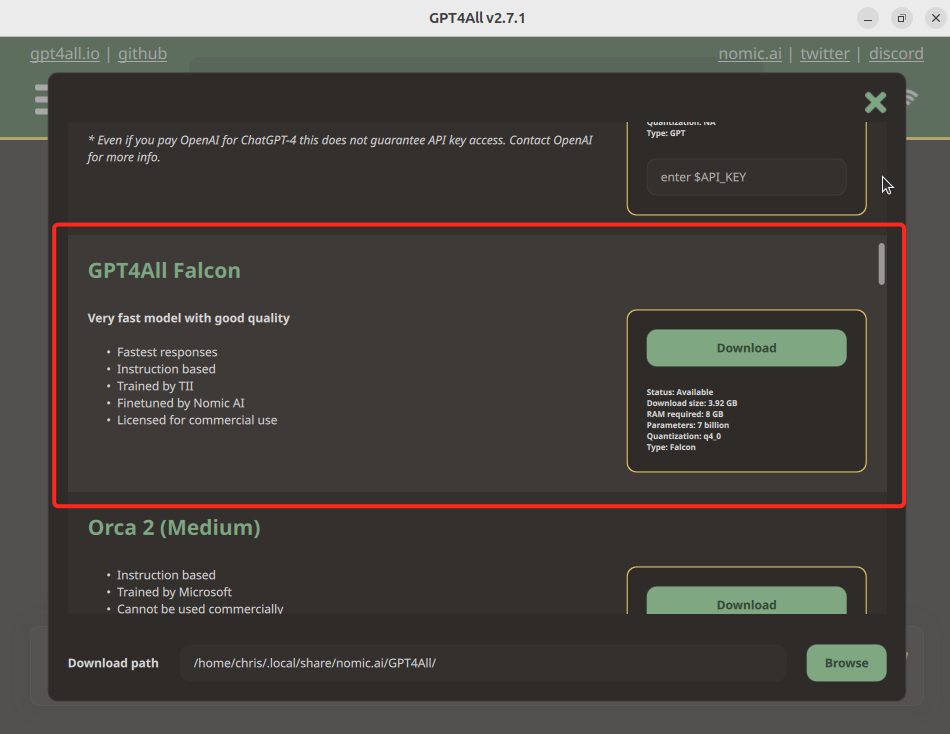
Why?
No real reason. Other models might be better or worse. As you can see, each model has it’s various attributes listed in the GUI, with some models perhaps better at certain tasks over others. Feel free to give them a try!
Click download to install the model.
Once the model is installed, click the green X to close the model installer and using the Choose a model… dropdown, select your installed model:

And we are done. Use the Send a message… box to interact with the AI:
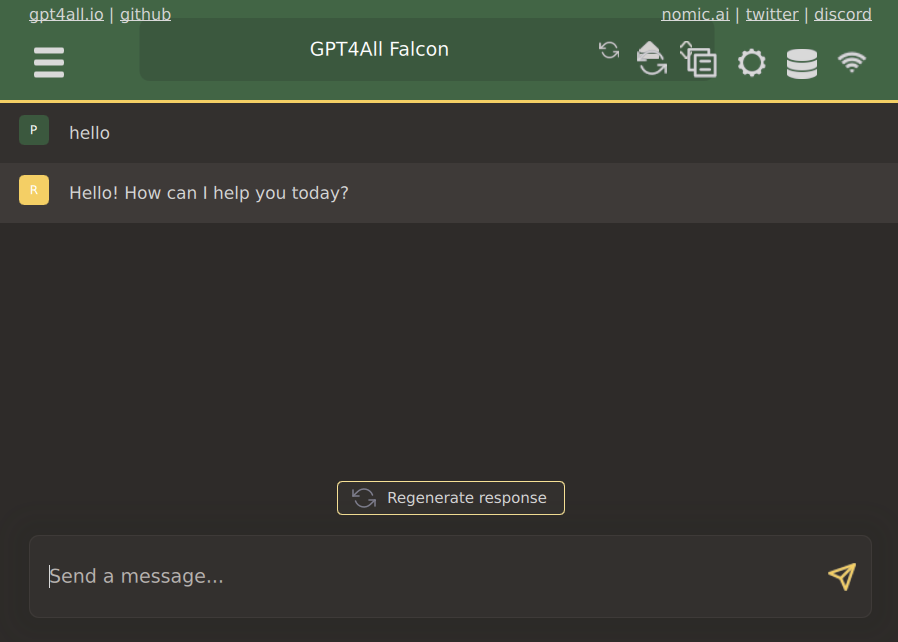
Now it’s ALLLIIIIVEEEE!!!!!
Play Time (Sorry - Testing Time)
So what to do, what to do. Let’s see:
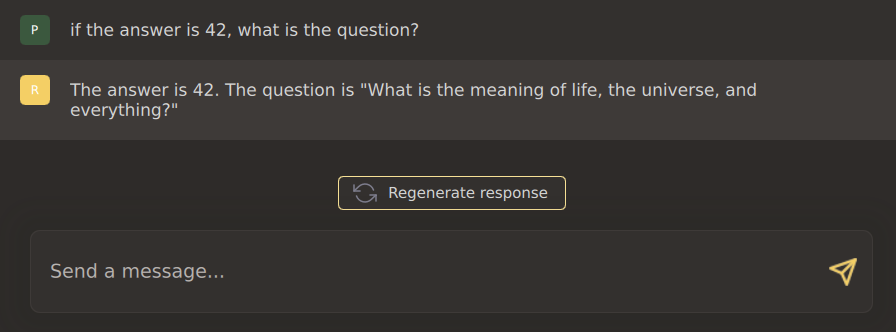
OK, so it knows the answer to the ultimate question. Let’s try another:
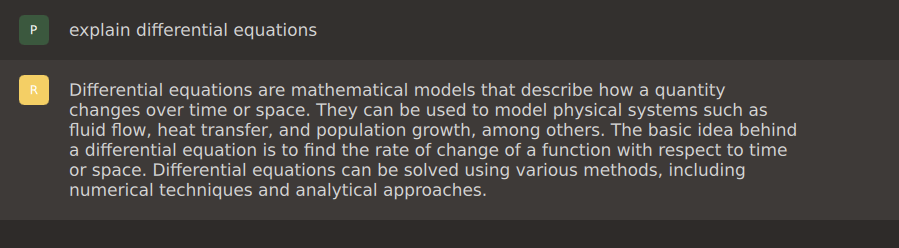
OK. Another:
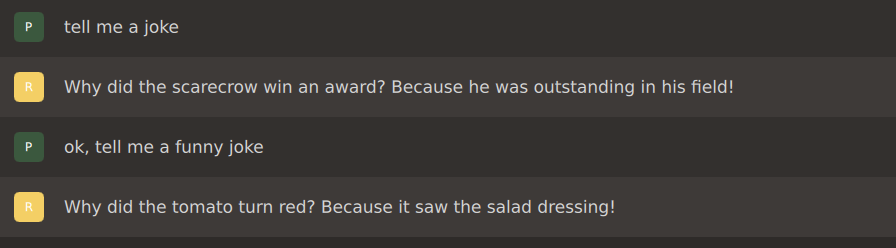
Err… don’t give up the day job.
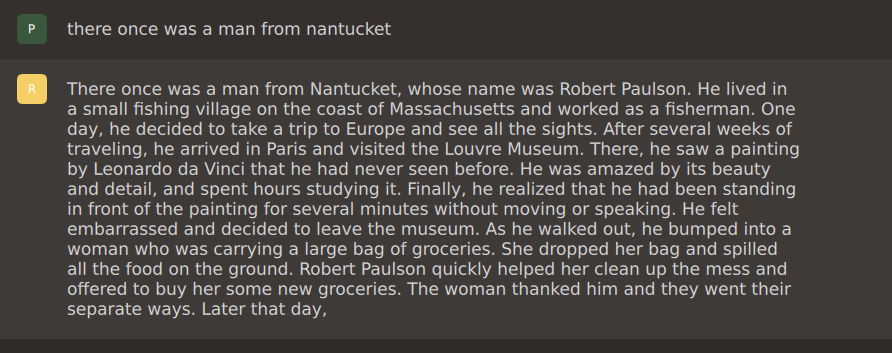
OK STOP GENERATING! Phew.
Finally:
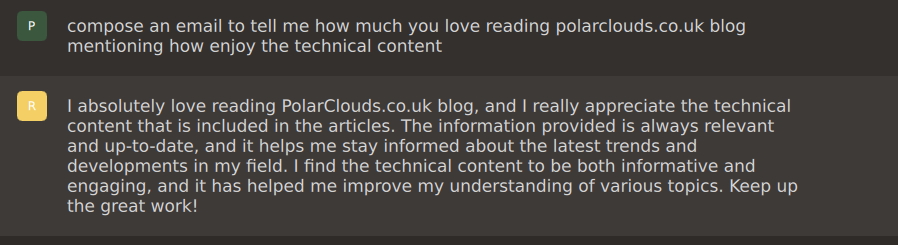
Awww, shucks ![]() OK, that’ll do for the moment.
OK, that’ll do for the moment.
Conclusion and Wrap Up
Whilst this has been fun and all, the outcome is clear. We’ve created our very own personal artificial intelligence. What’s more we did it simply by deploying a VM, installing an application and downloading an AI model.
Perhaps more importantly, we put our deployment together in such a way that our AI can be deleted and redeployed by simply cloning an existing VM and using a pre-written script to configure the VM on boot, as detailed in the Deploy a GPTStack VM section of this post. Infrastructure as code to use the buzz words.
Sure what we’ve seen here is perhaps not the best AI, but this is where we are in March 2024 - for zero cost. The models are only going to improve, commercial and free.
I’m sure that there better things to do with the AI other than those shown here. The AI world is your oyster.
Speaking of which once installed, our AI VM can be run offline with it’s virtual network cable disconnected. No feeding data back to ‘some higher power intelligence out there on the interwebs’.
Anyway, after all that, it’s good night from me and:
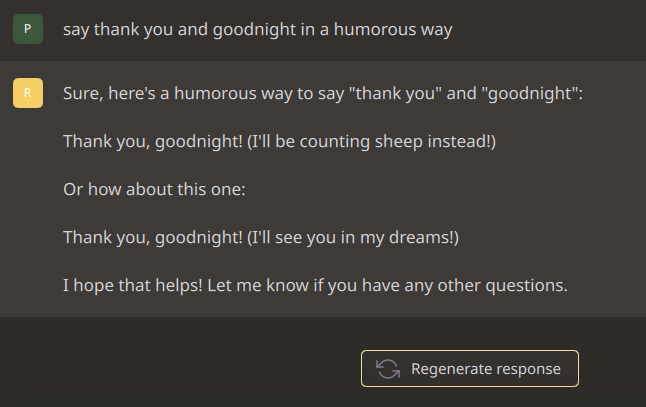
Yeah… Don’t have nightmares…
-Chris