


 Recently an opportunity came up to to assist a team with deploying two new vSphere environments.
Within these new environments, they wanted to have a level of VM by VM recovery across the two sites without breaking the bank. For their use case, I suggested they use vSphere Replication.
Overview
What is vSphere Replication?
VMware vSphere Replication is an asynchronous replication and recovery solution that offers VM protection at a lower cost than some third party solutions. vSphere replication can be leveraged for data protection:
- Locally within a single vSphere site
- Across two or more vSphere sites
- To a service provider cloud
Additionally, vSphere Replication provides flexible recovery options, ensures consistent application and VM data as well as nicely integrating into the vSphere stack. Finally, vSphere replication can also be used in data centre migration scenarios.
Cost wise, vSphere Replication does not have a separate license as it is a feature of certain vSphere license editions. Those editions are:
- vSphere Essentials Plus
- vSphere Standard
- vSphere Enterprise
- vSphere Enterprise Plus
If you have the correct vSphere license, there is no limit on the number of virtual machines that you can replicate by using vSphere Replication.
Further information can be found on the VMware vSphere Replication Site.
The Lab
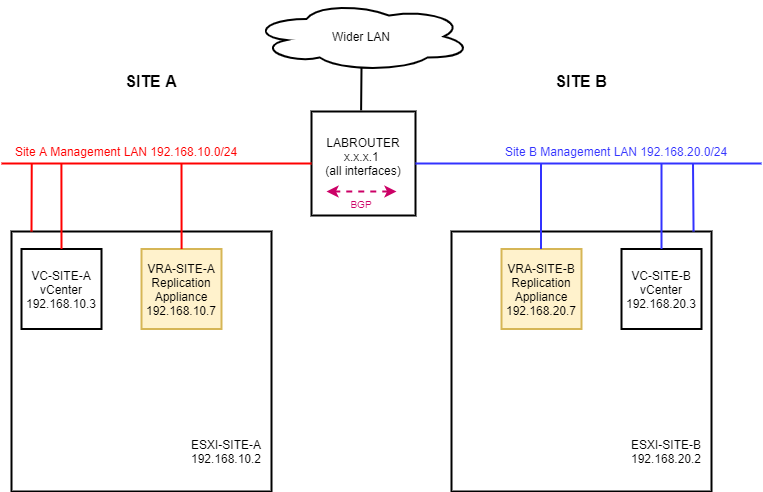
For this series, I’m going to deploy vSphere replication into my two site lab:
Regular readers may recognise this lab from my VMware NSX Data Center for vSphere Failover/Failback series. Wait, what, you haven’t checked those out yet?
Here you go: VMware NSX Data Center for vSphere Failover/Failback - Part 1. You’ll love them! Don’t forget to come back when you’re done ![]()
Finally, NSX is not needed for vSphere replication and with the shameless plug over, lets get on with the deployment.
Deploying vSphere Recovery Appliances
First Site
Download the replication appliance from the VMware download site. For this post I’ll be using VMware vSphere Replication v8.3.0.2.
Mount the ISO file. If deploying from Windows 10, simply double click the ISO file to mount it as a virtual optical drive.
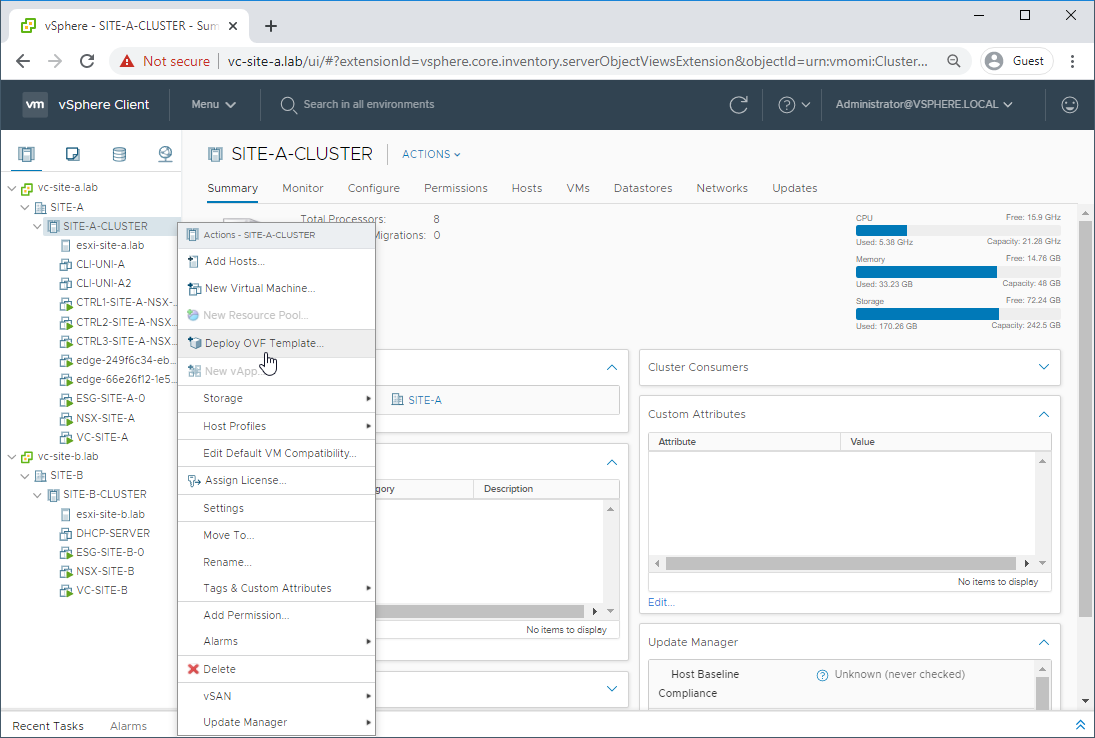
Right click the ESXi host, and select Deploy OVF Template:
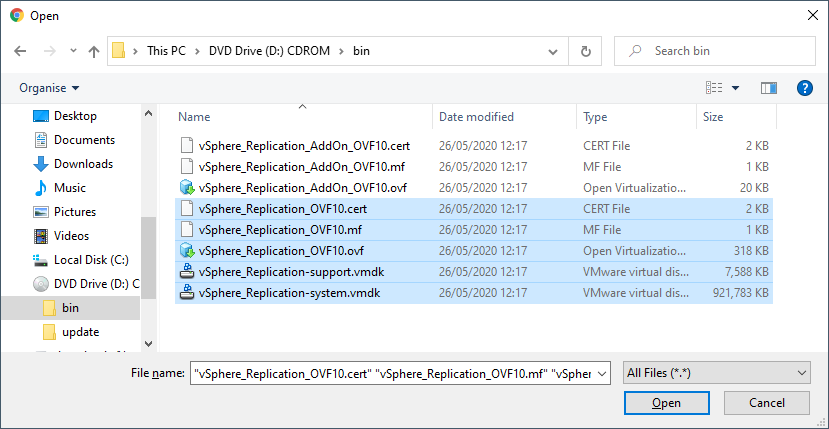
Select the following five files from the bin folder of the ISO:
- vSphere_Replication_OVF10.cert
- vSphere_Replication_OVF10.mf
- vSphere_Replication_OVF10.ovf
- vSphere_Replication-support.vmdk
- vSphere_Replication-system.vmdk
and click Open:
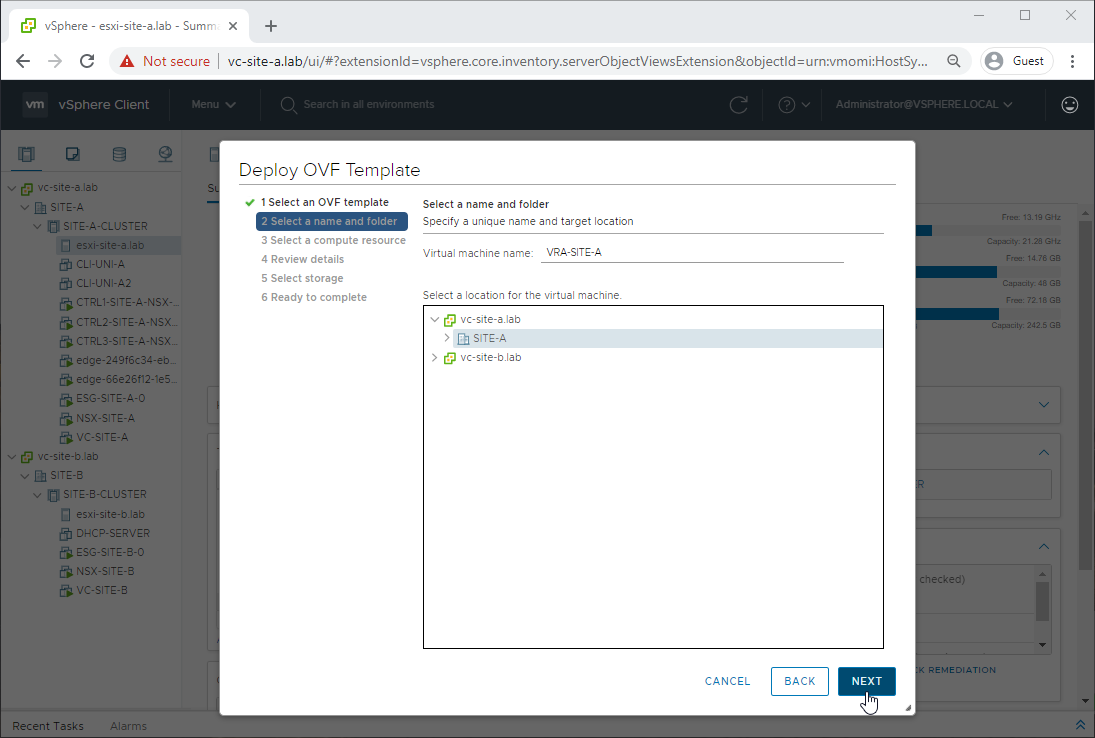
Name the appliance and click Next:
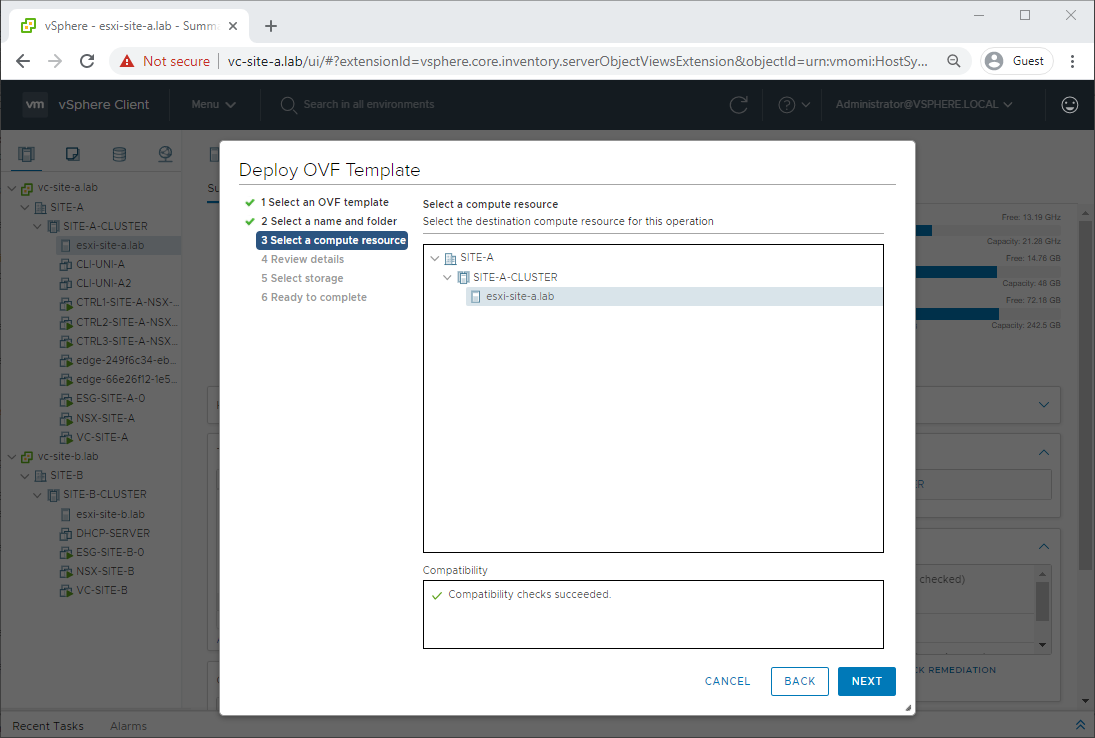
Select the appropriate ESXi host and click Next:
Review the appliance details and click Next:

Accept the agreement and click Next:

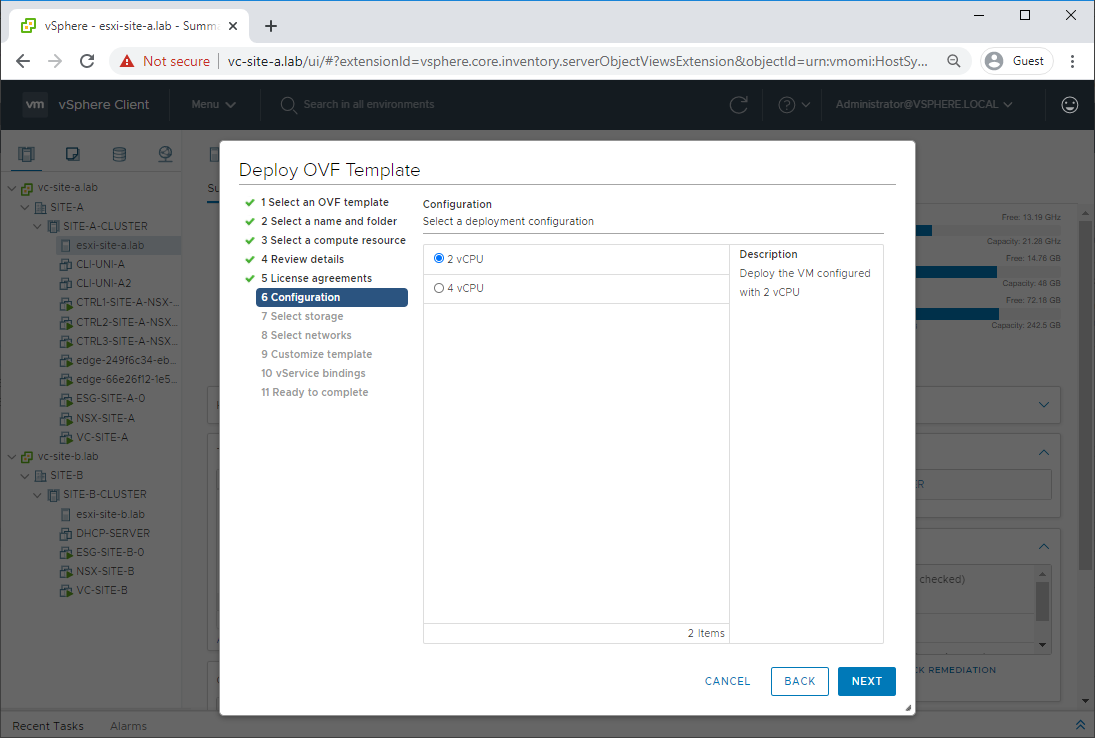
Select the number of vCPUs to provision the appliance with. In my lab, I’m going to stick with two and click Next:
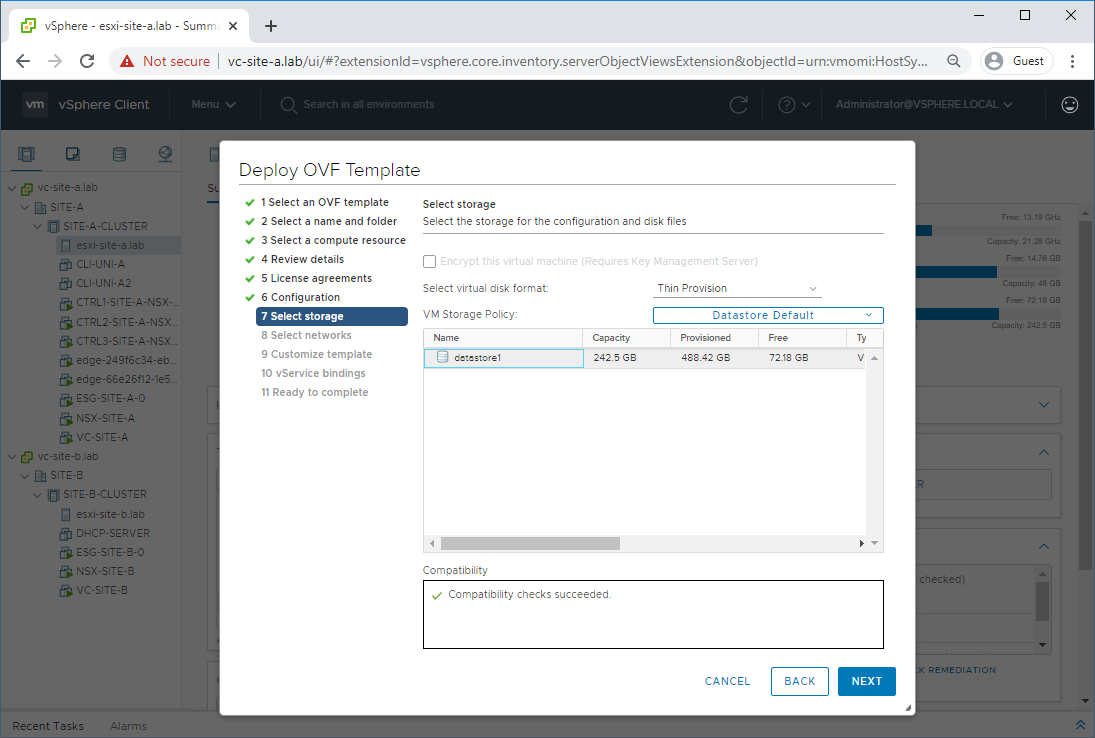
Select virtual disk format, appropriate datastore and click Next:
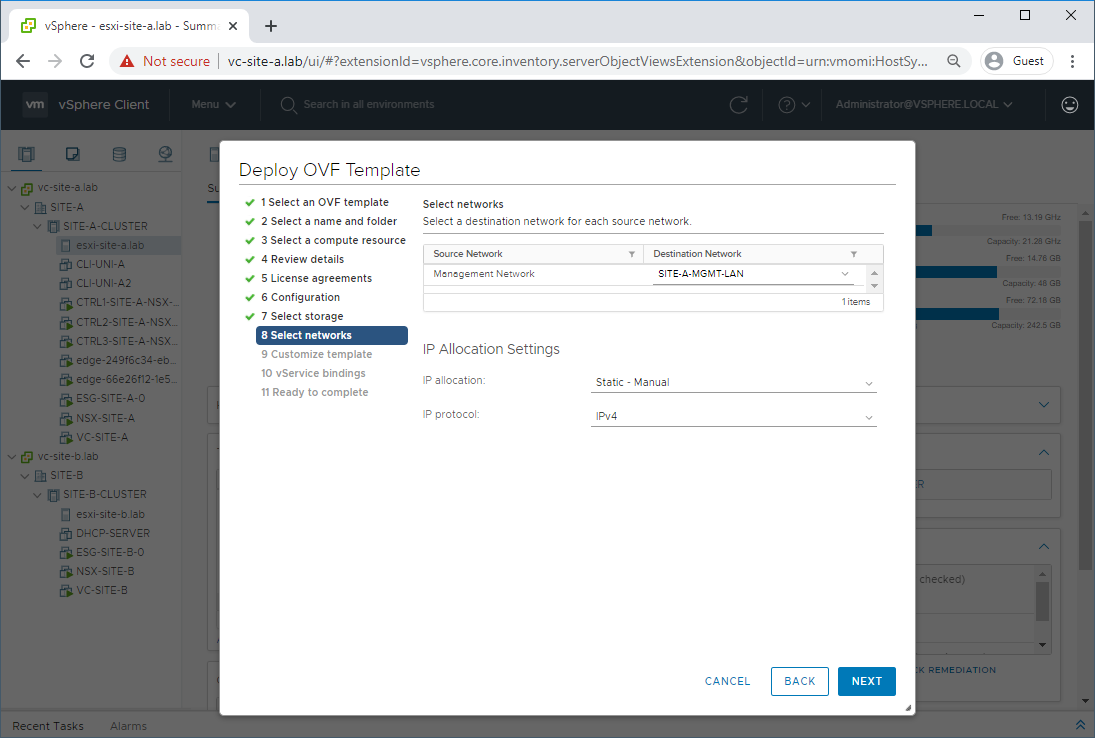
Select appropriate network to connect the VRA to. As per my diagram above, I’m plugging mine into the Management LAN on Site A:
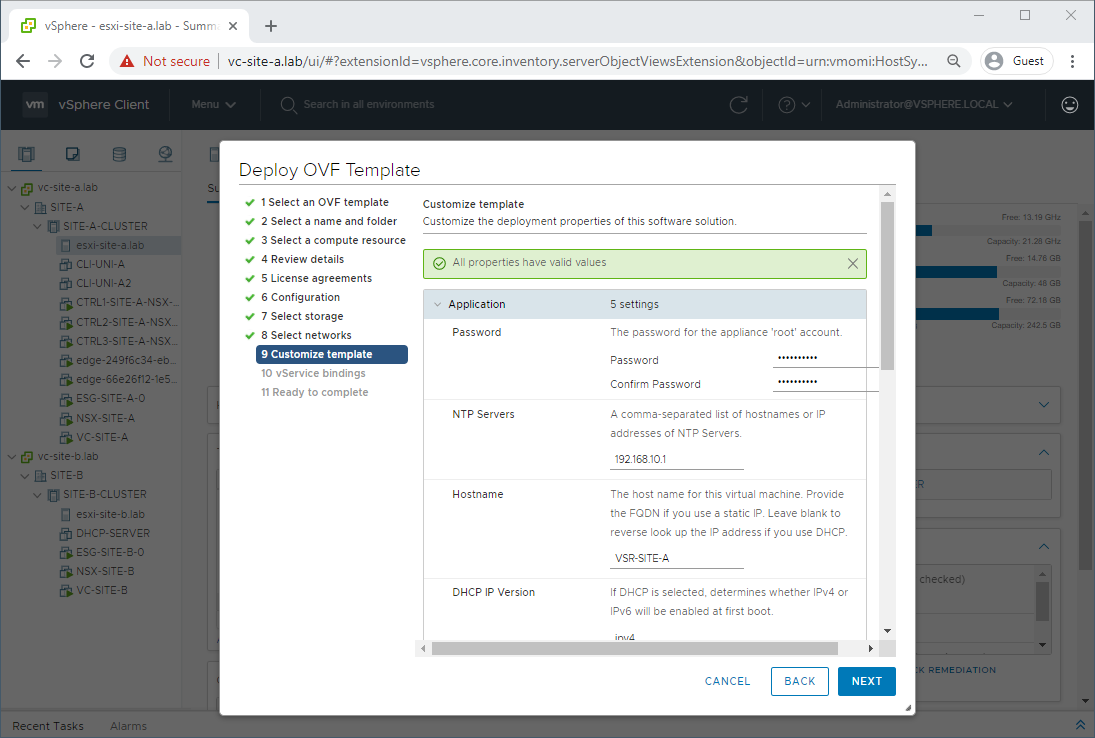
Complete the remaining configuration items such as passwords, IP details etc:
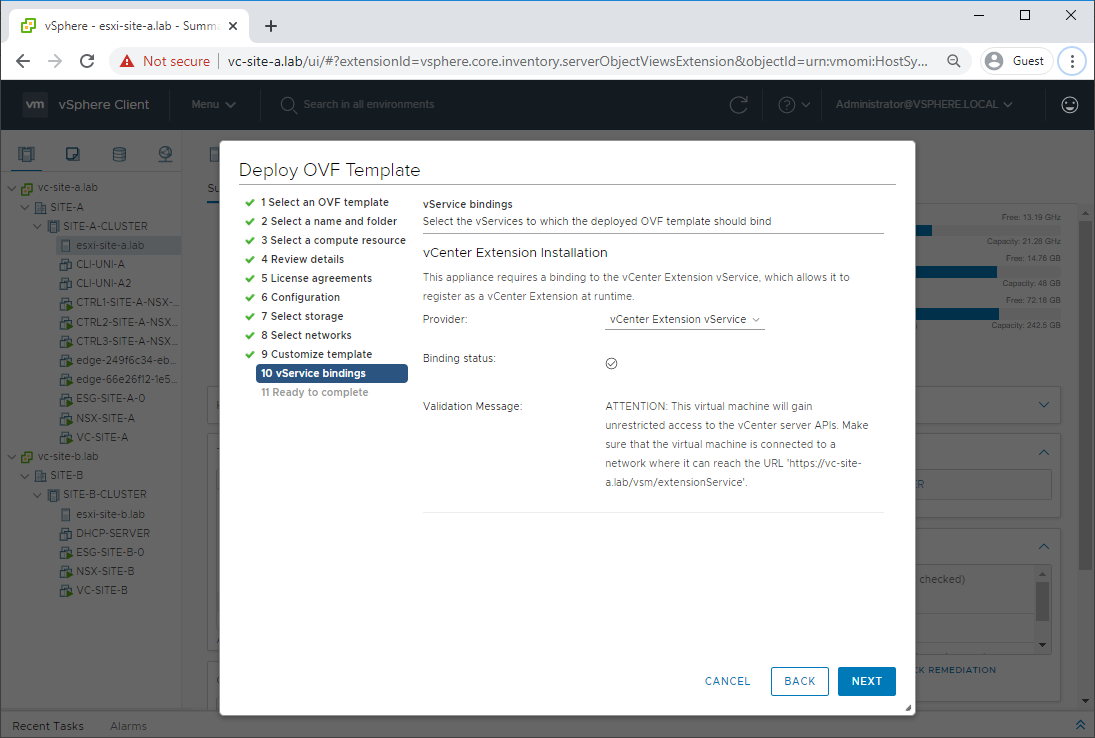
Click Next to accept the vCenter binding:
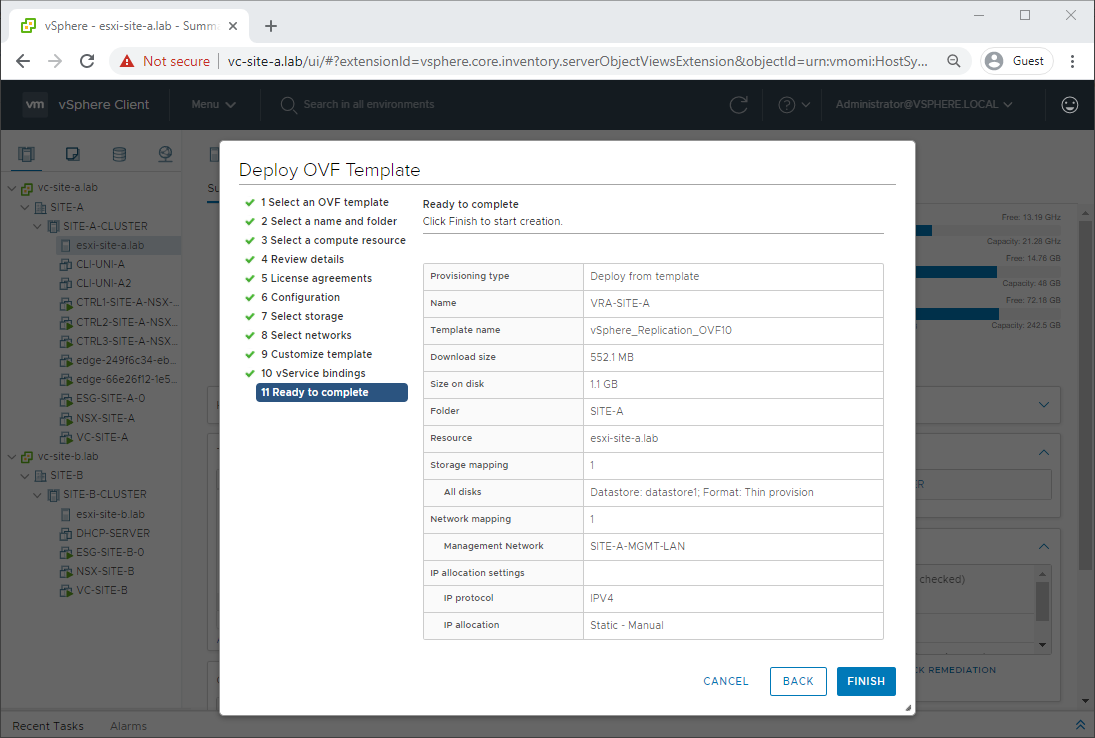
Review the configuration and click Finish to kick off the OVF deployment:
Once the appliance has deployed, power it on and browse to https://VRA:5480 (lab: https://vra-site-a.lab:5480) and login with the credentials:
Username: root
Password: (as set above)
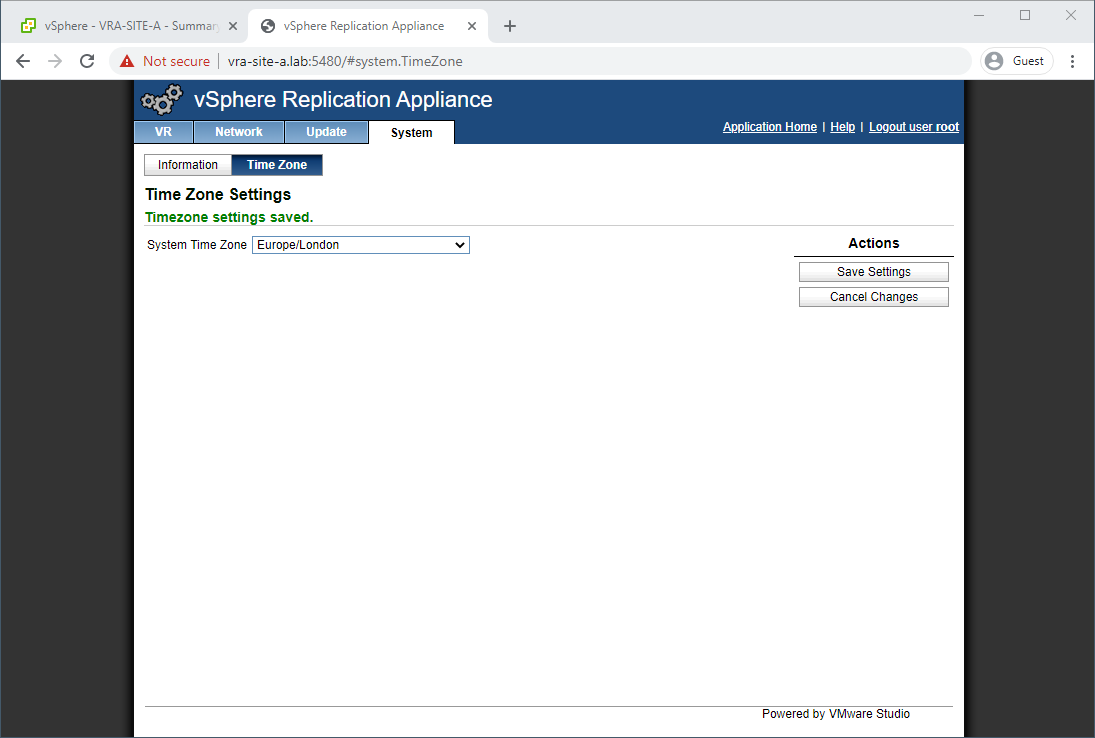
Select System - Time Zone and configure your correct time zone and click Save Settings:
Select System - Information and Reboot to reboot the appliance now that the correct time zone is set.
Once the appliance has rebooted, browse to https://VRA:5480 (lab: https://vra-site-a.lab:5480) and login again.
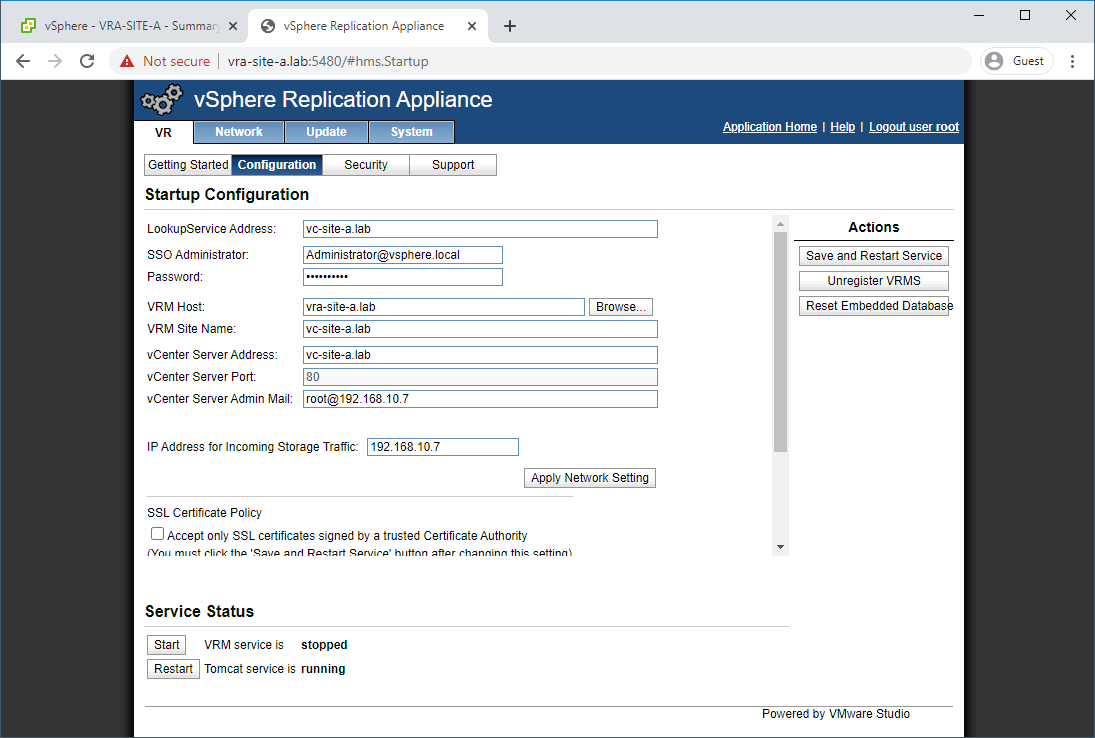
Select VR - Configuration confirm the following are correct, change if not:
- Lookup Service Address
- SSO Credentials
- VRM Host
- VRM Site Name
- vCenter Details
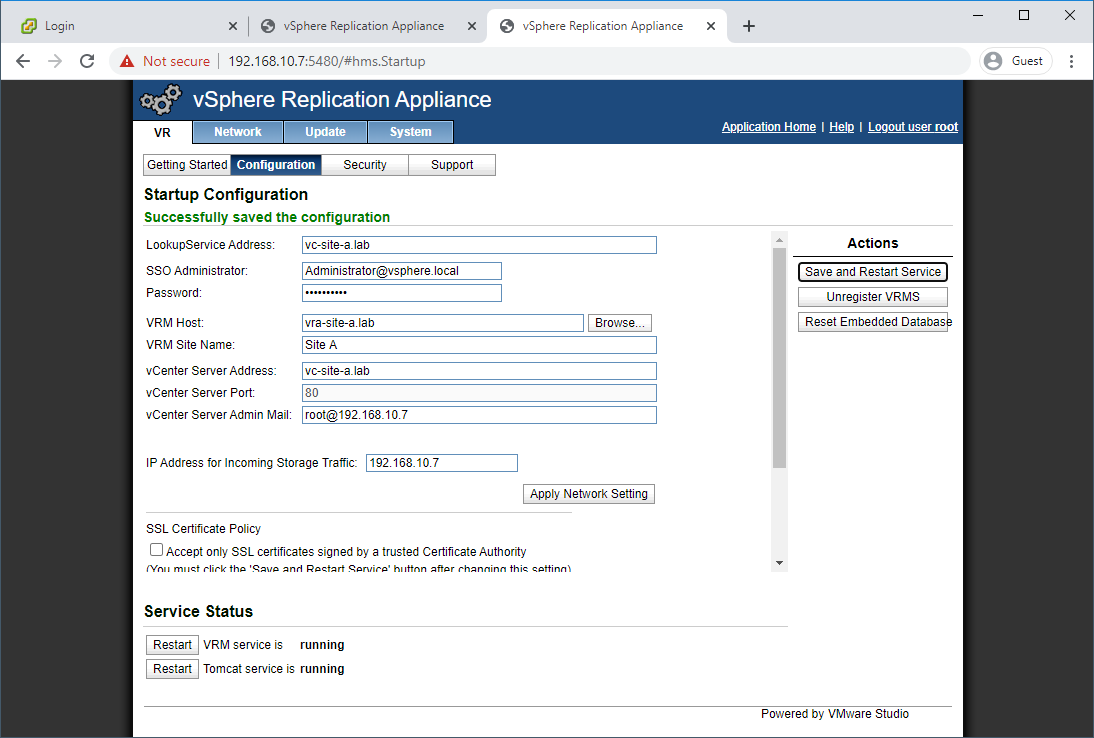
Click Save and Restart Service:
If prompted, accept the SSL certificate presented.
Should you run into problems, confirm that the VRM Host name set is EXACTLY the same as that set in Network - Address - Hostname, including upper/lower case.
Once configuration has completed, both the VRM and Tomcat services should show as running:
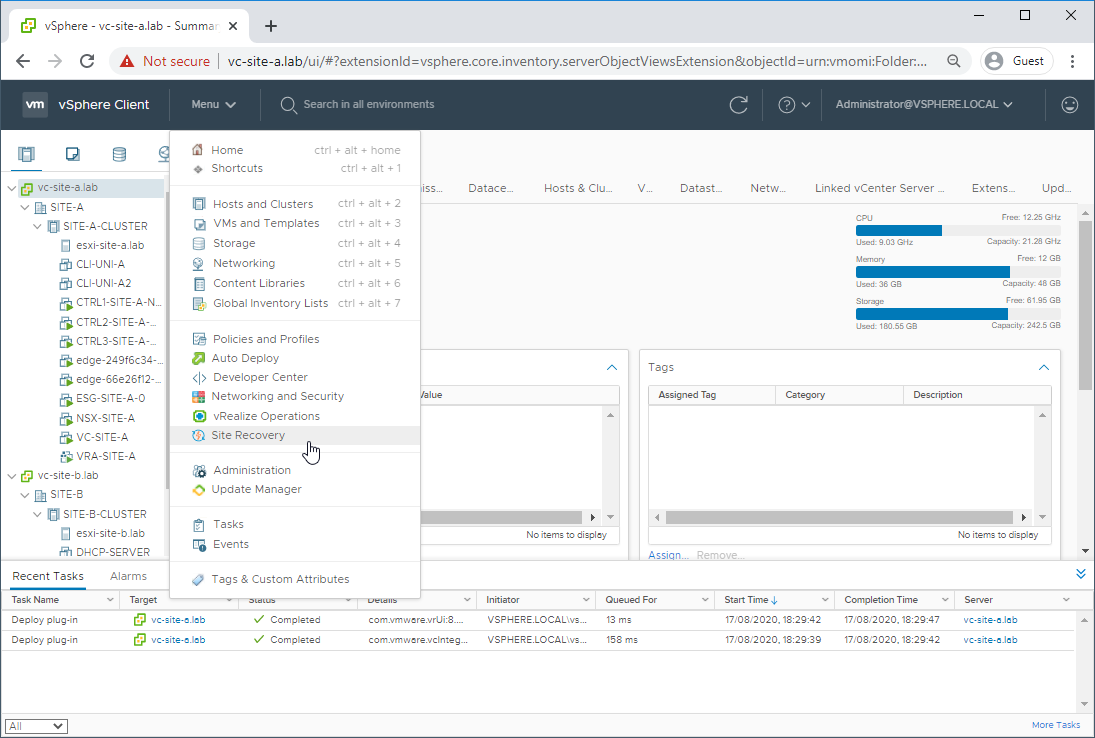
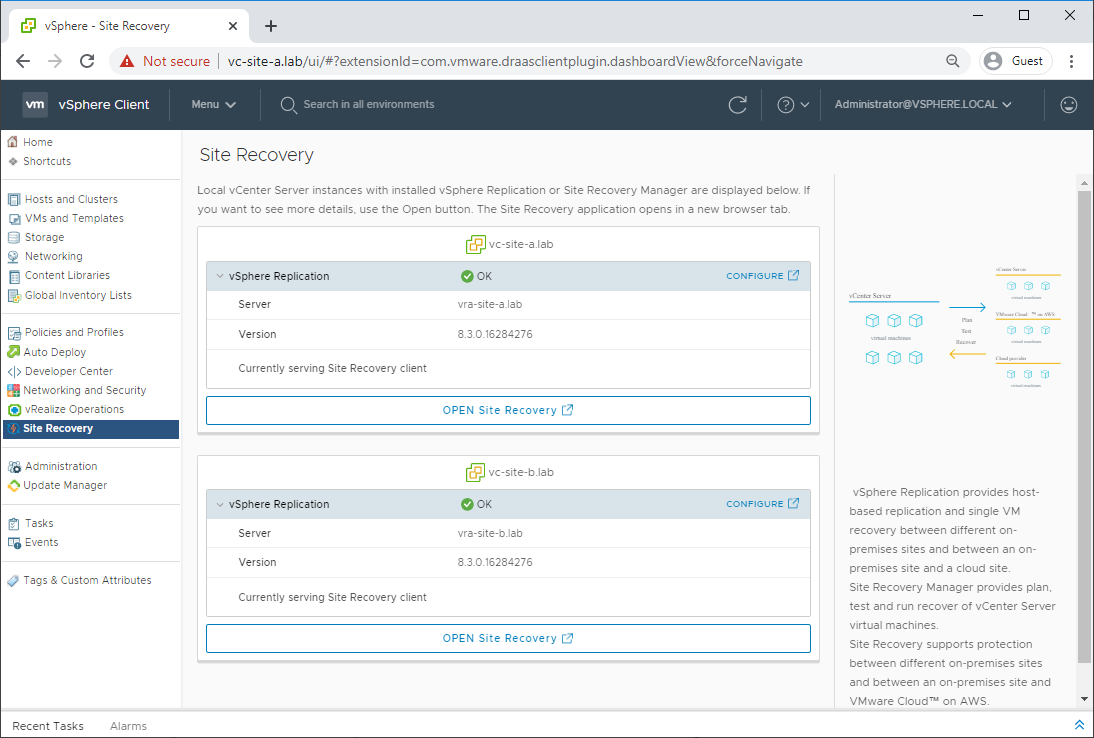
Back at vCenter, log out and back in which will allow the SRM vCenter plugin to load. If prompted refresh your browser.
Click Menu and select Site Recovery:
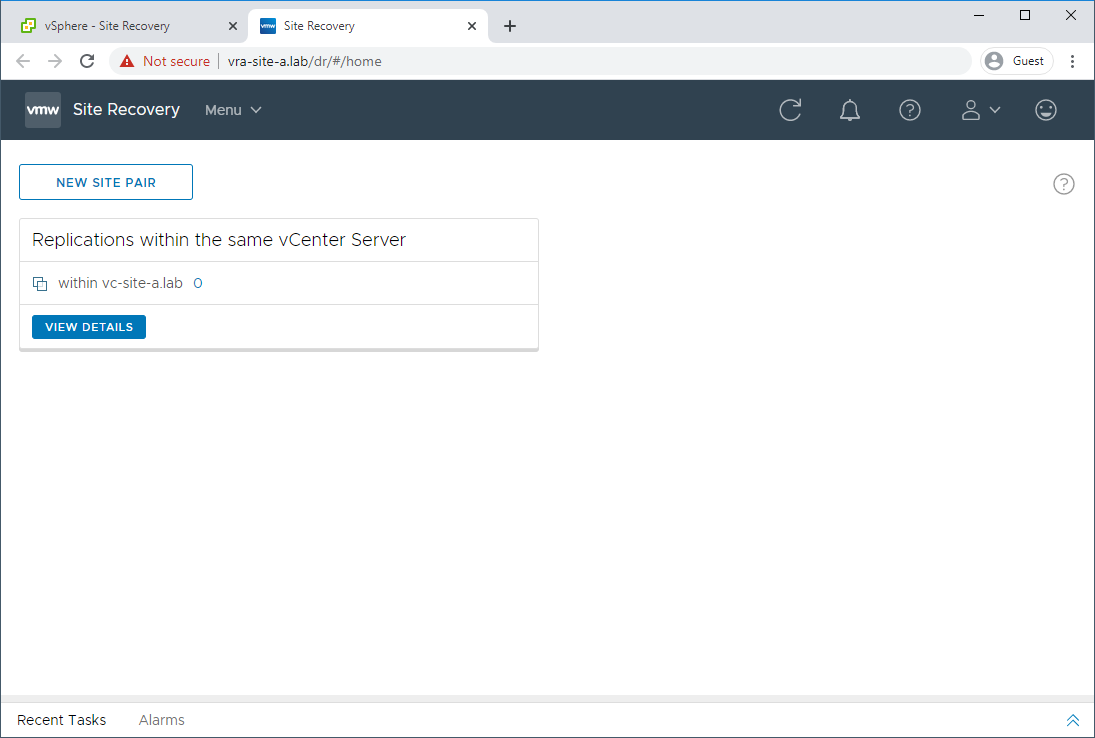
The newly deployed replication appliance should be listed. Click Open Site Recovery:
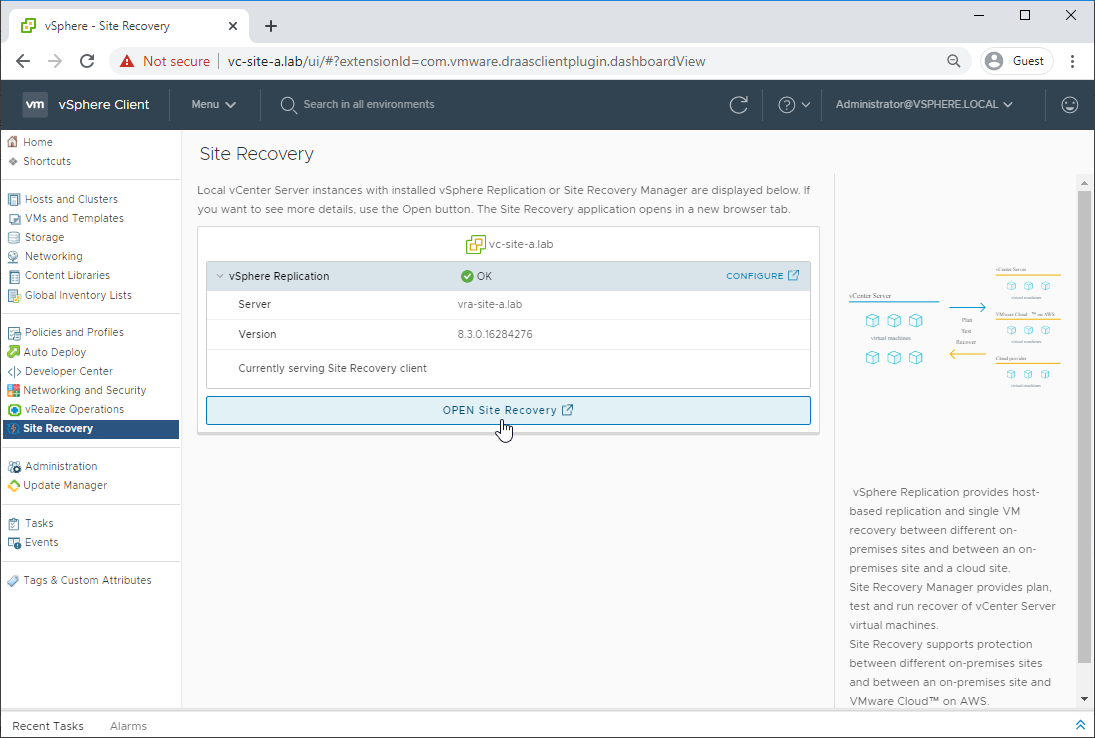
Once logged into site recovery, the Replications within the same vCenter Server dialogue should be shown:
That’s it for Site A.
Second Site
Simply repeat the above process above, selecting an ESXi host located in Site B in step one as well as using Site B appropriate configuration details when prompted.
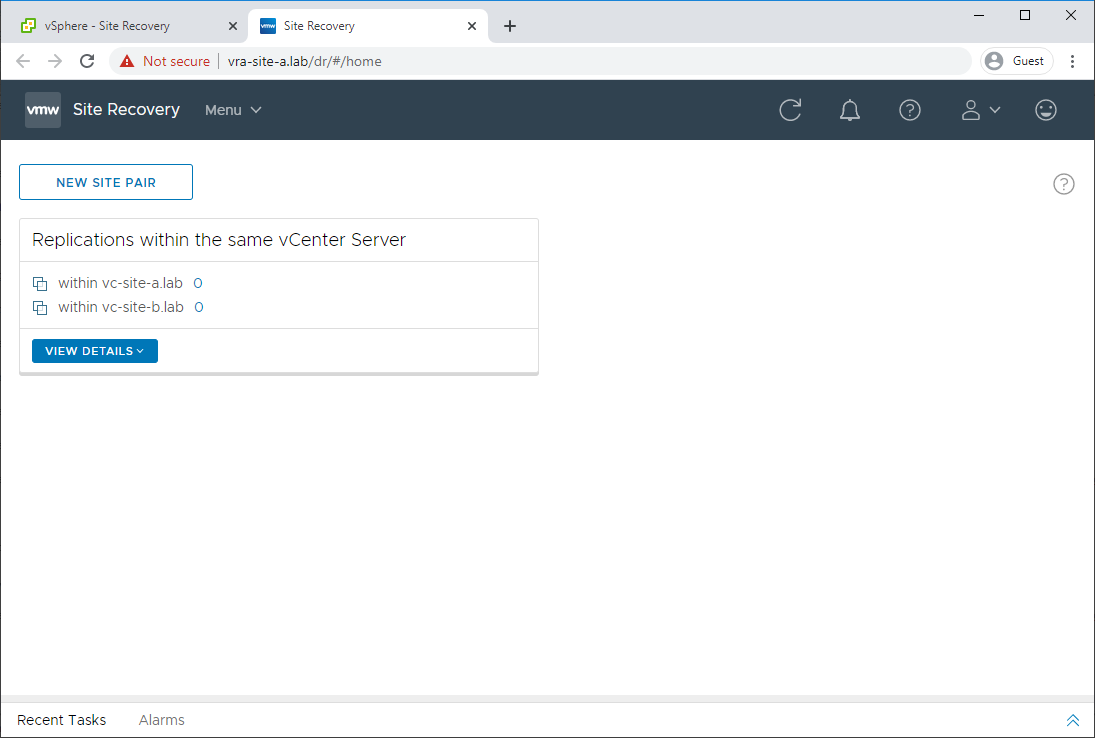
Once deployed, logout of vCenter, login and open site recovery. Confirm both replication appliances are now shown:
Finally from within site recovery confirm that both vCenters are listed in the Replications within the same vCenter Server dialogue:
Conclusion and Wrap Up
In this post we had a quick introduction into vSphere Replication. Additionally, we deployed two vSphere replication appliances. Next time in part two we’ll get into configuring replication between the appliances and getting our VMs replicated.
Finally we’ll try to recover from a disaster… ![]()
![]()
This was part 1 of a multipart series. Find the other parts here:
- Part 1: This part - No money, no problem: Introduction and Deployment
- Part 2: Site Pairing and Replication Configuration
- Part 3: Disaster Strikes!
-Chris