


 Last time we paired our sites and kicked off some VM replication, catch up now. It’s a great read.
 ![]()
This time we will look at how to recover from a disaster using our replicated VM.
Overview
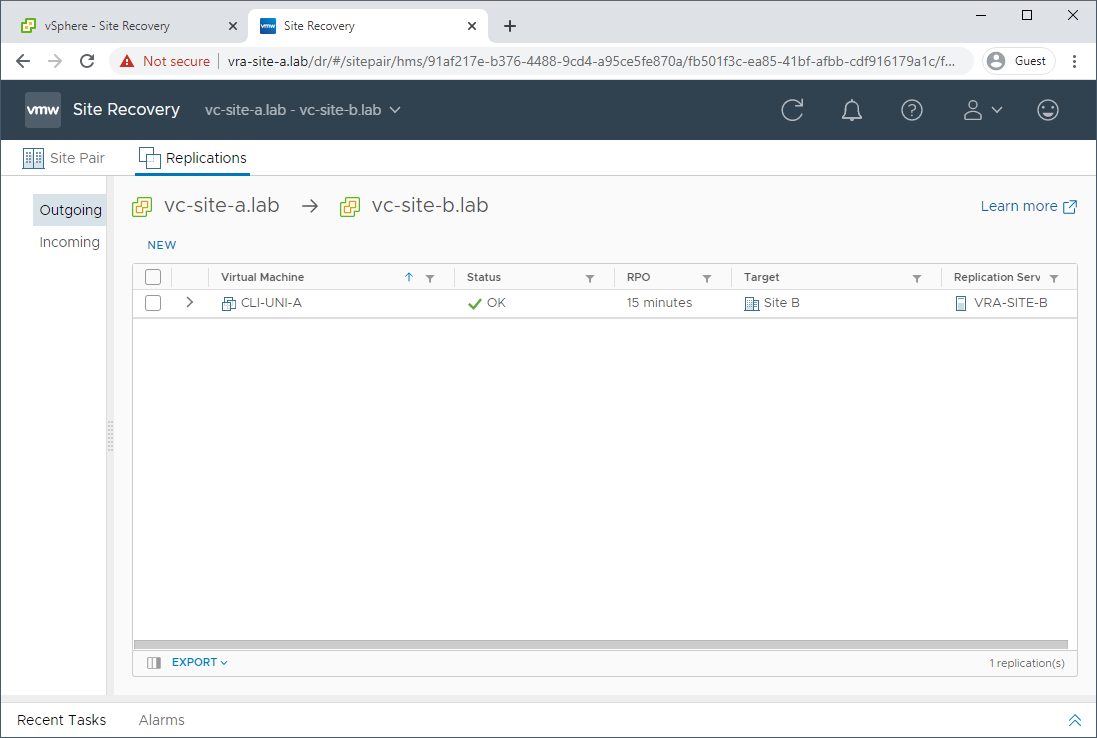
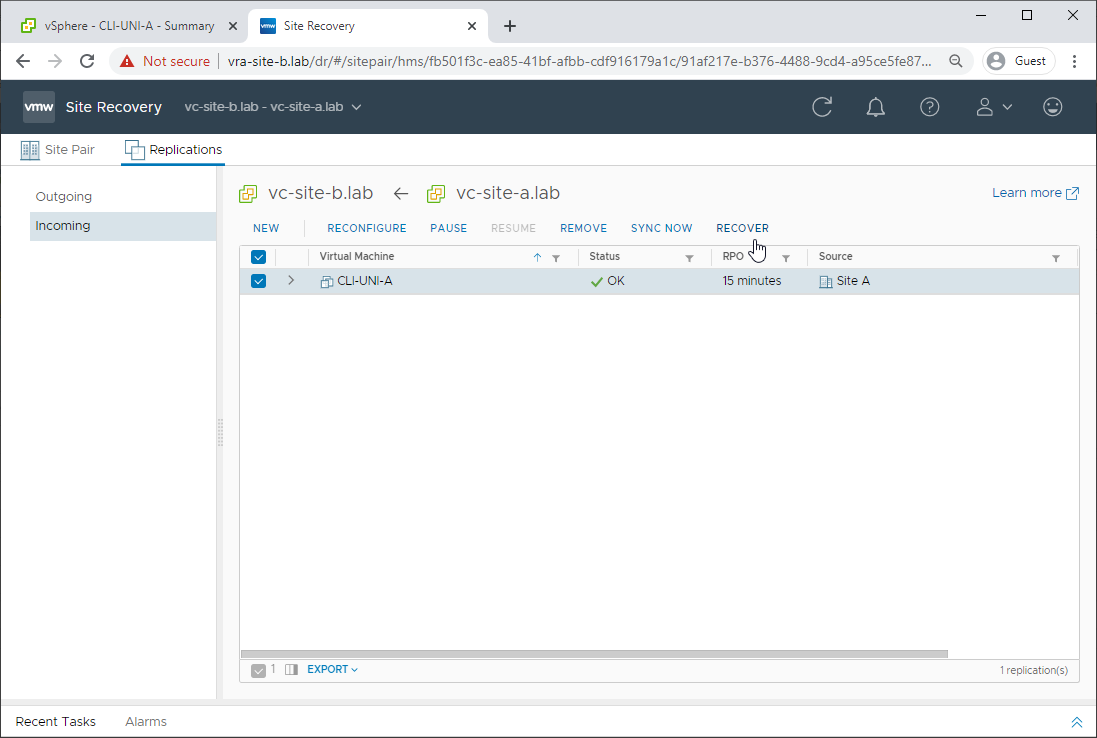
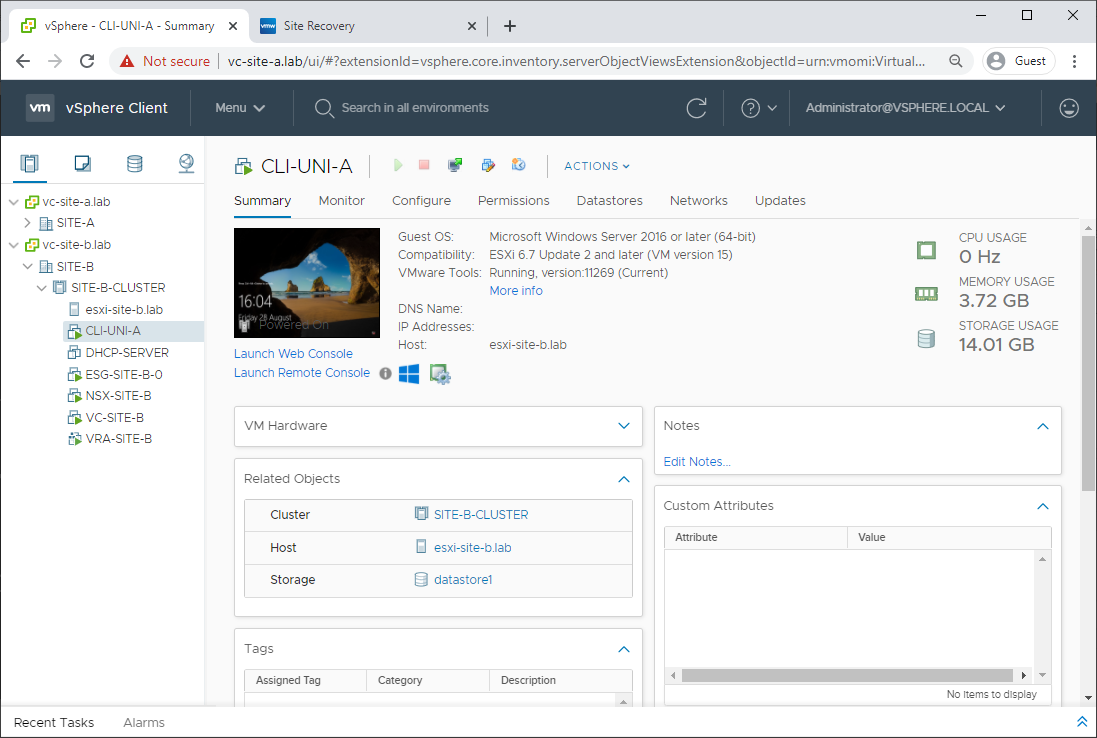
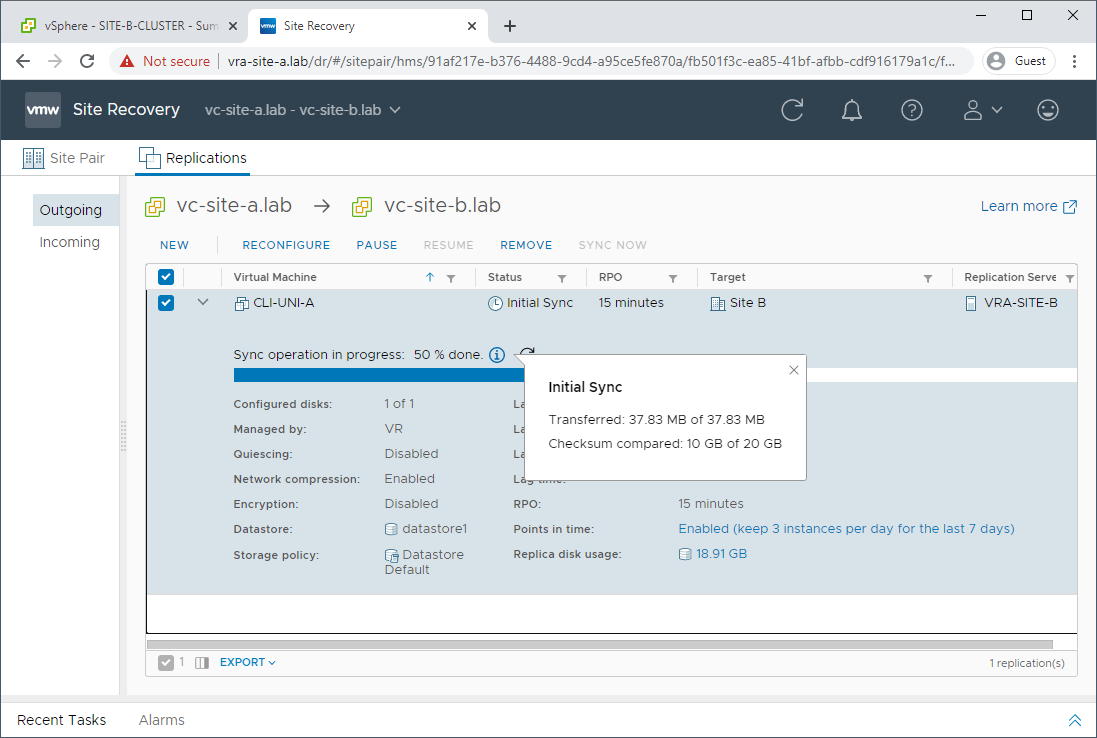
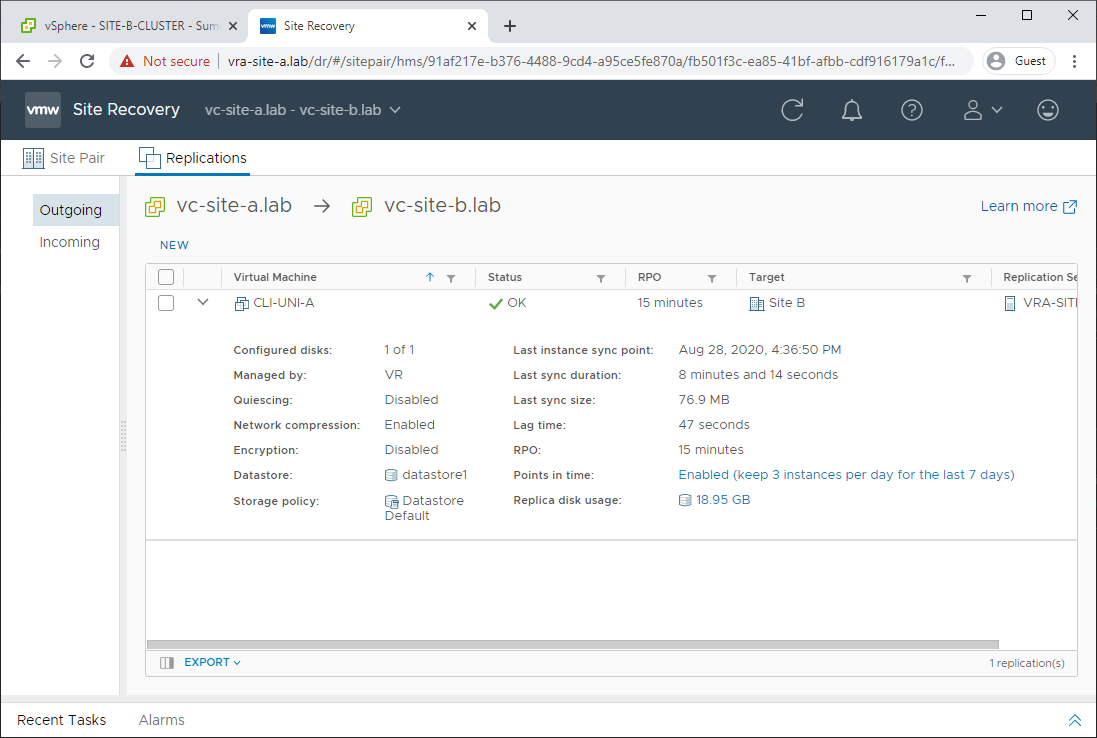
First off, let’s double check that our VM is still being replicated. Yep looks good:
Oooops, I broke It!
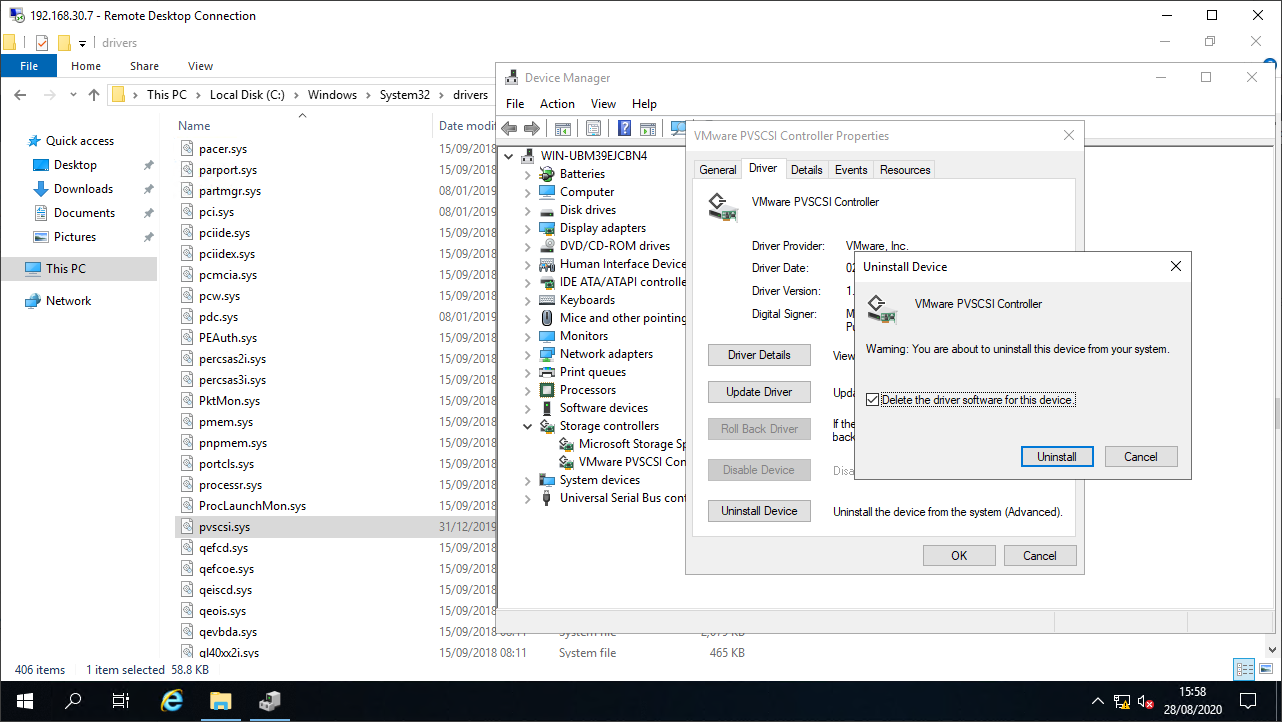
Let’s intentionally accidently cause a disaster by breaking our replicated VM. Shall we uninstall the storage controller driver? Yes, let’s:
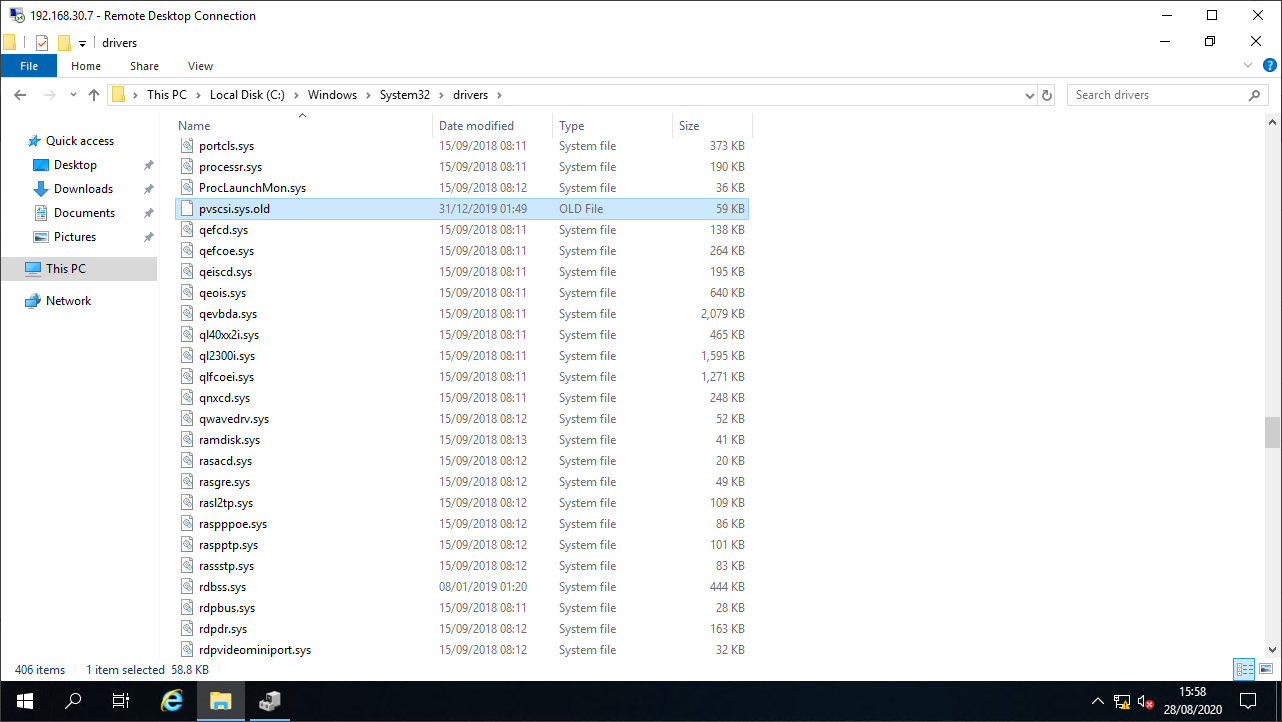
For good measure, let’s rename the driver file too. Belt and braces breakage ![]()
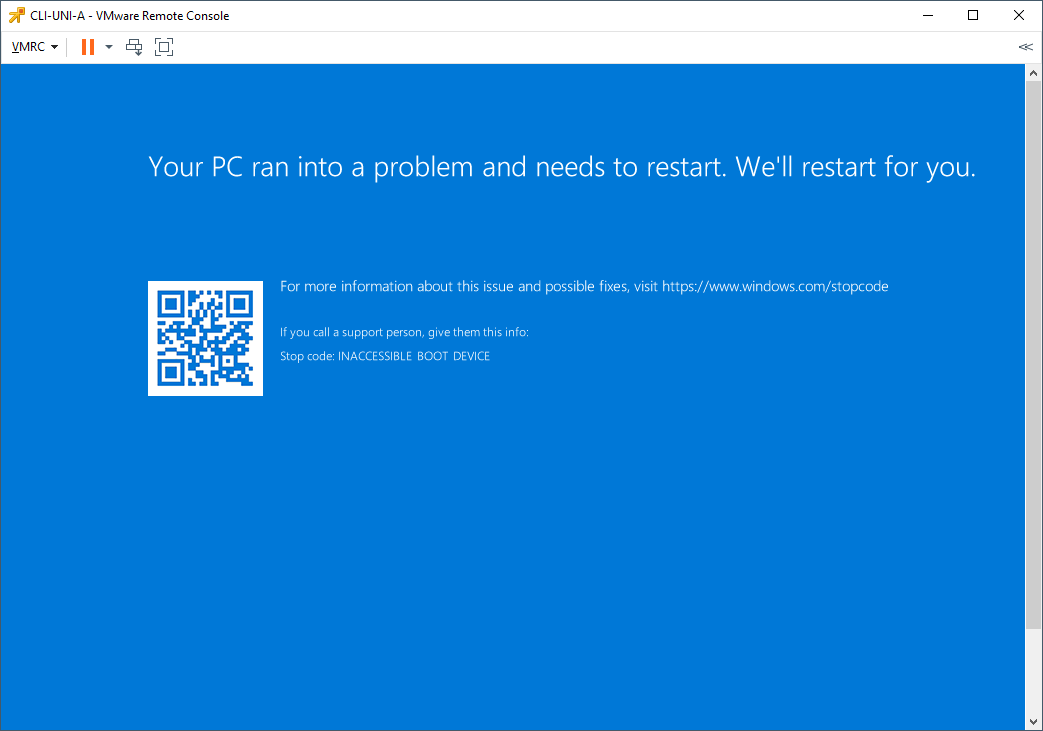
Cheeky reboot… Oh noes! ![]() It’s BSODing broke:
It’s BSODing broke:
Oh dear! Looks like I need to recover my VM! ![]()
Step 1: Recovery to Secondary Site
Firstly power off the failed VM. Don’t delete the failed VM from the inventory. We’ll need it later.
 Leave it… Besides, it’s dead already
Next, let’s head into Site Recovery on Site B, navigate to incoming replications and select Recover:
As our source VM is dead (Jim), let’s recover from the latest data already replicated to Site B:

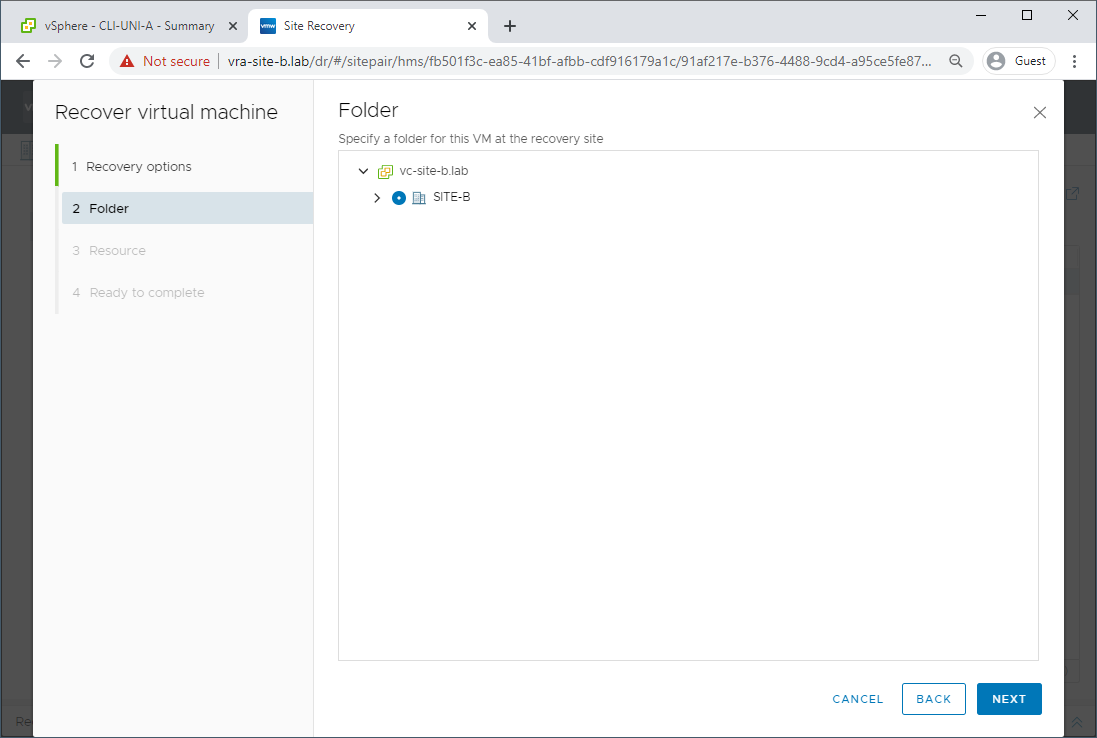
We’ll select Site B to house our recovered VM:
Select our Site B ESXi Host:

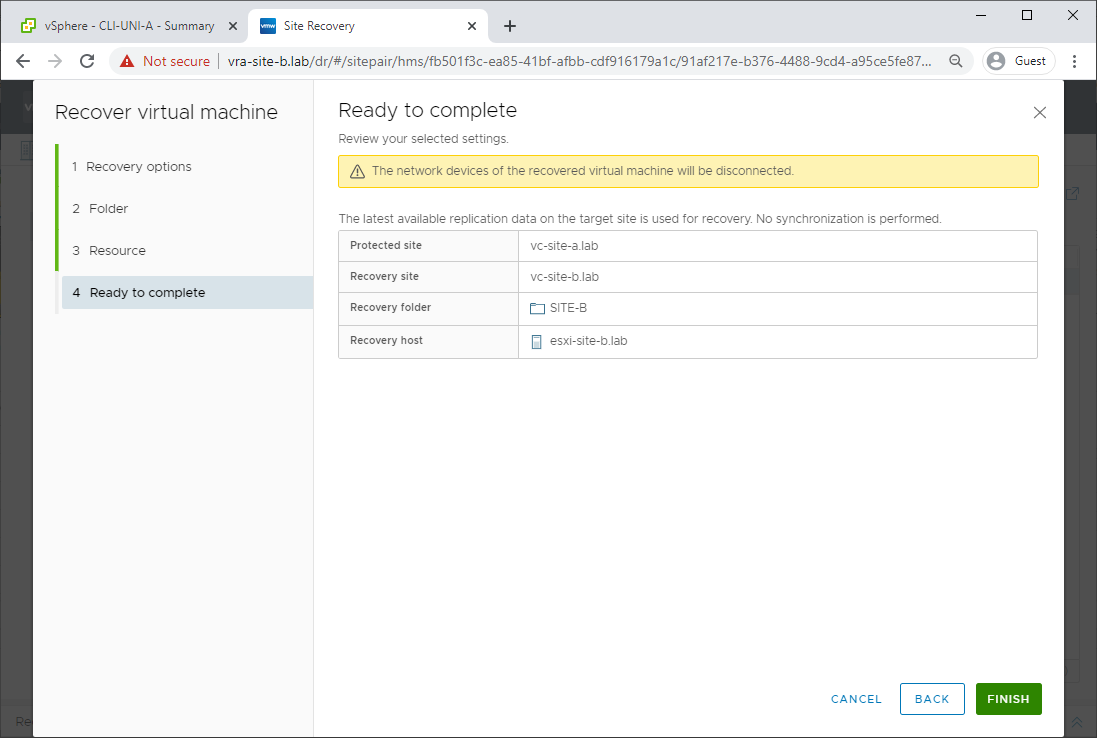
And finish. For the moment, we don’t care that our recovered VM will be disconnected from the network:
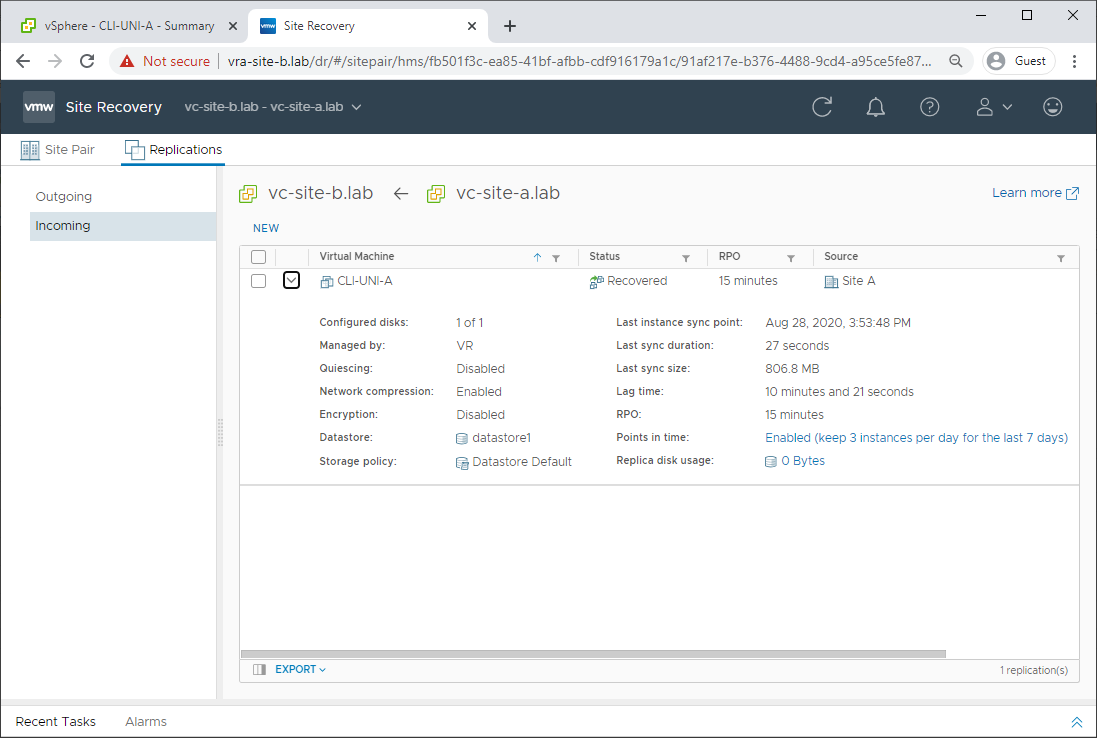
Boom! Recovery to Site B complete:
Power on the recovered VM in Site B and let’s see if it boots OK. Looks good:
If it didn’t boot for whatever reason, we have the opportunity to go back in time via reverting to snapshots taken as per our replication interval setup in Part 2:
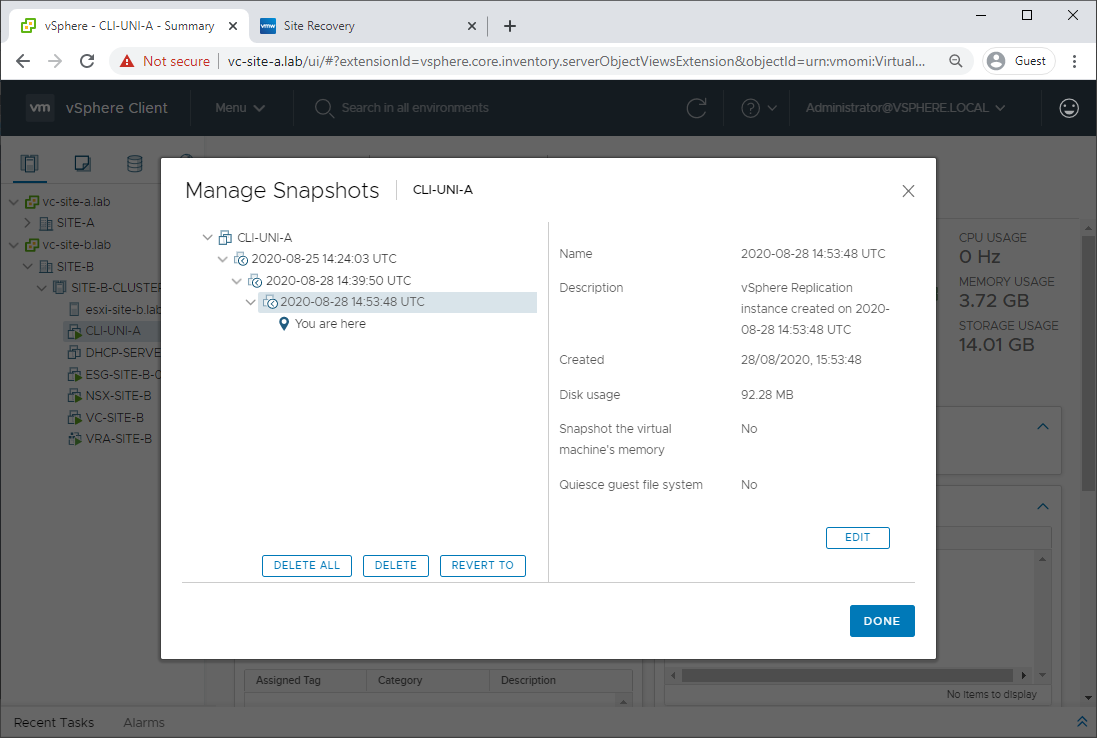
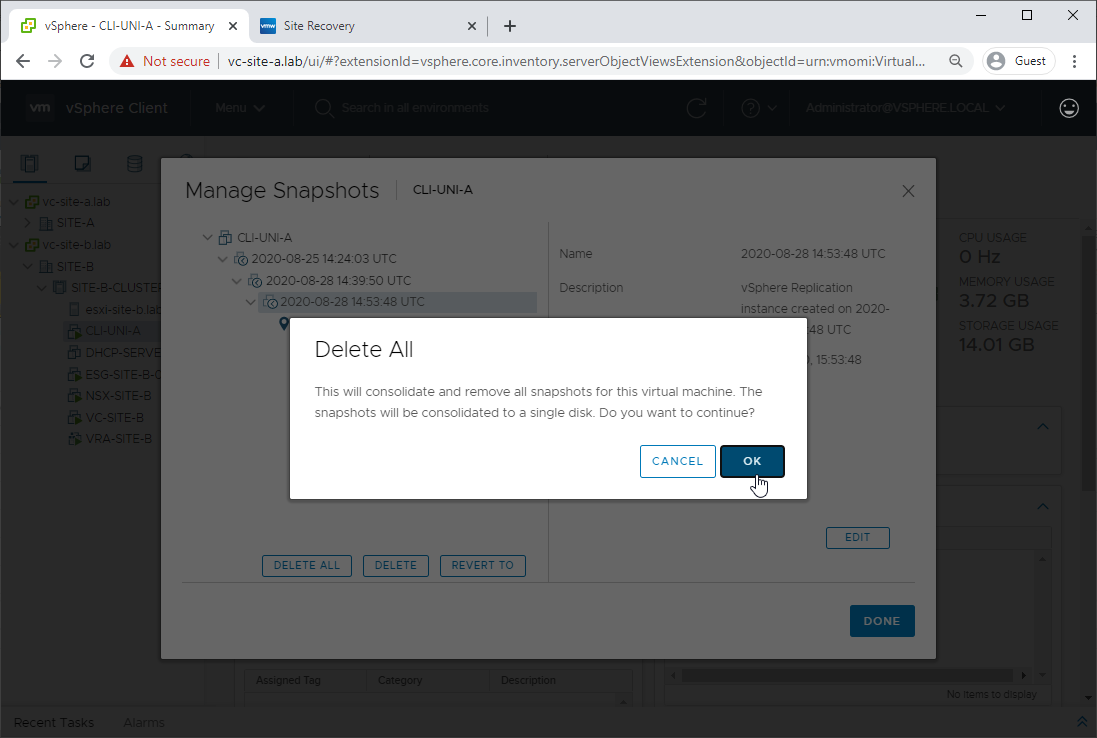
As we are good, let’s delete those old snapshots:
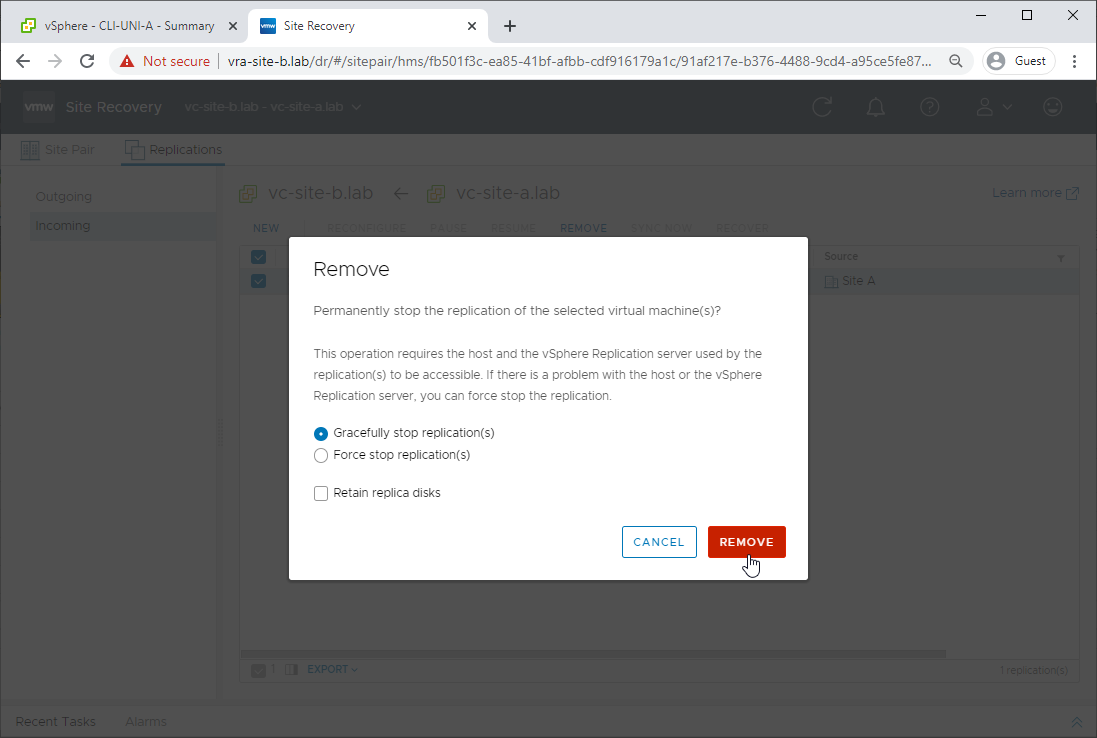
As we have recovered the VM into site B and all is good, let’s clean up replication:
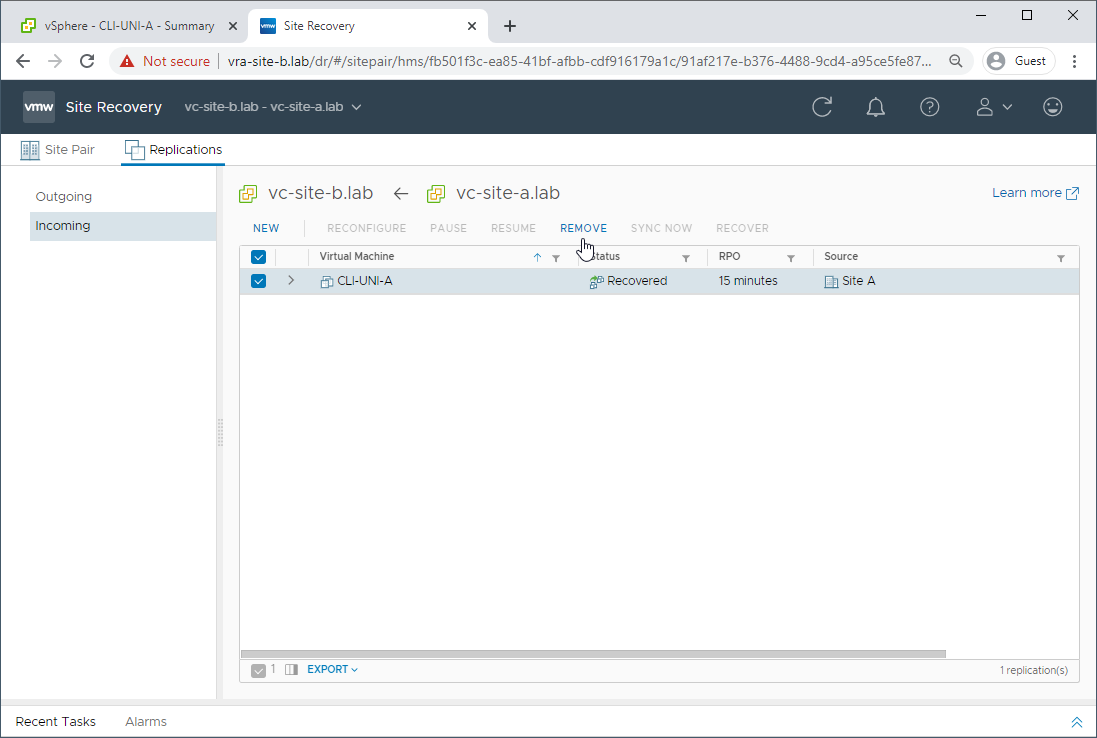
Gracefully:
Step 2: Replicate Changes Back to Primary Site
So we have a good VM, but it’s running off the network in our secondary site. How do we get it back onto our primary site and back on the network?
Here’s how.
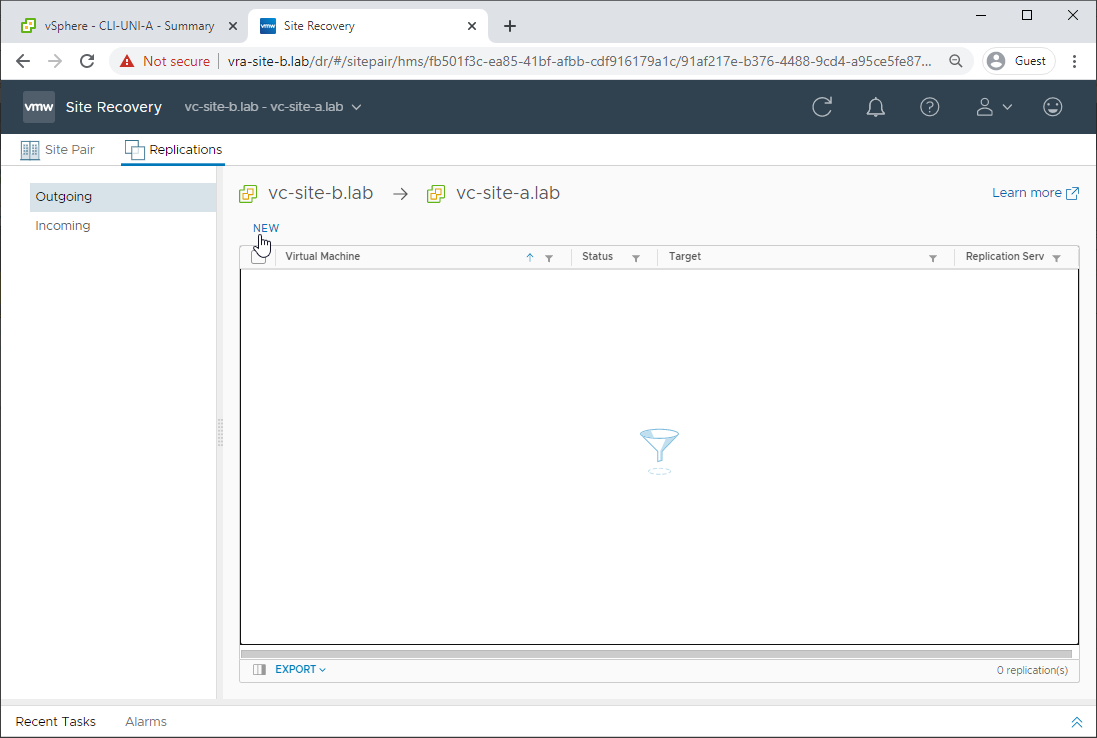
Firstly, login to the site recovery on the secondary site. From there, select Replications - Outgoing - New:
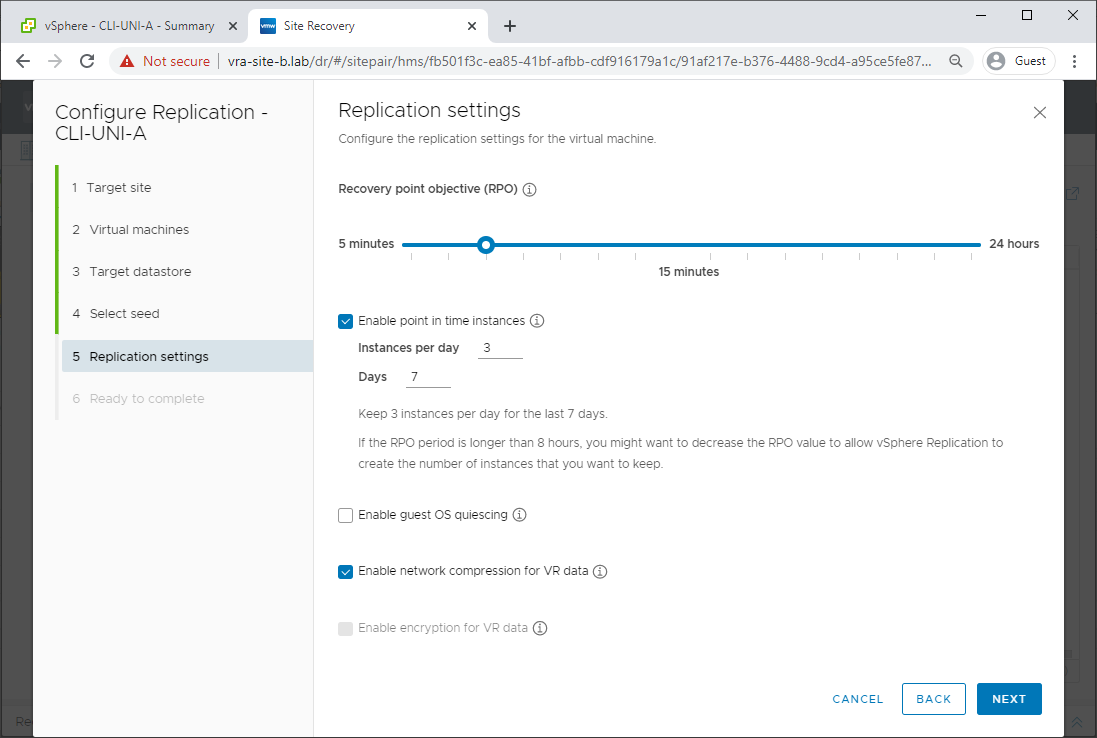
Setup replication from secondary site back to primary site, as previously completed in Part 2, however when prompted tick Select seeds:
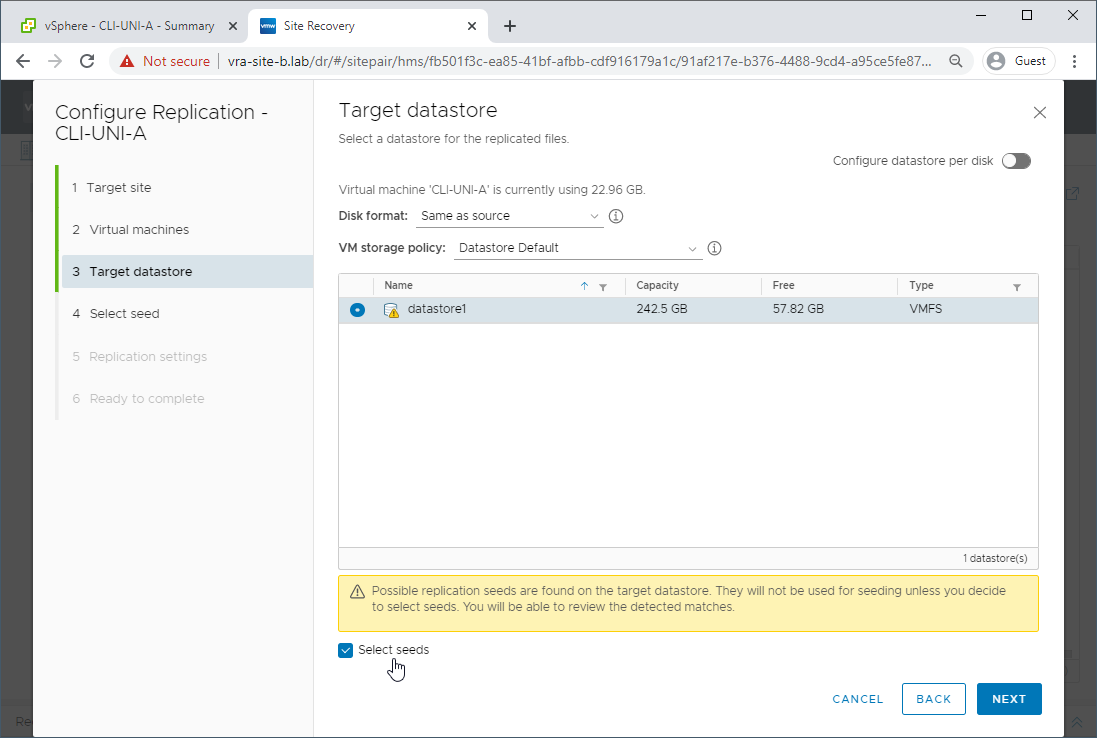
Selecting seeds will allow us to compare our working VM on our secondary site with the previously failed VM on primary site and replicate only the changes back to the primary site. Replicating just the changes back to our primary site will save on both time and network bandwidth.
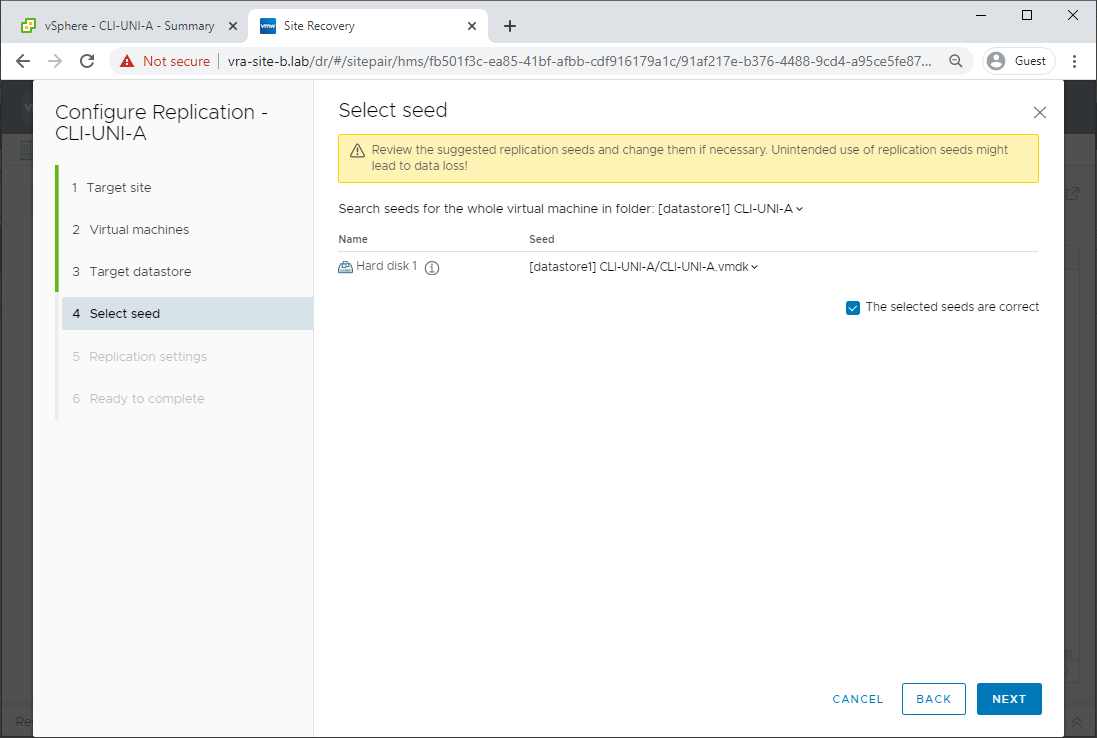
Confirm seeds are correct and tick the confirmation box:
Configure replication settings:
Review and click Finish:

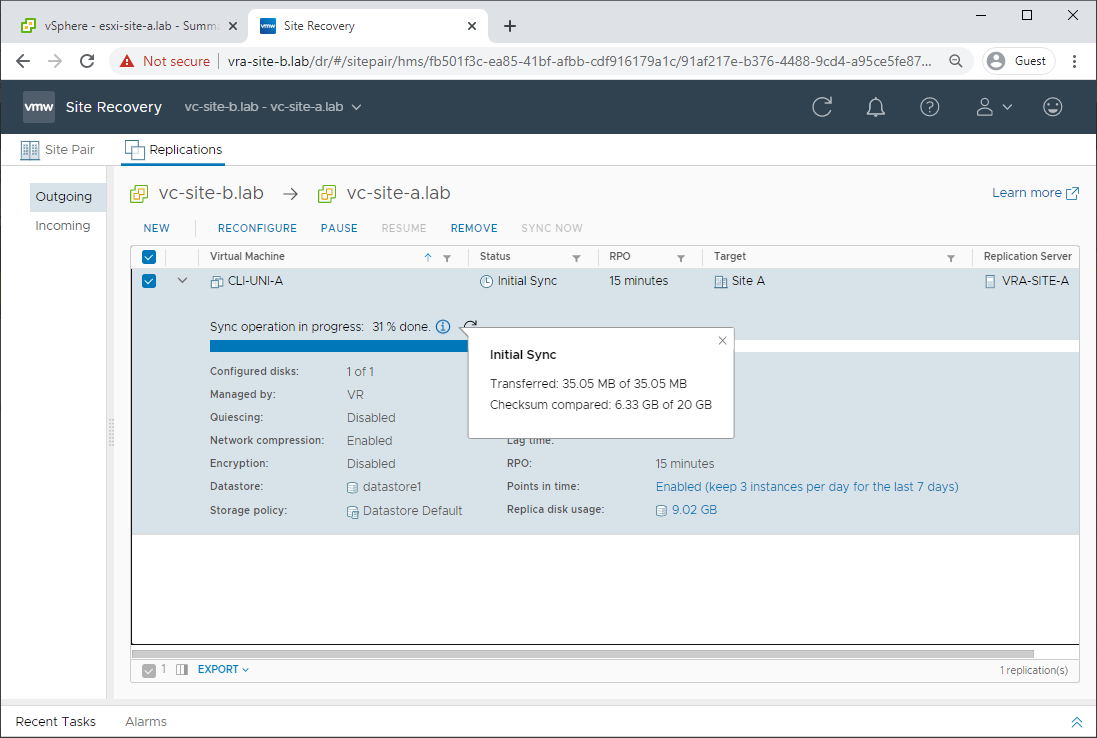
As can be seen, only changes are replicated back to the primary site:
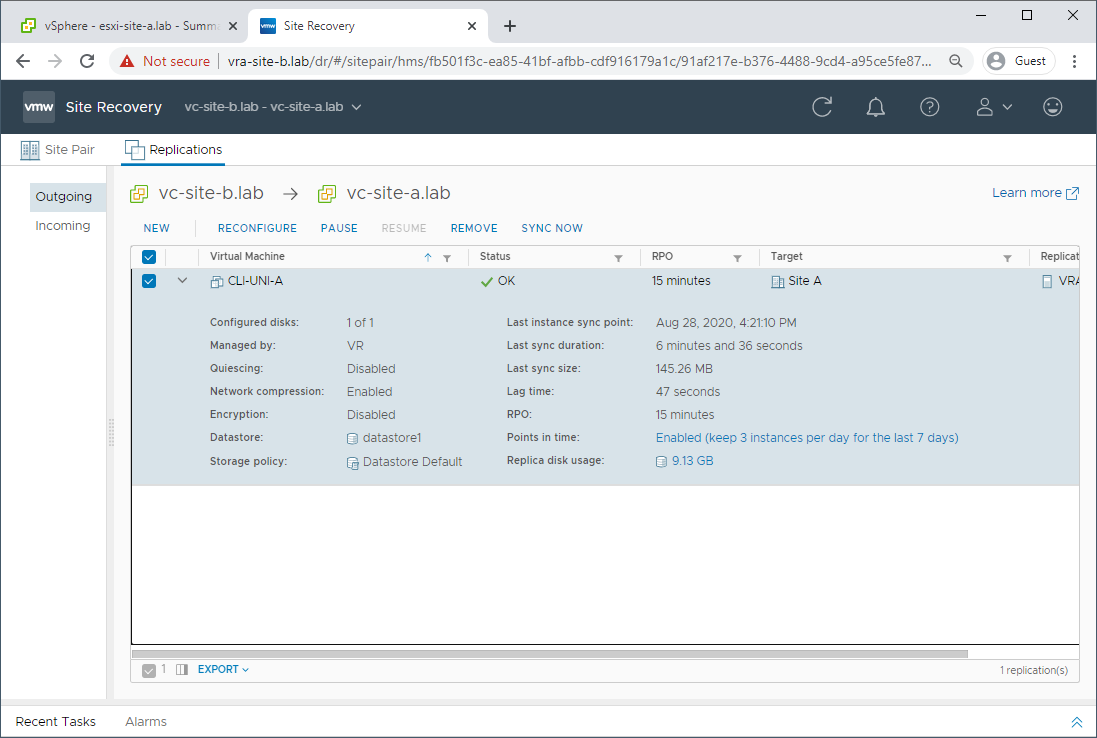
Replication from secondary site to primary site complete:
Step 3: Power on Recovered VM
Let’s power on our recovered VM back on our primary site. Looks good:
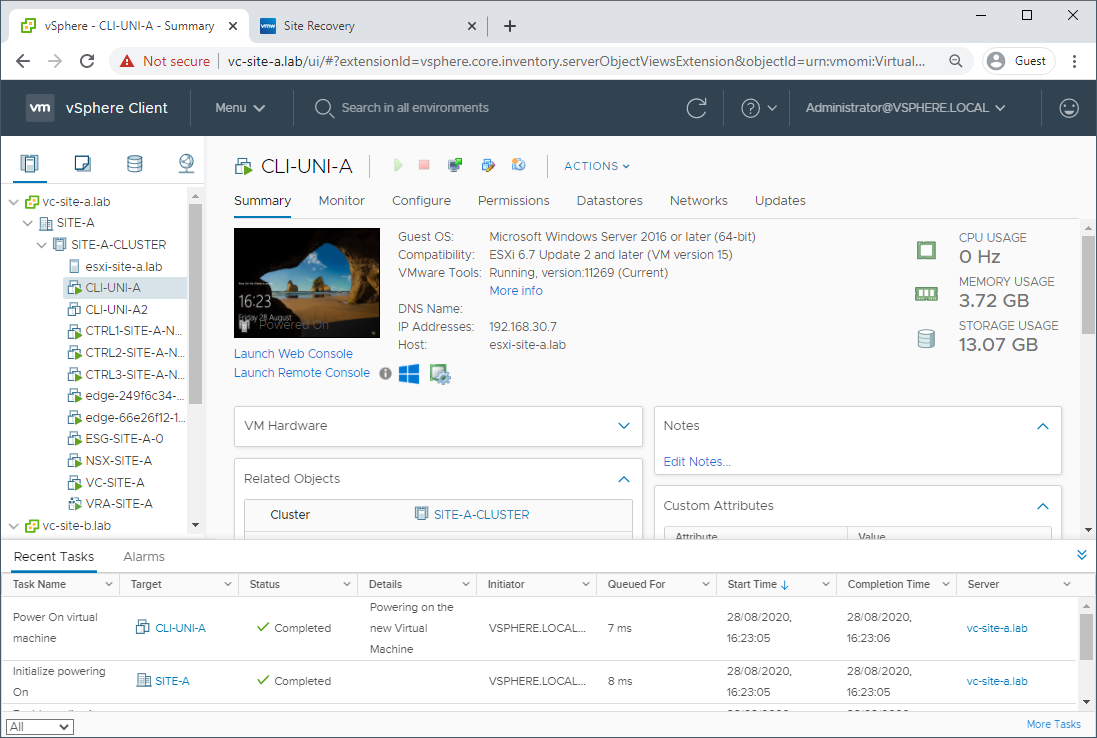
Checking for snapshots, there are none:

VM recovered, back on the network, service restored, day saved, everyone happy, ![]() bonus payment in the post
bonus payment in the post ![]()
![]()
Post Recovery Clean Up and Reprotection
A couple of house keeping jobs now that our VM bas been recovered.
Clean Up Secondary Site
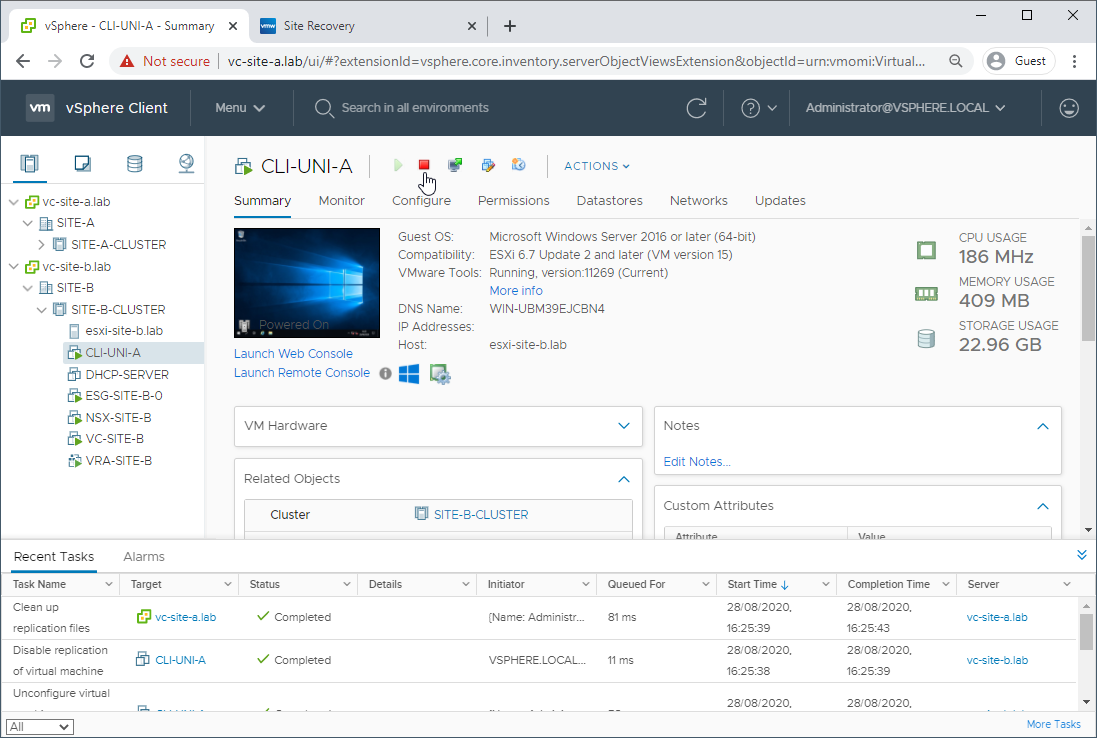
Let’s power off the replica on our secondary site:
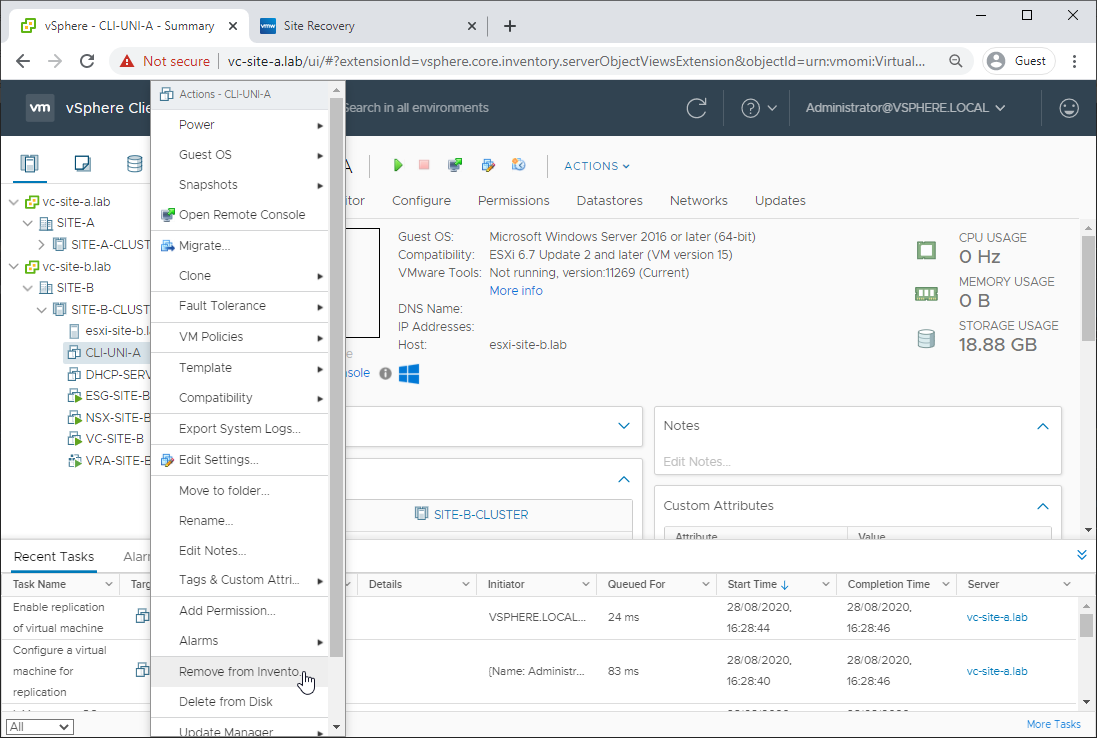
To avoid future confusion, let’s remove it from the secondary site inventory.
As you’ll see below, just removing the VM from the inventory rather than deleting it will save us time and network bandwidth later on:
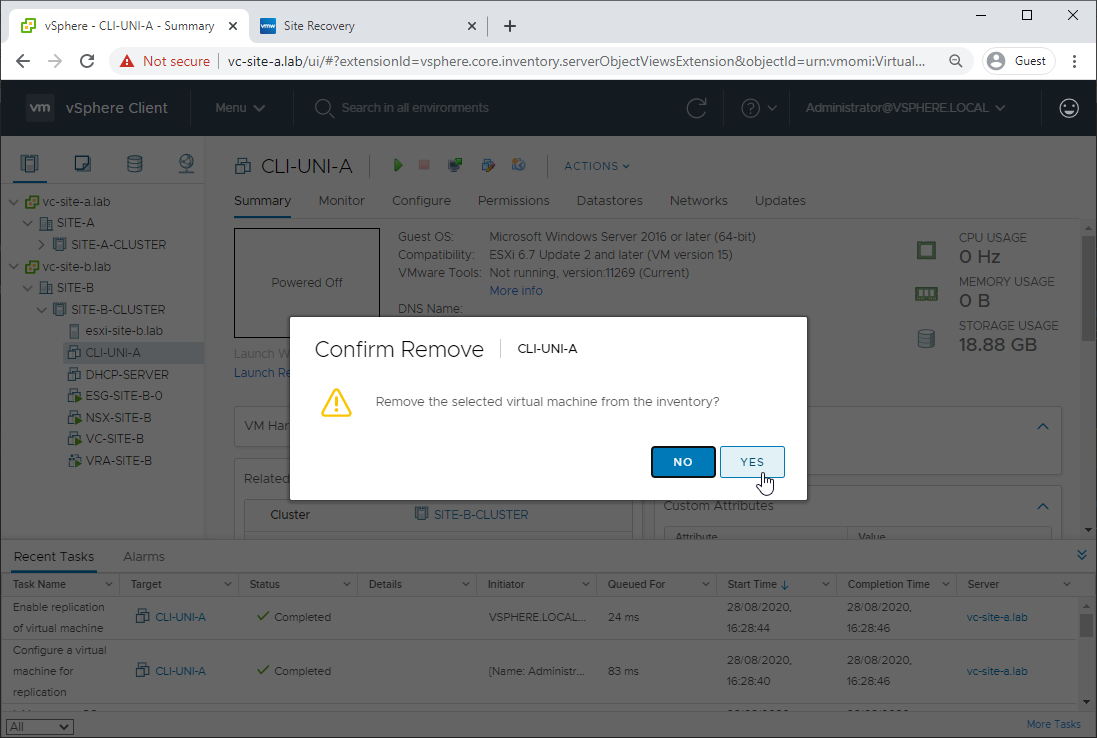
Yep, confirm removal from inventory:
Reprotection of Primary VM
As we’ve already covered configuring replication in Part 2, using seeds just above, I won’t cover that again. Suffice to say that replicating just the initial changes back to the secondary site will save both time and bandwidth (but you knew that already ![]() ):
):
aaaand we’re done:
Not only has our primary site production VM recovered, it’s also being replicated to our secondary site just as it was at the beginning of this post.
Conclusion and Wrap Up
So there we have it. In this series we (click a link to take another look):
- Discovered vSphere Replication
- Setup vSphere Replication appliances
- Configured VM replication
- Killed our primary VM
- Recovered our failed VM to our secondary / recovery site
- Replicated our recovered VM back to our primary site
- Reprotected our primary VM again
Links to the other parts of series are as follows:
- Part 1: No money, no problem: Introduction and Deployment
- Part 2: Site Pairing and Replication Configuration
- Part 3: This part - Disaster Strikes!
As we saw, recovering replicated VMs from disaster is quite a simple process.
Until next time ![]()
![]()
![]()
-Chris