


 Previously we configured a Windows 2012R2 Windows Deployment Services (WDS) Server to deploy Windows installations over the network. In case you missed it, have a read here to see what we did.
Next we upgraded our WDS server setup to also deploy VMware ESXi. Have a read here to see what we did.
Finally, we then upgraded our WDS server to allow us to quickly boot Windows Preinstallation Environment (WinPE) as discussed here to allow some quick booting diagnostics.
Today lets finish off WDS and look at booting Acronis Disk Director (ADD) via WDS server.
As the (current) latest version (version 12) of ADD does not support manipulation of Windows Sever partitions, I’m going to concentrate on ADD versions v11 and v10. Why two versions? Simple. ADD v11 supports pretty much any hardware server you boot it on apart from some elderly IBM servers. As I still get involved in supporting some pretty elderly IBM servers, I will include ADD v10 in this guide too.
The good news is that the process is exactly the same for both v10 and v11 !
Overview
Extracting Acronis Bootable Images
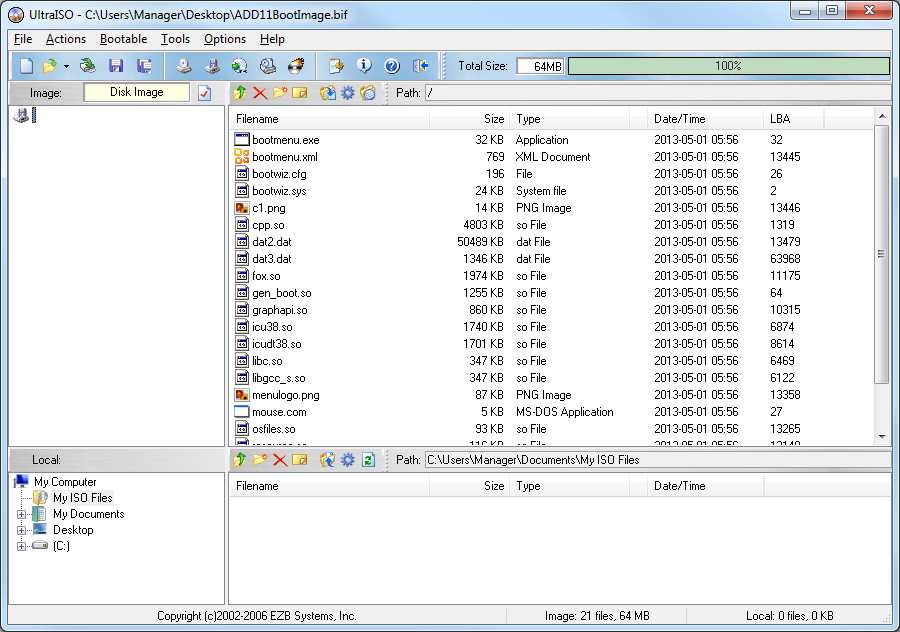
First step is to extract the requied files from your Acronis ISO images. For this I am going to use UltraISO. As you can see there is a trial version available.
On first opening an ADD ISO image, there isn’t a lot to be seen:
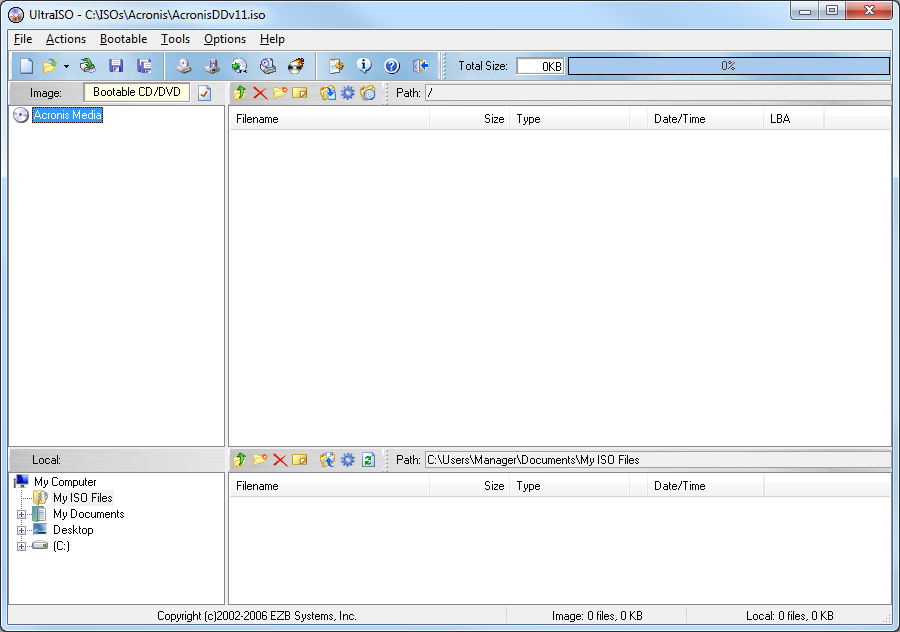
No problem. The contents are hidden.
Click Bootable and Save Boot File…
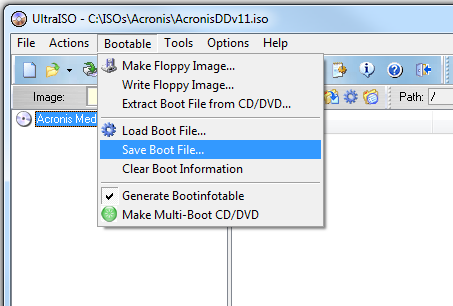
Give the file a name and hit save:
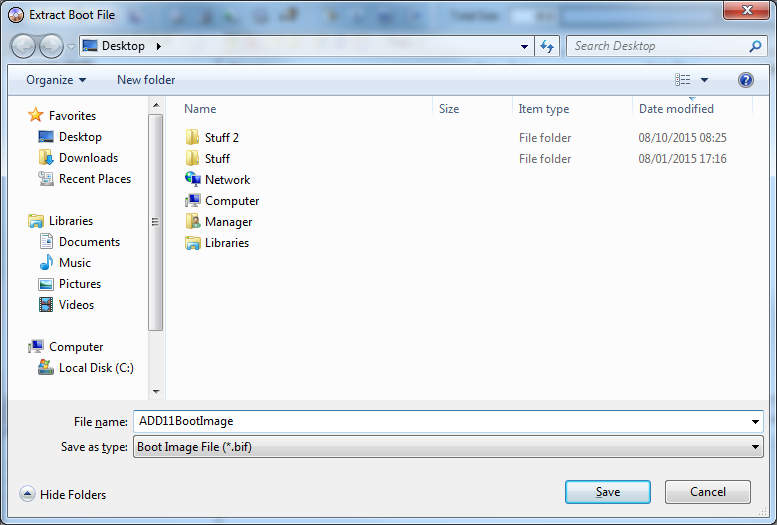
Open the file saved above in UltraISO:
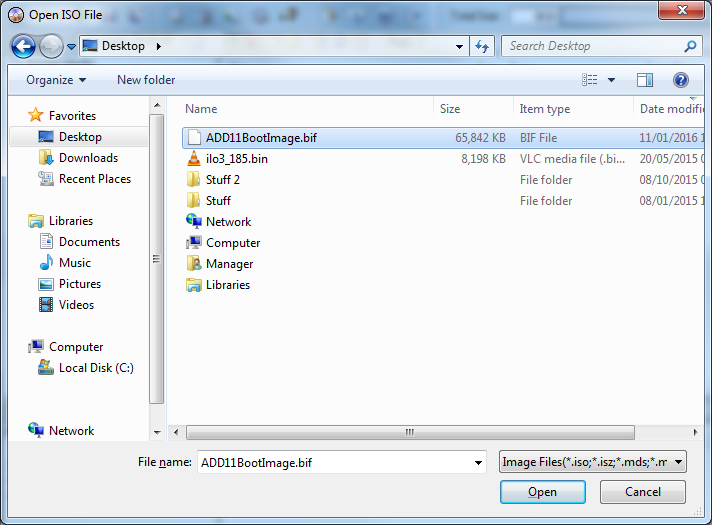
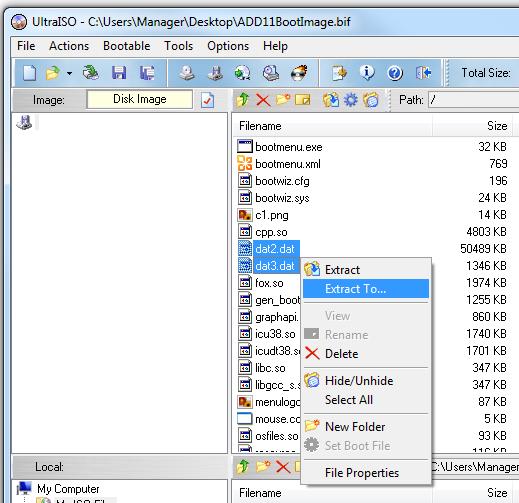
Hey presto, we have some files:
Find and extract the files dat2.dat and dat3.dat
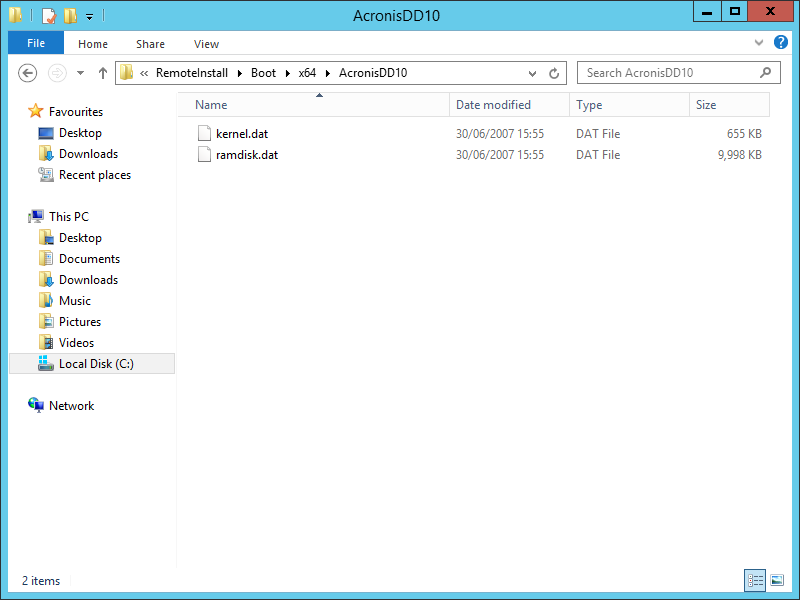
Rename the files as follows:
- dat2.dat » ramdisk.dat
- dat3.dat » kernel.dat
Adding Acronis Bootable Images to WDS
Create a folder on your WDS server under C:\RemoteInstall\Boot and copy the two dat files into it. For example, I went with C:\RemoteInstall\Boot\x64\AcronisDD11 for v11:

And C:\RemoteInstall\Boot\x64\AcronisDD10 for v10:
Finally, add the following to your C:\RemoteInstall\Boot\x64\pxelinux.cfg\default file:
# Option 4 - Boot Acronis Disk Director 11.0
LABEL Acronis DD11
      MENU LABEL Acronis ^Disk Director 11.0
      KERNEL /AcronisDD11/kernel.dat
      APPEND initrd=/AcronisDD11/ramdisk.dat ramdisk_size=65536 vga=791 root=/dev/ram0 quiet

# Option 5 - Boot Acronis Disk Director 10.0
LABEL Acronis DD10
      MENU LABEL ^Acronis Disk Director 10.0
      KERNEL /AcronisDD10/kernel.dat
      APPEND initrd=/AcronisDD10/ramdisk.dat ramdisk_size=65536 vga=791 root=/dev/ram0 quiet
Dont forget to also copy the files to C:\RemoteInstall\Boot\x86\ folders and to make the equivalent changes to your C:\RemoteInstall\Boot\x86\pxelinux.cfg\default file to add support for 32 bit machines.
Testing Acronis Disk Director Boot from Windows Deployment Services Server
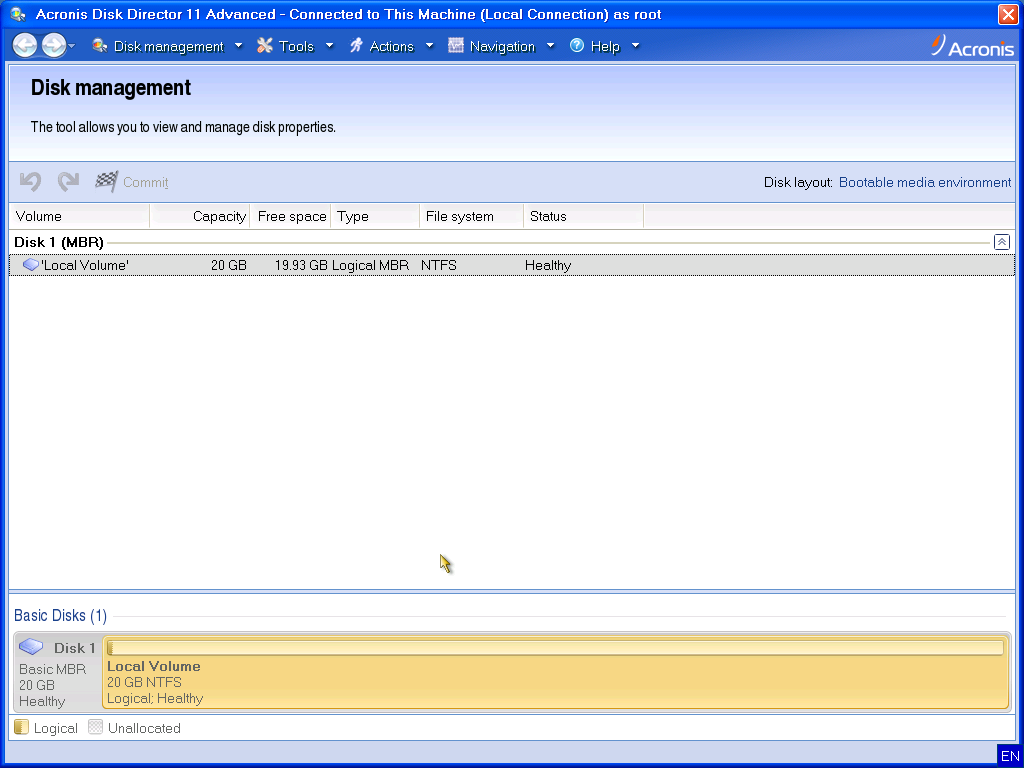
Acronis Disk Director v11
Lets take this for a test spin:
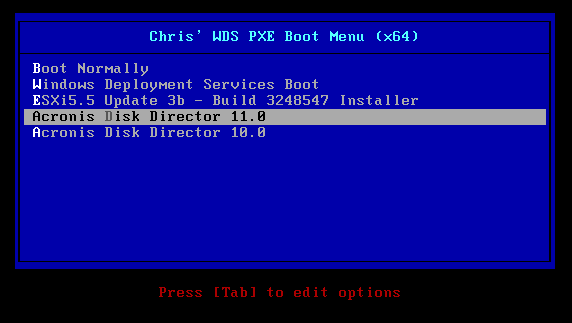
Looking good:

Yep, all good:
Acronis Disk Director v10
Looking good:
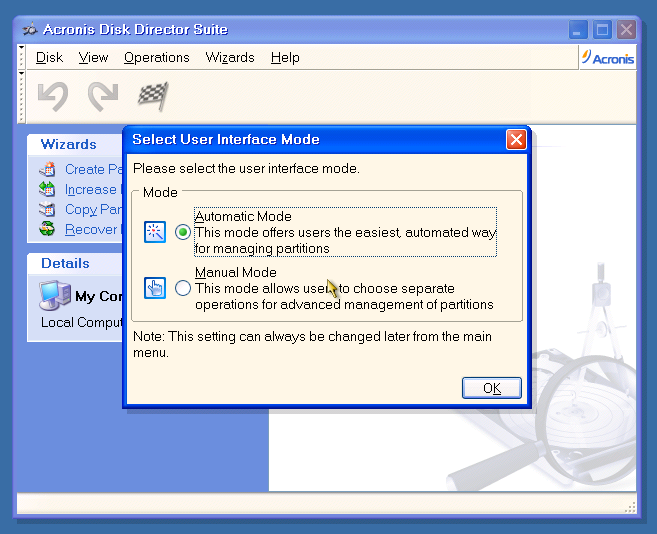
Yep, all good:

So there we have it. WDS done!
-Chris