


 OK, this is the kind of thing you may only do the once, whilst on a training course just to confirm that yes, you know about Windows Deployment Services (WDS). Having not really looked at this before and having heard that prior itterations of WDS such as Remote Installation Services etc were - well lets just say - painful to set up and administer, it is not hugely surprising that I had not looked at WDS before.
What is WDS?
Windows Deployment Services (WDS) enables you to deploy Windows operating systems over the network, which means that you do not have to install each operating system directly from a CD or DVD.
Well let me set the record straight. WDS is pretty cool.
I can think of plenty of occasions where I need to quickly deploy a new build ASAP and not just Windows (more on that later). I could, using VMware workstation, set up a Windows 2012R2 VM with WDS on my laptop, add whatever images I require to the VM, hook my laptop up to a build network and then use my VM to deploy builds to machines on the local network that required building.
But first things first, lets run through the setup and configuration of a WDS server.
Overview
WDS Setup pre-Amble: Install Windows 2012R2
OK, so I’m not going to cover a basic Windows 2012R2 setup here. There are plenty of guides else where for that.
If you need a copy of Windows 2012R2 to play with here you go.
WDS Setup: Install DHCP and WDS Roles
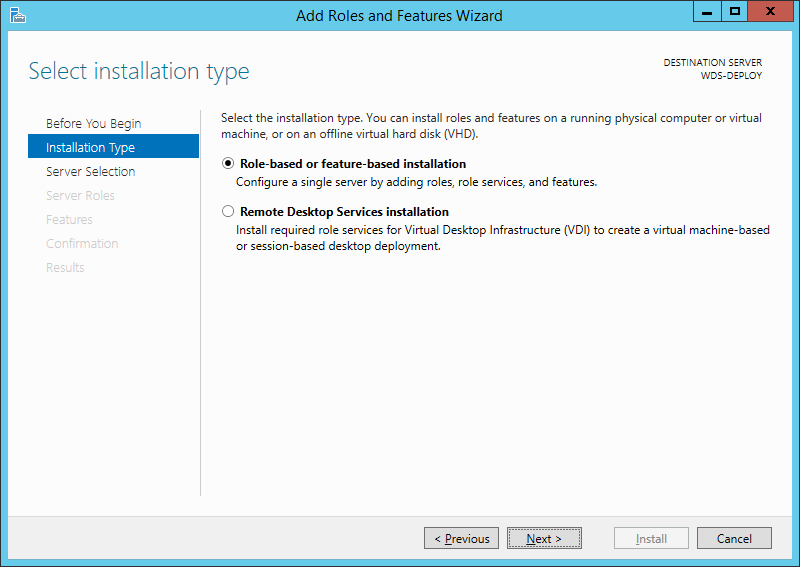
Open Server Manager and choose “Add Roles and Features”. Click Next:

Ensure “Role Based…” is selected and click Next:
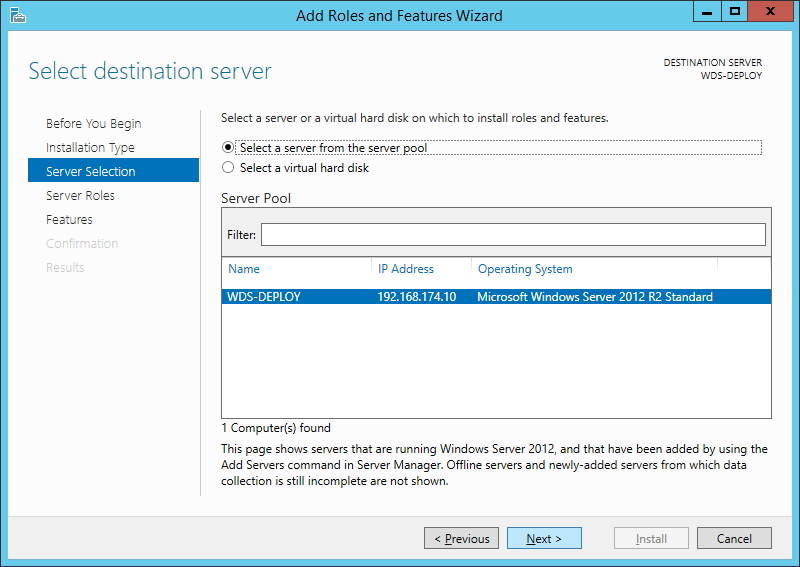
Ensure the local server is selected and click Next:
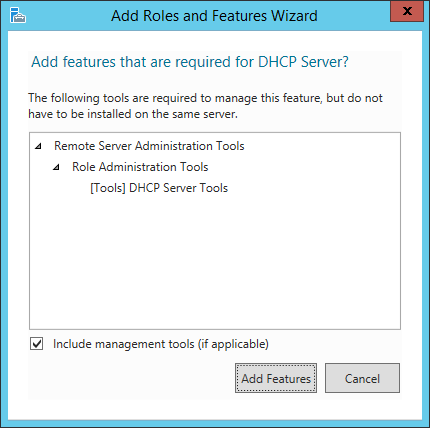
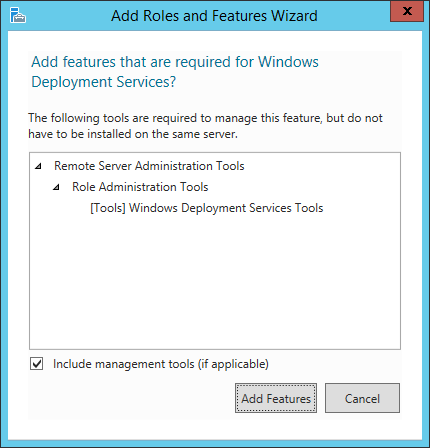
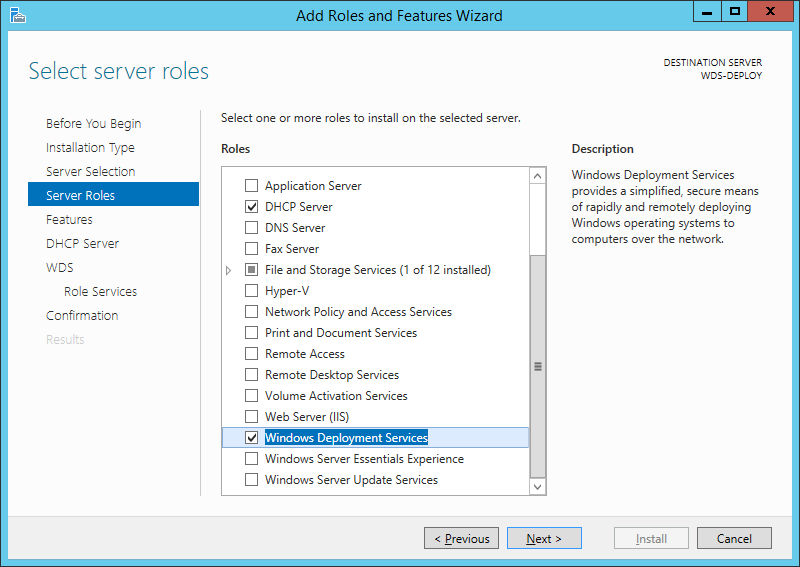
From the Server Roles selection, select DHCP Server. From the pop up click Add Features:
From the Server Roles selection, select Windows Deployment Services. From the pop up click Add Features:
Double check that both DHCP Server and Windows Deployment Services are ticked and click Next:
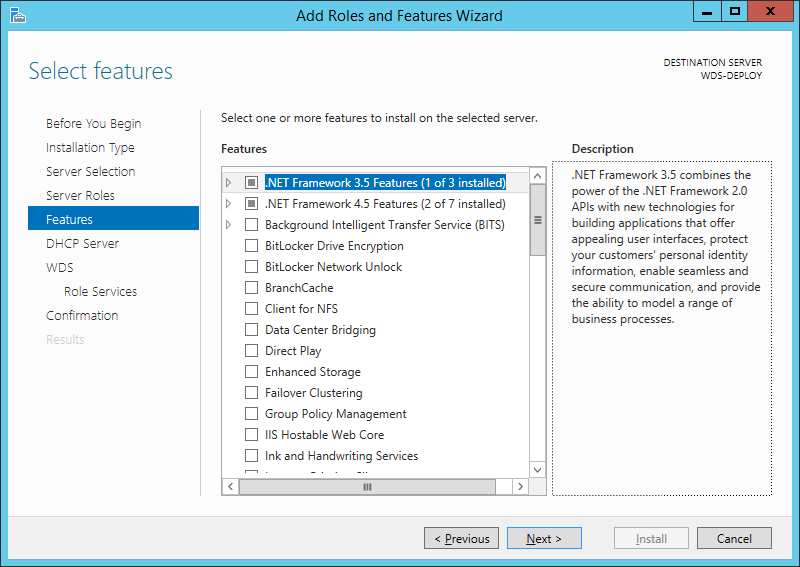
Click Next at the Select Features dialogue:
Click Next at the DHCP Server dialogue:
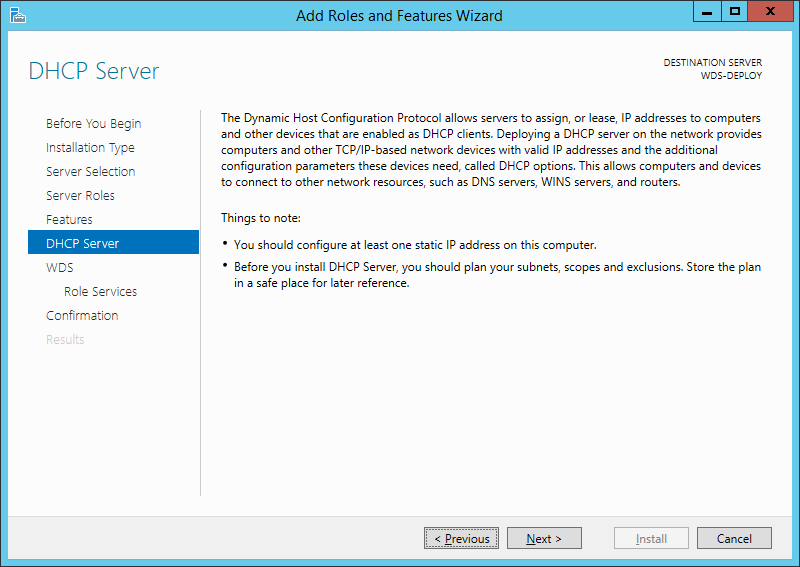
Click Next at the DHCP Server dialogue:
Click Next at the WDS dialogue:

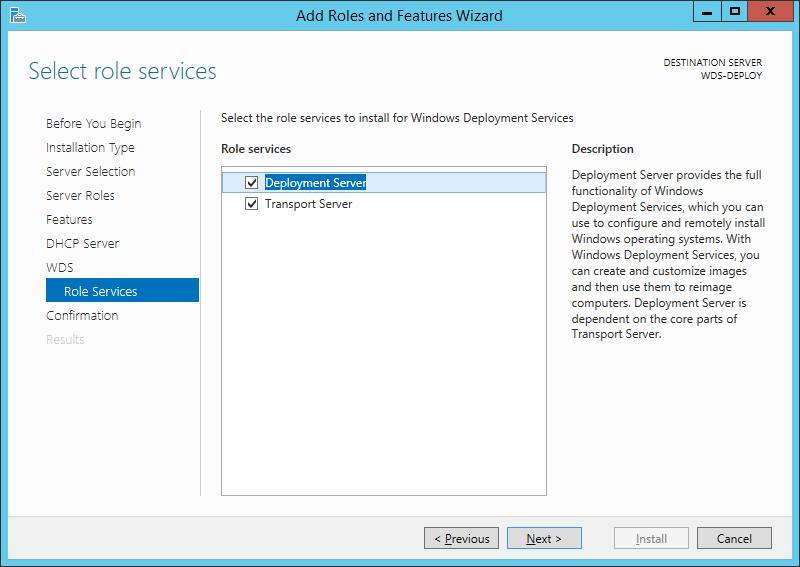
Ensure both WDS Role Services are ticked and click Next:
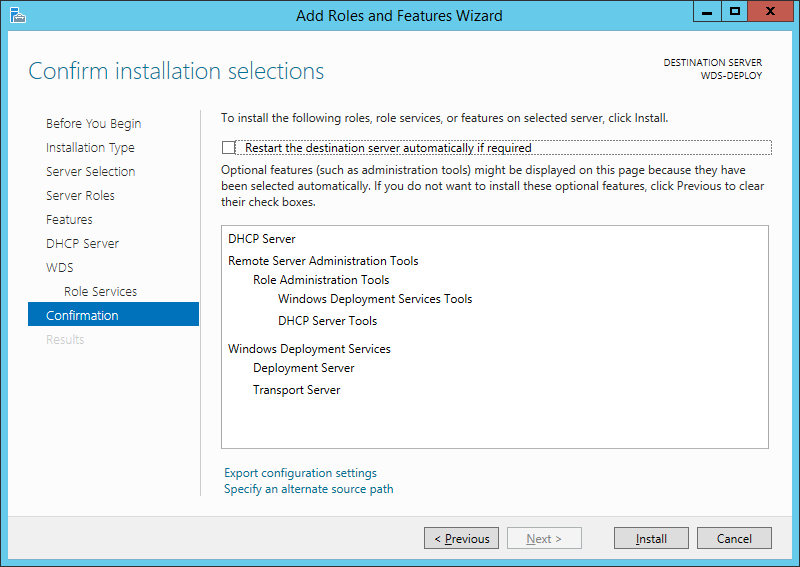
Final double check and click Install:
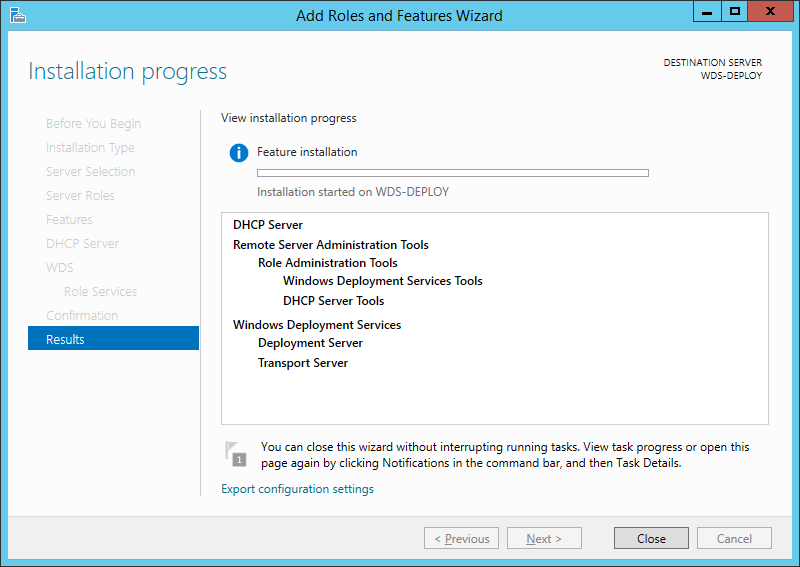
The DHCP and WDS Roles are installed:
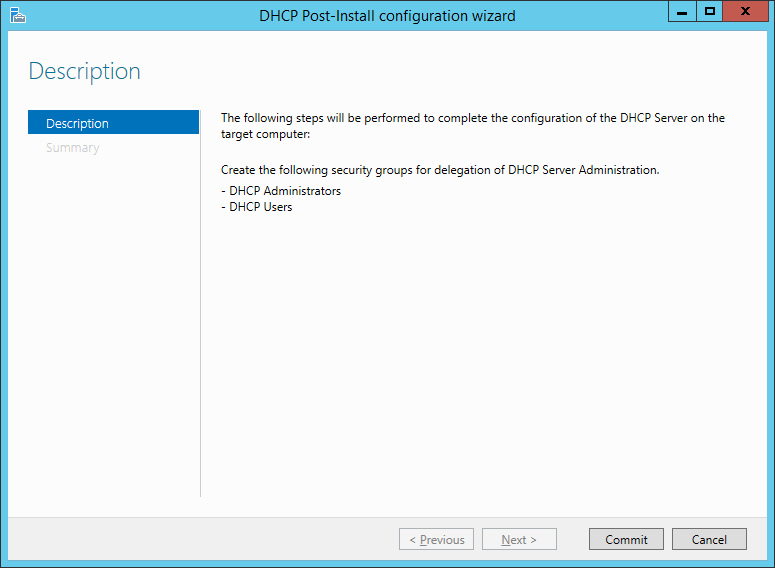
Once installation is complete, click “Complete DHCP configuration”:

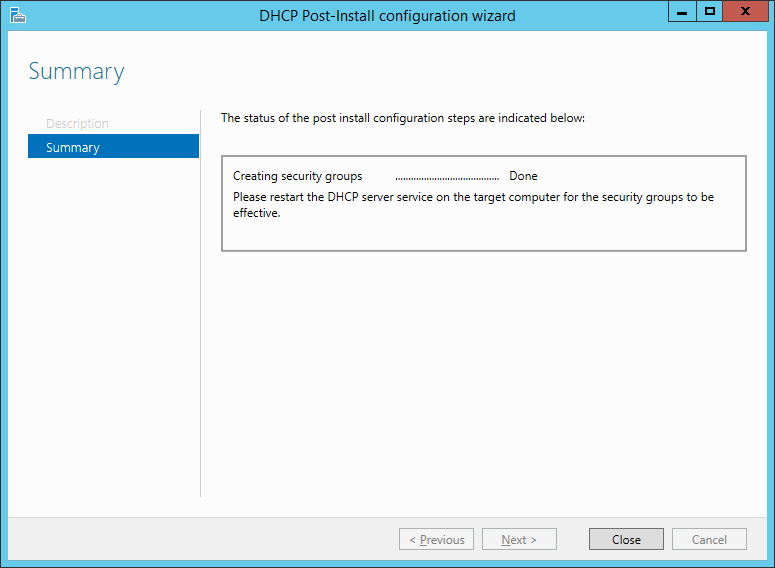
At the DHCP post-installation dialoguge, click Commit:
Finally click Close:
Both DHCP and WDS server roles are now installed.
WDS Setup: Configure DHCP Server
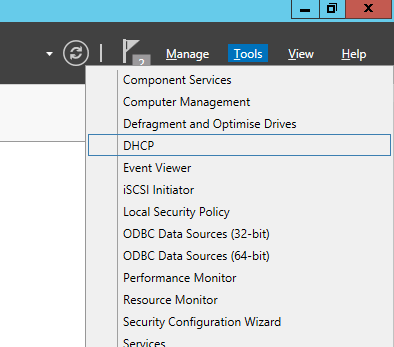
Open Server Manager and choose Tools and DHCP:
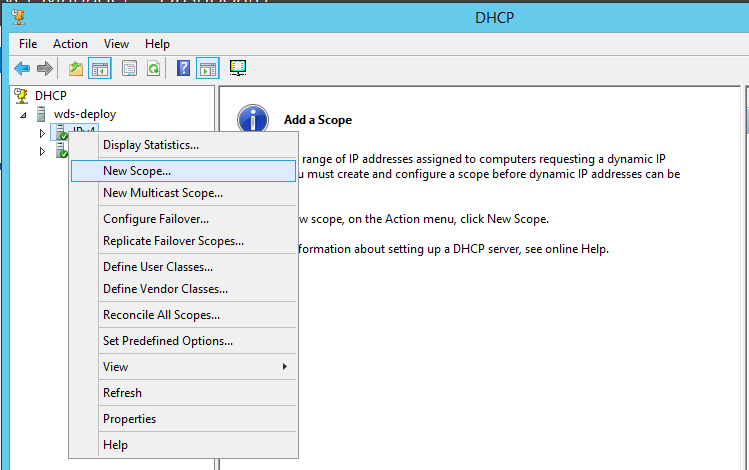
In the left-hand pane open your computer, right click IPv4 and choose New Scope:
Click Next:
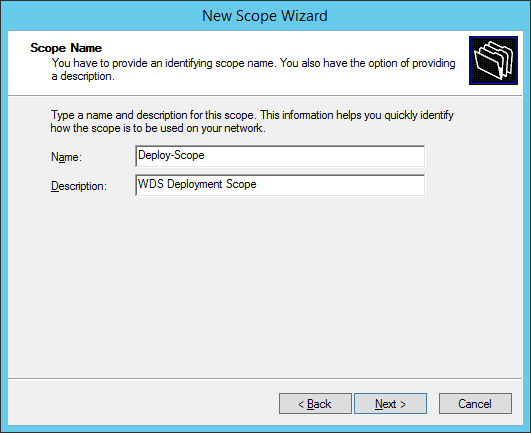
Supply Name and Description:
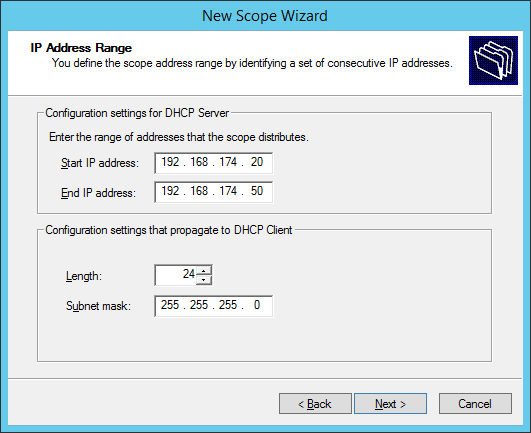
Enter start and end IP adresses (make sure that these are in the same subnet as your WDS server):
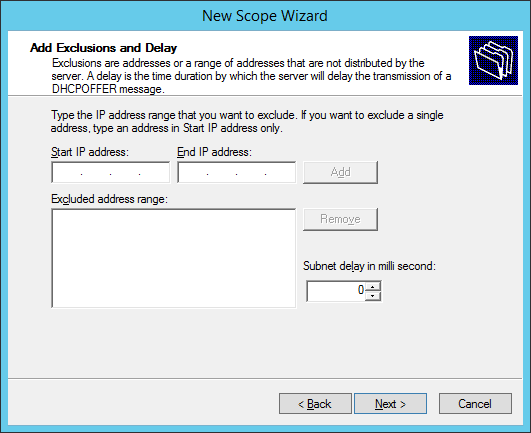
Click Next at the Exclusions dialogue:
Enter a Lease Duration. I’ve selected 2 hours:

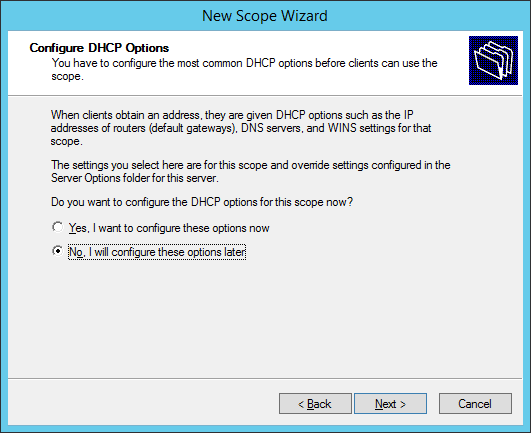
At Configure Options dialogue, select “No, I will configure these options later”:
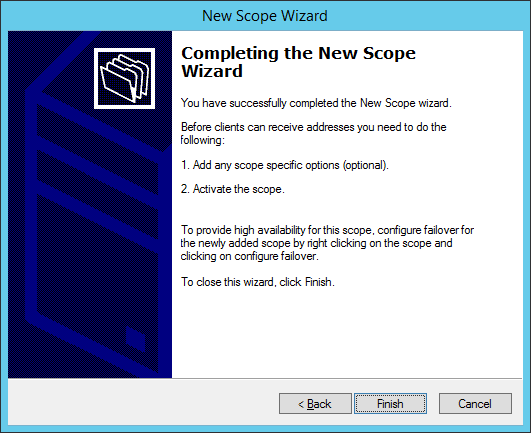
Click Finish to complete the wizard:
Right click your newly created DHCP scope and choose Activate:
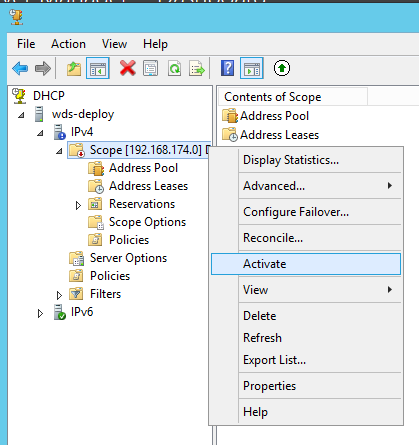
DHCP server configuration is now complete.
WDS Setup: Configure WDS Server
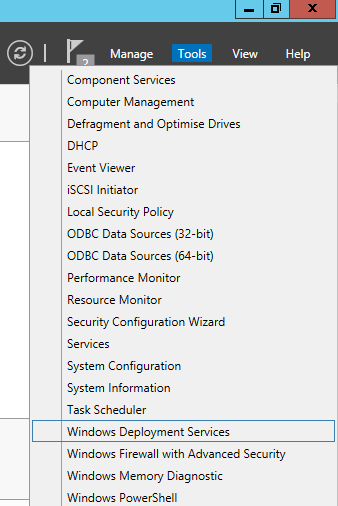
Open Server Manager and choose Windows Deployment Services:
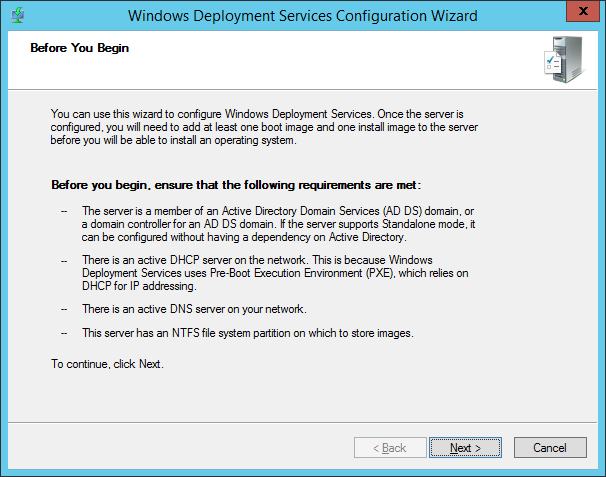
In the left-hand pane find your computer, right click and choose Configure Server:

Click Next:
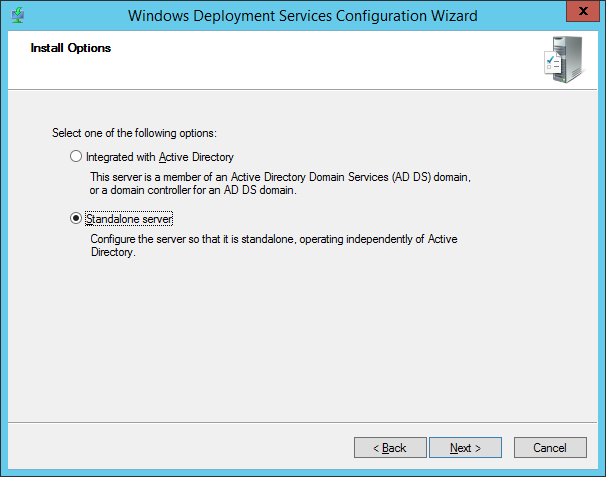
Click Standalone Server:
Enter the path for the remote installation folder:
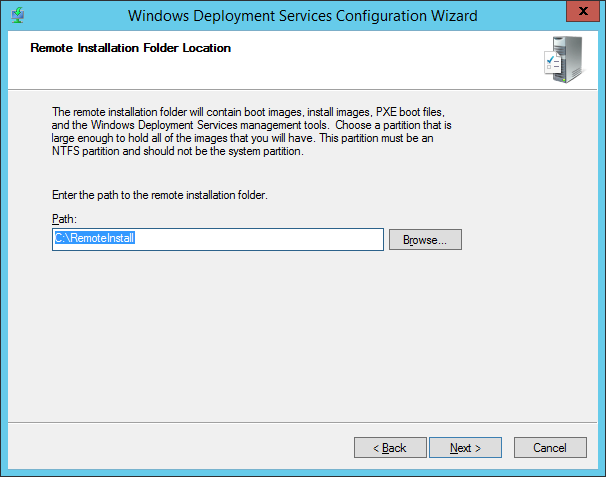
If you selected a folder on C:\, click Yes:

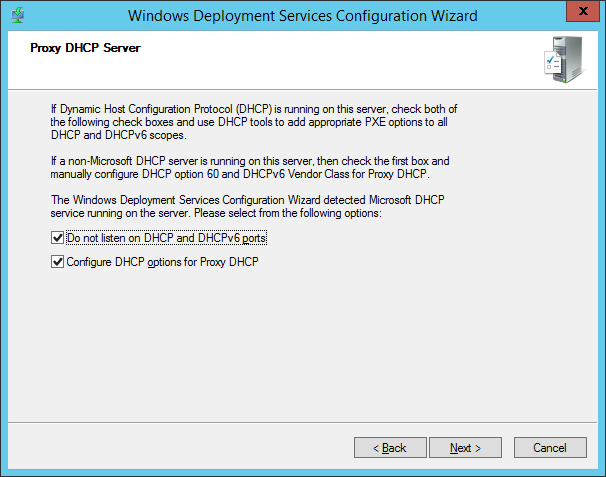
Ensure that both “Do not listen on DHCP and DHCPv6 ports” and “Configure DHCP options for Proxy DHCP” are both ticked and click Next:
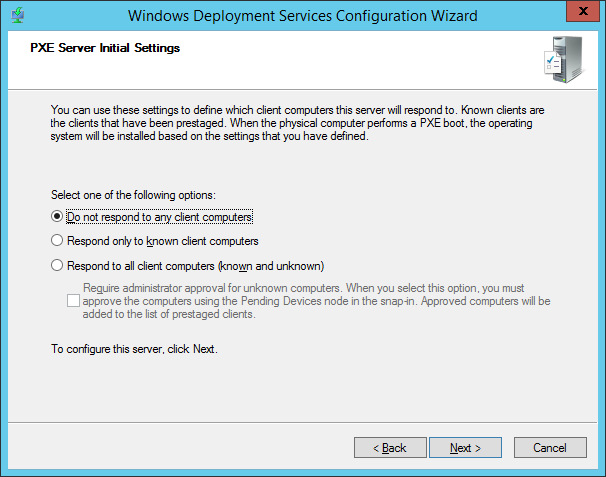
Ensure that “Do not respond to any client computers” is selected and click Next:
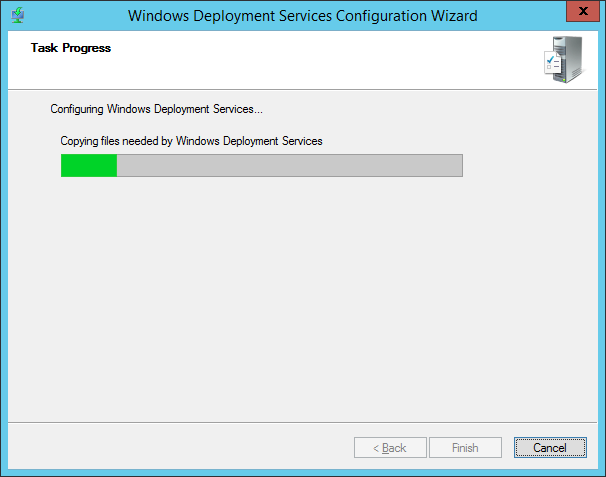
Deployment services will then configure:
Right click your server and choose All Tasks and Start. The WDS service will start:
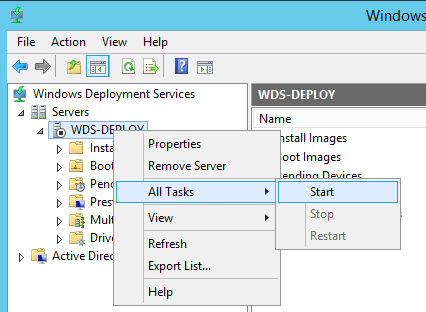
WDS server configuration is now complete.
WDS Setup: Load a Windows Image for Deployment
Phew! OK, so server configured. Lets load a Windows image and see if our deployment server ..er.. deploys. First step is to load an image for the server to deploy. As we’ve got the Windows 2012R2 media to hand, lets use that.
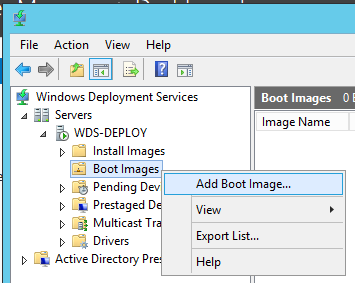
Open Server Manager and choose Windows Deployment Services. In the left-hand pane find your computer, open the tree, right click Boot Images and choose Add Boot Image:
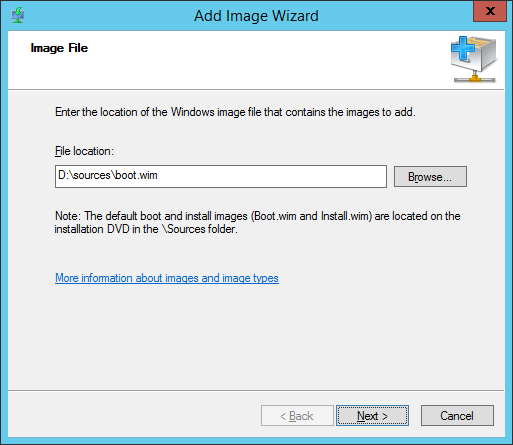
Insert your 2012R2 DVD (or mount the iso file on your VM), choose boot.wim from the \Sources folder and click Next:
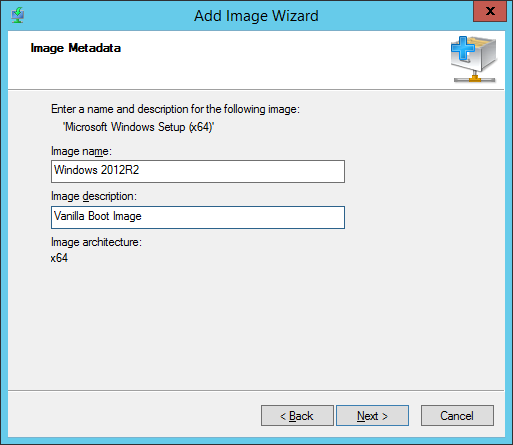
Enter name and description for our image and click Next:
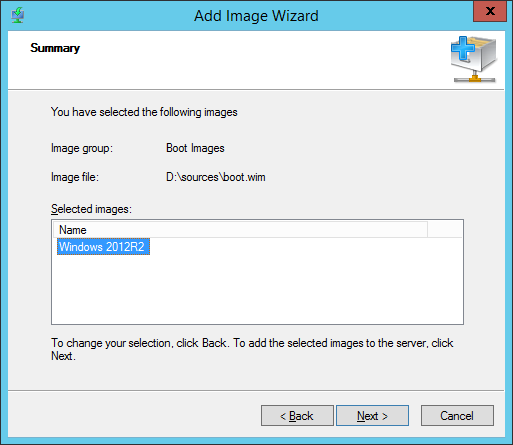
Click Next:
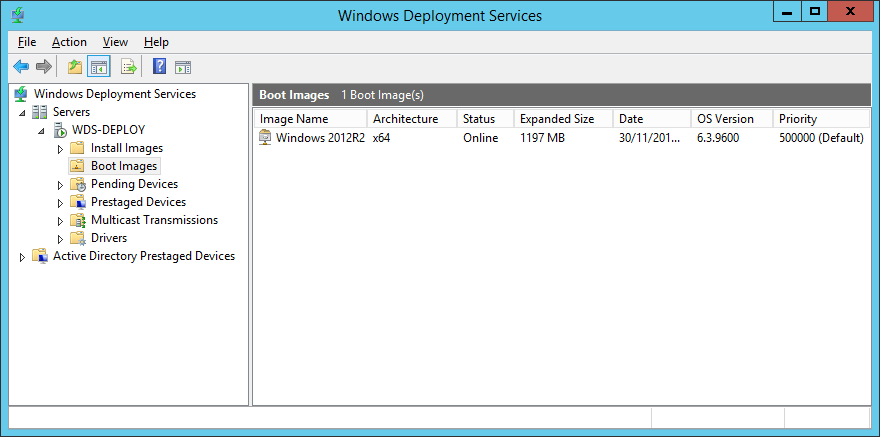
Check the boot image appears OK:
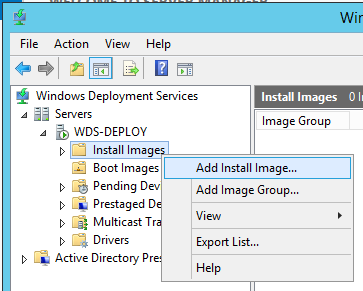
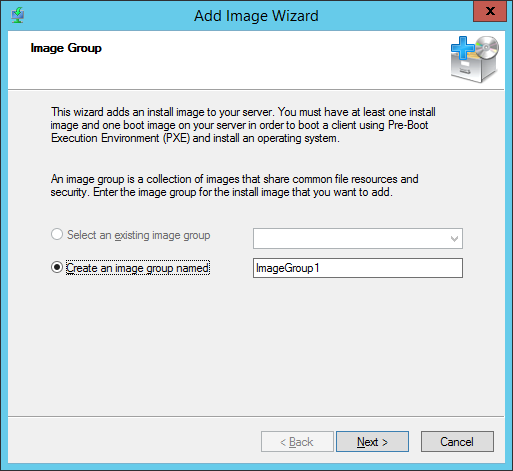
Right click Install Images and choose Add Install Image:
Create an install image group:
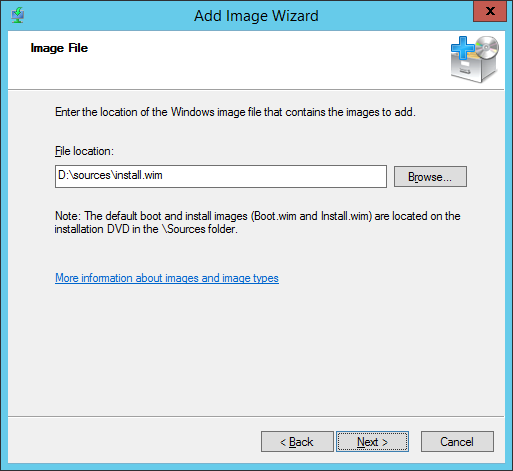
Choose install.wim from the \Sources folder of your inserted 2012R2 DVD and click Next:
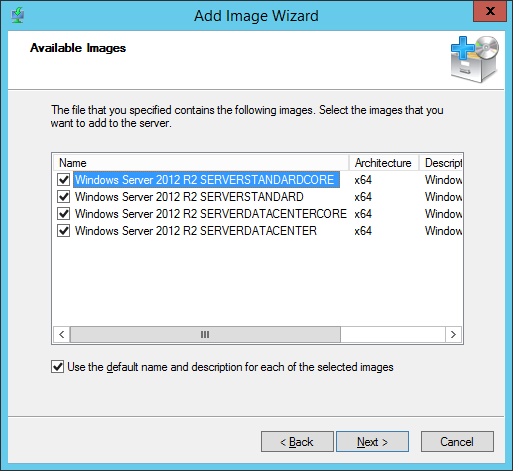
Check that some 2012R2 install images are found and click Next:
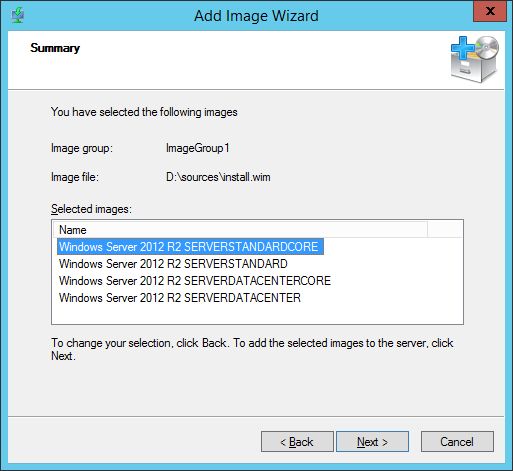
Confirm and click Next:
The images are imported. Click Finish when done:
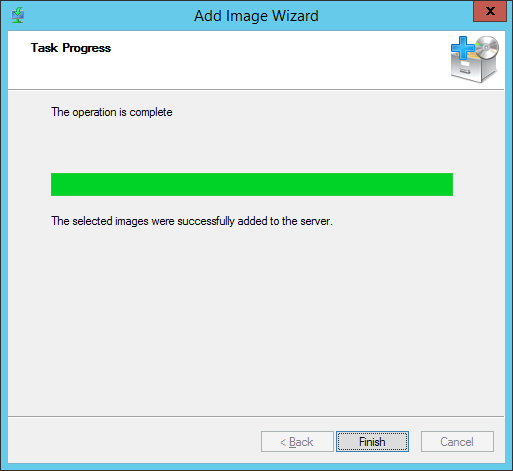
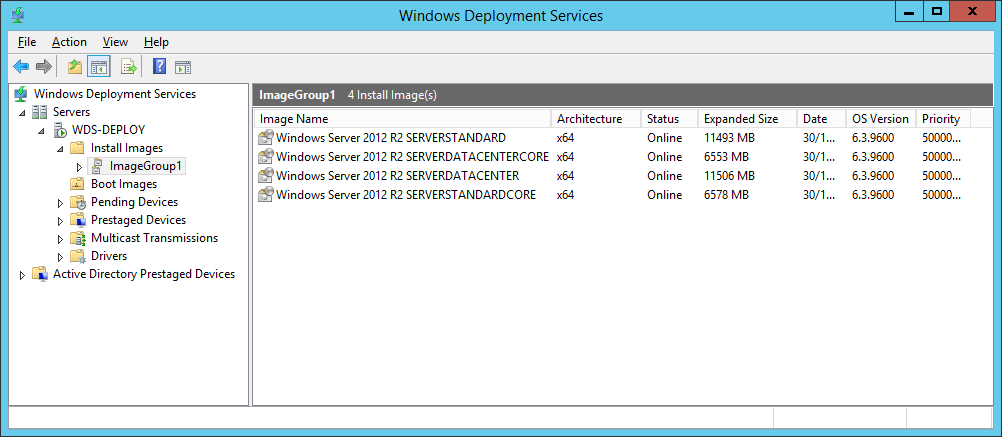
Check the install images appear OK:
Testing a WDS Network Deployment
Lets go test this out!
I’m using a VMware virtual machine to test in the first instance. If you want to configure your VMware VM to PXE boot from the network have a check of VMware KB: Network Boot of Virtual Machines
Looking good. Press F12 for network service boot when prompted:
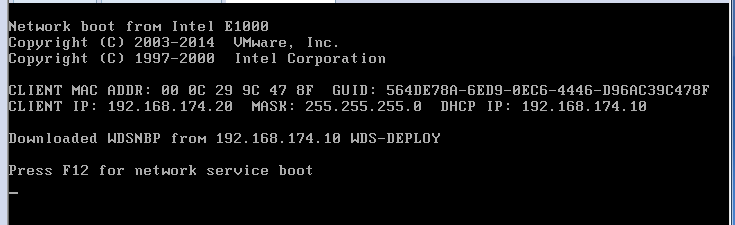
Loading boot files from the WDS:

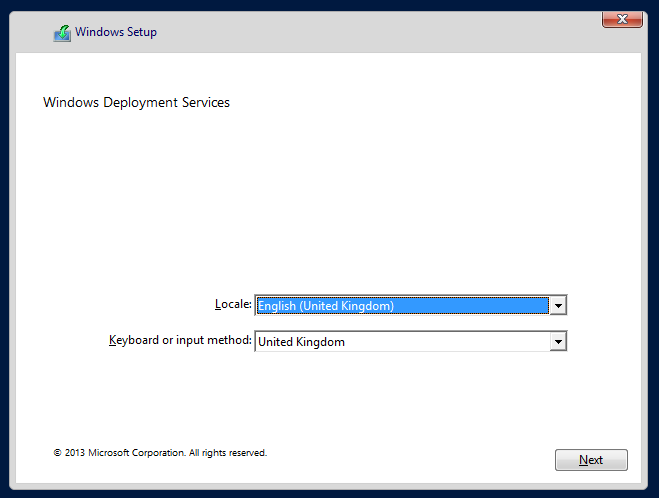
Welcome to WDS. Click Next:
Connect to WDS Server using an administrative account and password:

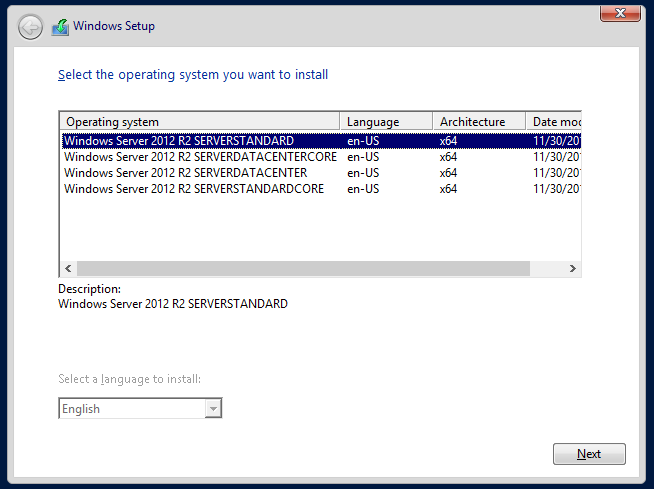
Choose an install image to deploy and click Next:
From now on in, the rest of the Windows 2012R2 install process follows that of the DVD install process; but faster… Much faster!!
So there you have it. PXE boot and a Windows 2012R2 server install. Simples! :o)
Next time, deploying VMware ESXi (check it out here) and Windows PE via WDS.
-Chris