


 Last time we looked at deploying an OpenVPN server on pfSense. This time, let’s look at setting up our clients to access the VPN server.
If you haven’t had time to check out how we configured our OpenVPN server, feel free to take a look.
Luckily enough once again, this is where the pfSense team have done the heavy lifting for us making our life so much easier! Lets get started.
Overview
OpenVPN Client Export Utility
The OpenVPN Client Export utility is an add-on package for pfSense. Once installed, it can automatically create a Windows OpenVPN client installer to download, or it can generate configuration files for Android, Apple iOS, create Viscosity bundles for MAC OSX and others. Lets look at installing and using this add-on.
Installing OpenVPN Client Export Utility Package
Log onto your pfSense server created last time and navigate to System / Package Manager / Available Packages and search for “openvpn”:
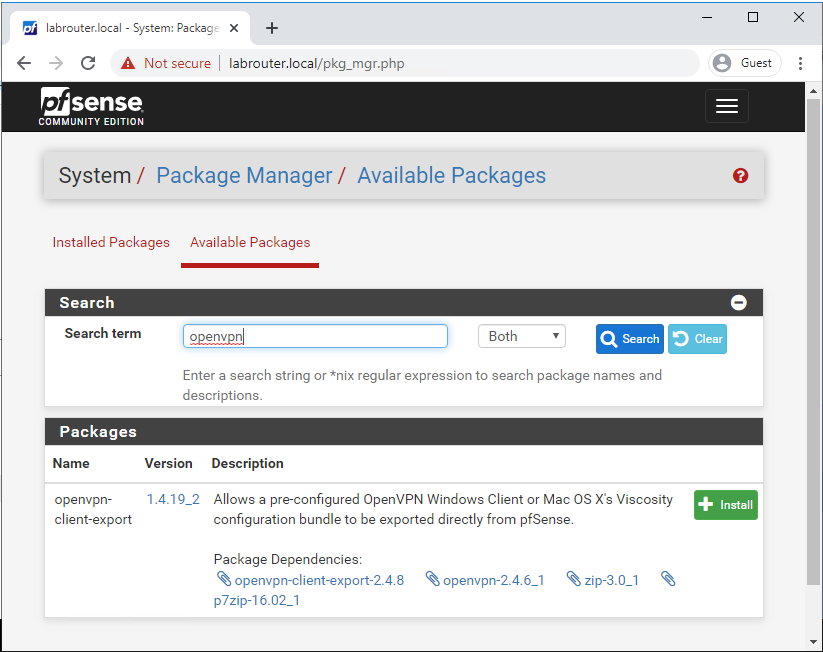
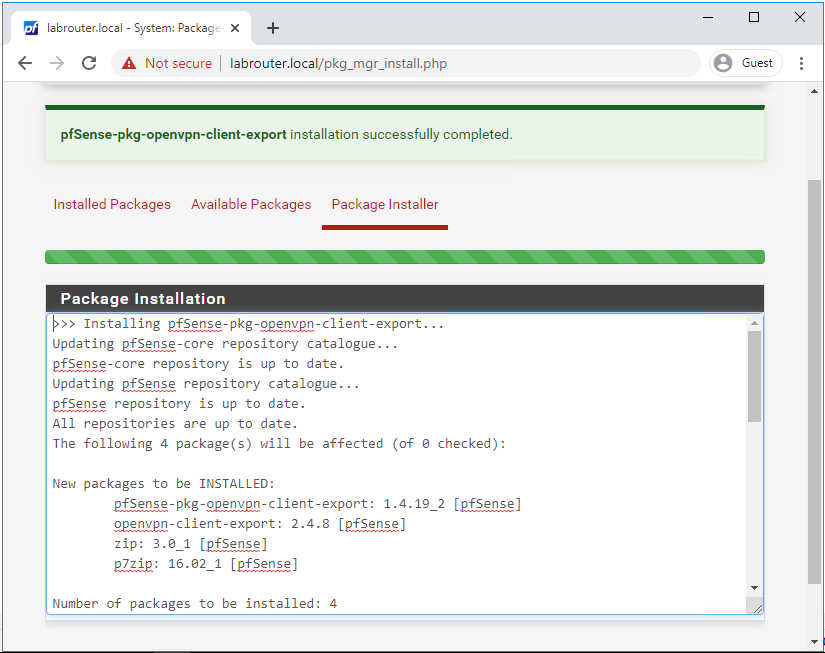
Once found, click Install and Confirm to install the package and allow to complete:
OpenVPN Client Export Utility Configuration
Navigate to VPN / OpenVPN / Client Export Complete the following:
- Remote Access Server - Should auto select the OpenVPN Server already installed
- Host Name Resolution - Set to “Other”
- Host Name - Enter either your Public IP Address or hostname here.
Note: If you have a non static public IP address, IE one that changes every time you reboot your router, use a you’ll need to use a DynamicDNS service and configure it appropriately
- Verify Server CN - Automatic - Use verify-x509-name (OpenVPN 2.3+) where possible
- Block Outside DNS - Ticked
- Legacy Client - Unticked
- Use Random Local Port - Unticked
- PKCS#11 Certificate Storage - Unticked
- Microsoft Certificate Storage - Unticked
- Password Protect Certificate - Unticked
- Use A Proxy - Unticked
- Additional configuration options - Leave blank
Click Save as Default to save the above settings
Using OpenVPN Client Export Utility
Now the fun part!
Android OpenVPN Client Installation
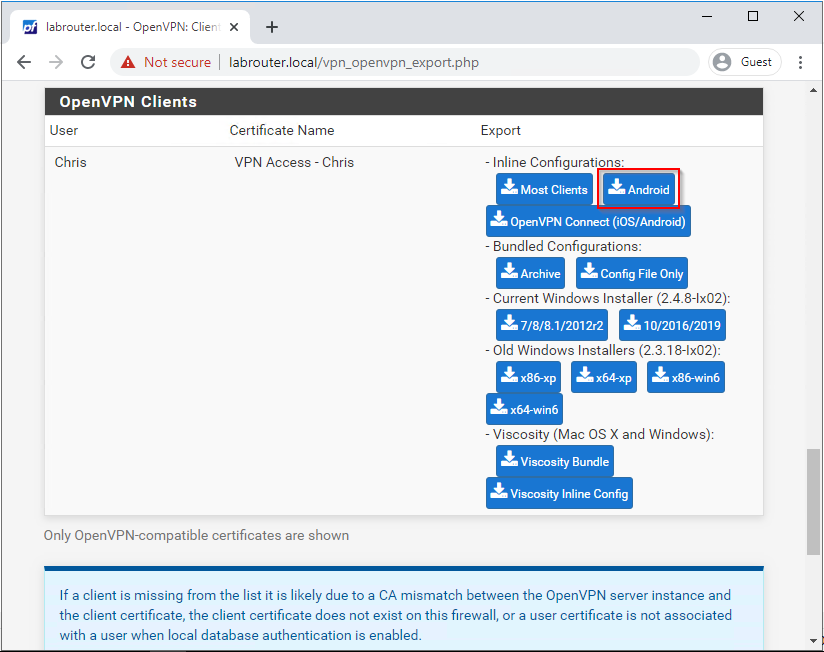
The recommended client for Android is OpenVPN for Android
Install the recommended client, find the OpenVPN user and download the Android inline configuration:
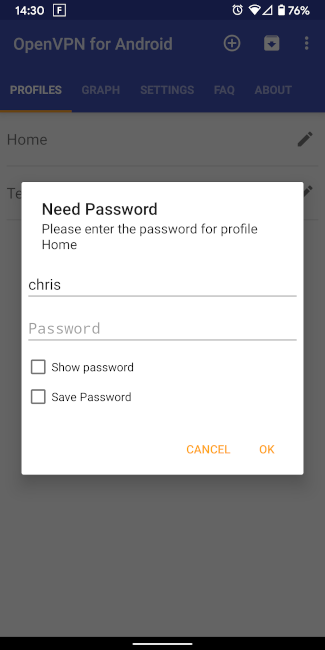
Copy the downloaded configuration to the Android phone, import using OpenVPN Client (+) option and name the connection. Tap the connection name and test:
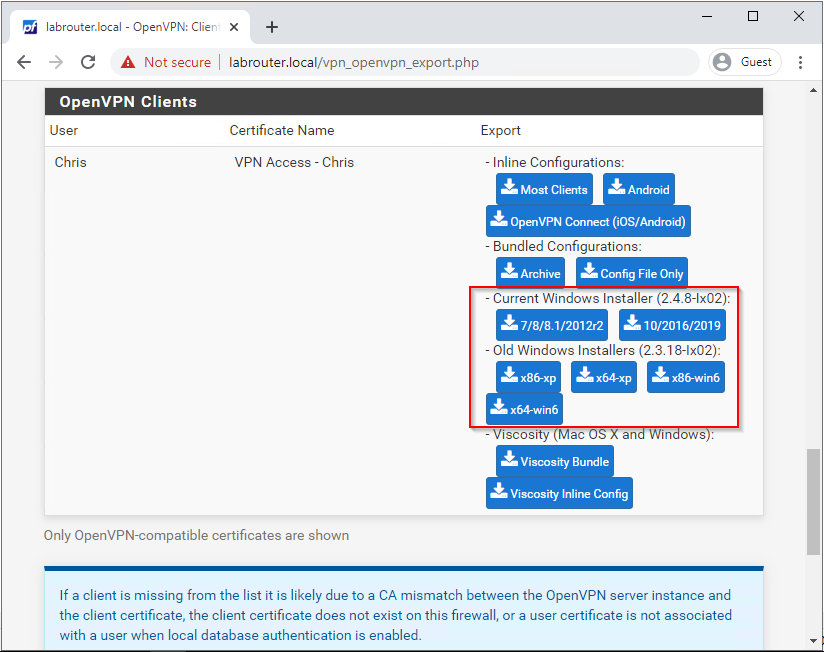
Windows OpenVPN Client Installation
Simply find the OpenVPN user and the appropriate installer for their version of windows:
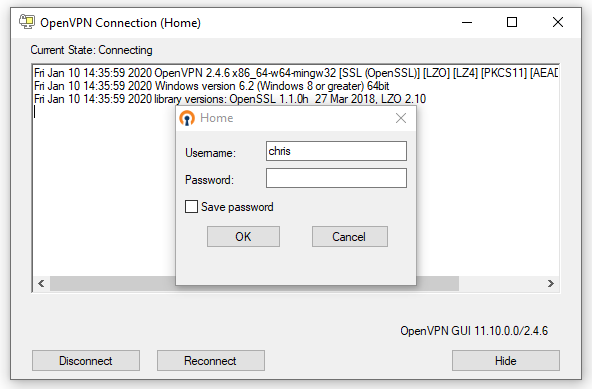
Install and test:
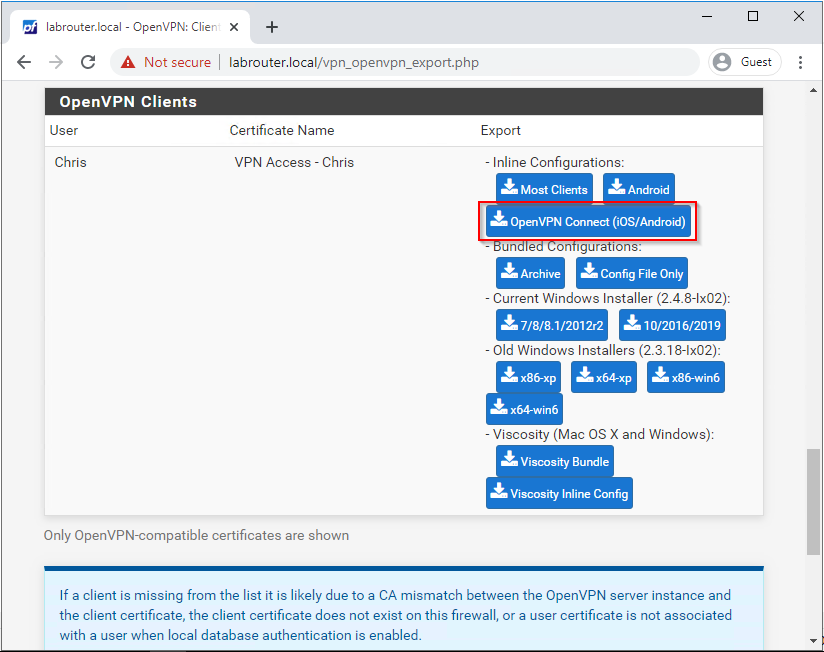
Apple iOS OpenVPN Client Installation
The recommended client for iOS is OpenVPN Connect
Install the recommended client, find the OpenVPN user and download the inline configuration:
Attach the configuration to an email and open the email on the iOS device.
Tap the attachment and open it in the OpenVPN Connect app. Click Add to add the profile, rename if needed, add a username and click Add.
Allow the app to add VPN connections in iOS settings and finally hit the slider to test:

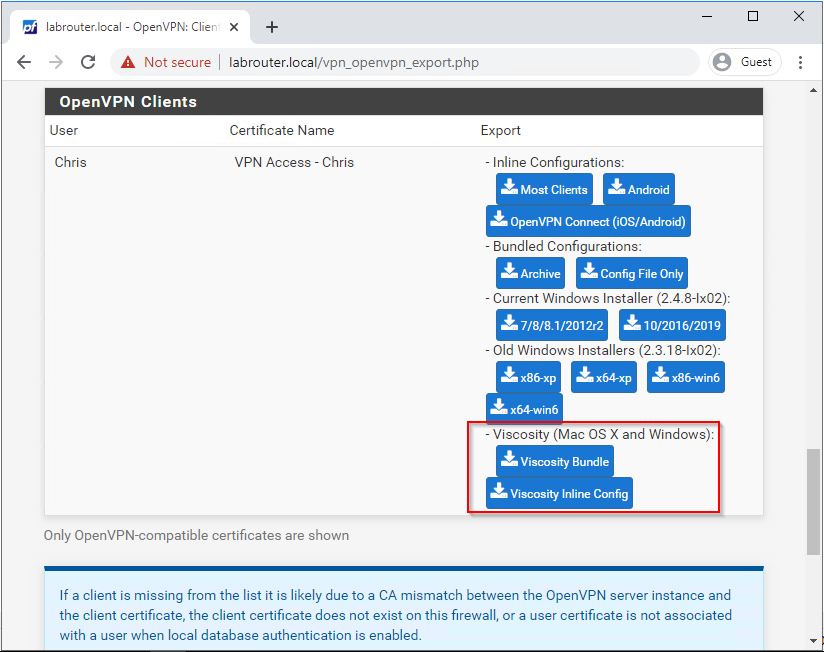
Mac OS X OpenVPN Client Installation
Yep it’s available:
Unfortunately at this point, I don’t have any experience with installing and testing.
Perhaps one day ![]()
Conclusion
And there we have it!
An OpenVPN server set up and OpenVPN clients to match. How much did it cost? Nothing, just a bit of time and patience.
Security doesn’t need to be expensive. ![]()
-Chris