 Last time, we looked at deploying NSX as a plug-in to vCenter server. See NSX vCenter Plug-in Deployment to catch up if needed.
This time we will run through the security only configuration of NSX.
To recap; historically NSX-T or NSX as it is now known as was installed as a separate entity and managed away from vCenter and the vSphere client.
Since the releases of vSphere 7.0 Update 3 and NSX 3.2.0, NSX can now optionally be installed and managed in the vSphere client via a vCenter plug-in in much the same way as the previous VMware network virtualisation product, NSX-v used to be.
Overview
What is an NSX Security Only Configuration?
In this configuration, only the security-related components of NSX are deployed, such as the distributed firewall, intrusion detection and prevention and micro-segmentation. This allows organizations to quickly and easily implement advanced security features without having to deploy the full range of NSX-T networking functionality.
An NSX Security Only configuration is typically used in cases where an organization already has an existing network infrastructure in place and only wants to add security features to it.
The deployment of an NSX Security Only Configuration can be done with a minimal number of components, and can be done in a shorter time frame, as it does not require the deployment of additional network services such as routing, switching and load balancing.
The NSX Distributed Firewall: Essentials
Before we continue, we need to understand the NSX Distributed Firewall.
Consider the following diagram:
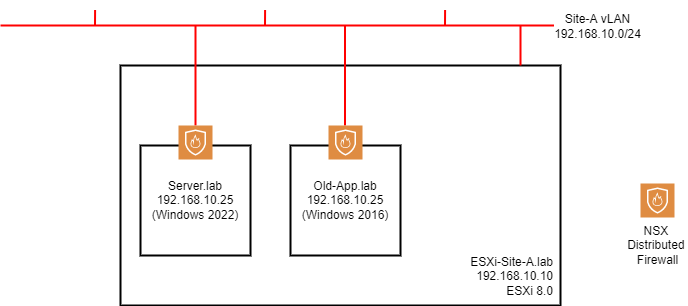
The host ESXi-Site-A.lab has been prepared for NSX. As a result of the NSX preparation, each of our VMs gain an external firewall. The firewall is distributed to all VMs running on the prepared ESXi hosts.
Whilst the firewall the VMs receive is external to the VMs themselves (the NSX firewall is substantiated in the kernel of the ESXi host rather than in the O/S of the VMs themselves), it is centrally managed via the NSX user interface / API.
So to recap, the NSX firewall is distributed, yet centrally managed.
What’s more is that the NSX distributed firewall is vSphere object aware. A vSphere object maybe a single VM, a collection of VMs, VMs with a specific tag, VMs running a specific operating system, etc, etc. Therefore firewall rules may be constructed that reference vSphere objects rather than network characteristics; IP address etc.
If you wish to delve deeper into the NSX distributed firewall, you can find more here.
The NSX Distributed Firewall: Rules
The NSX distributed firewall management interface comes with five predefined categories for firewall rules. These categories allow you to organise your firewall rules.
Categories are evaluated by the NSX distributed firewall from left to right (Ethernet > Emergency > Infrastructure > Environment > Application) and the rules within each category are evaluated top down.

Image taken from NSX documentation here.
Configuring an NSX Security Only Deployment via the vCenter Plug-in
Let’s begin the configuration. As mentioned, this builds upon the installation we completed last time.
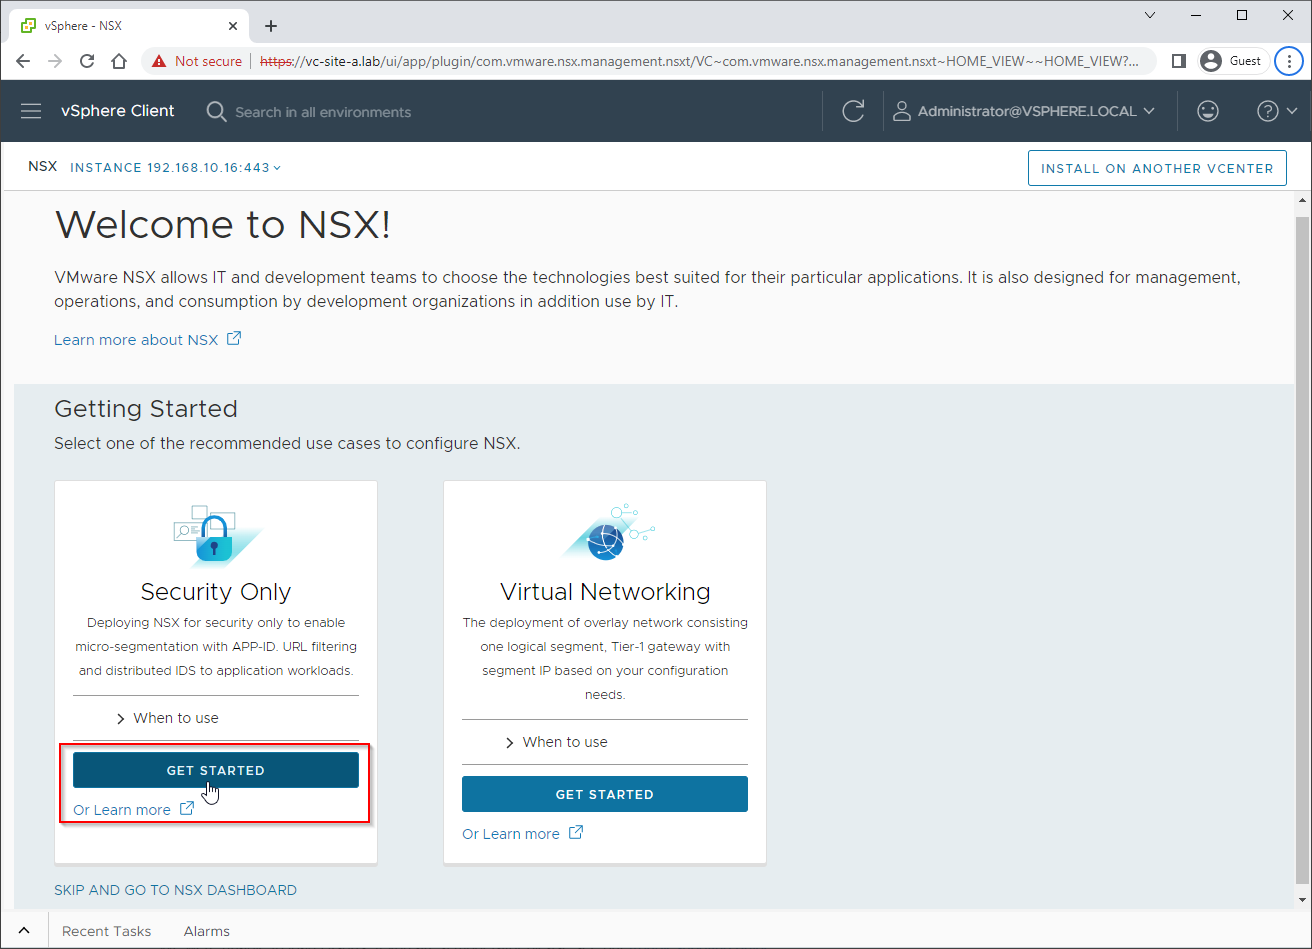
From the vSphere Client menu, select NSX. From the wizard, select the Security Only Get Started option:
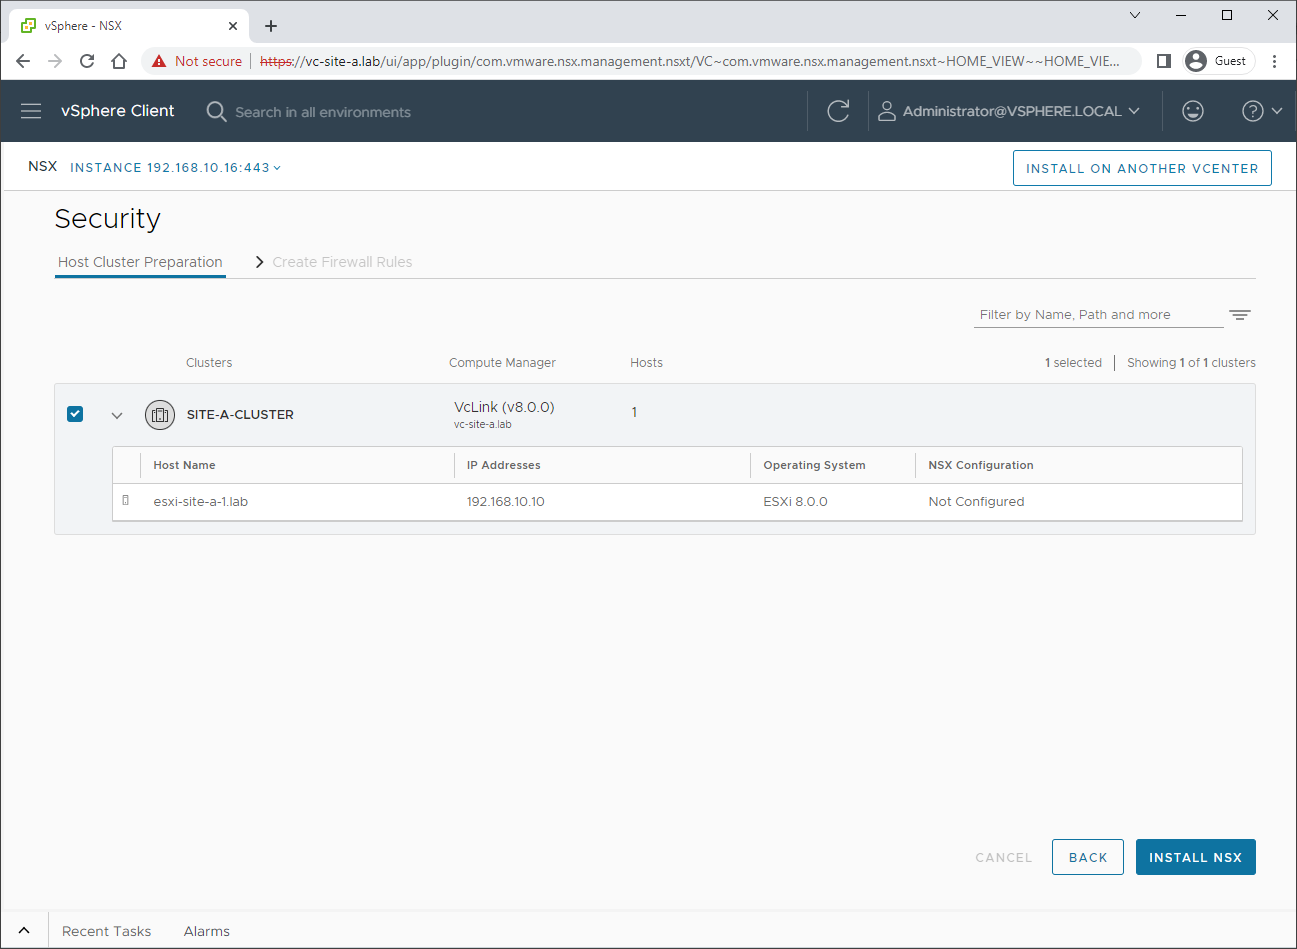
Choose the correct cluster and select Install NSX:
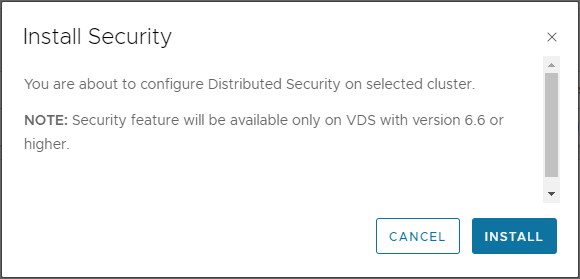
As discussed previously, our environment is using a VDS version 8.0, so we are good to click Install:
Allow time for the host preparation to complete. Click on Installing NSX, to track the installation progress:
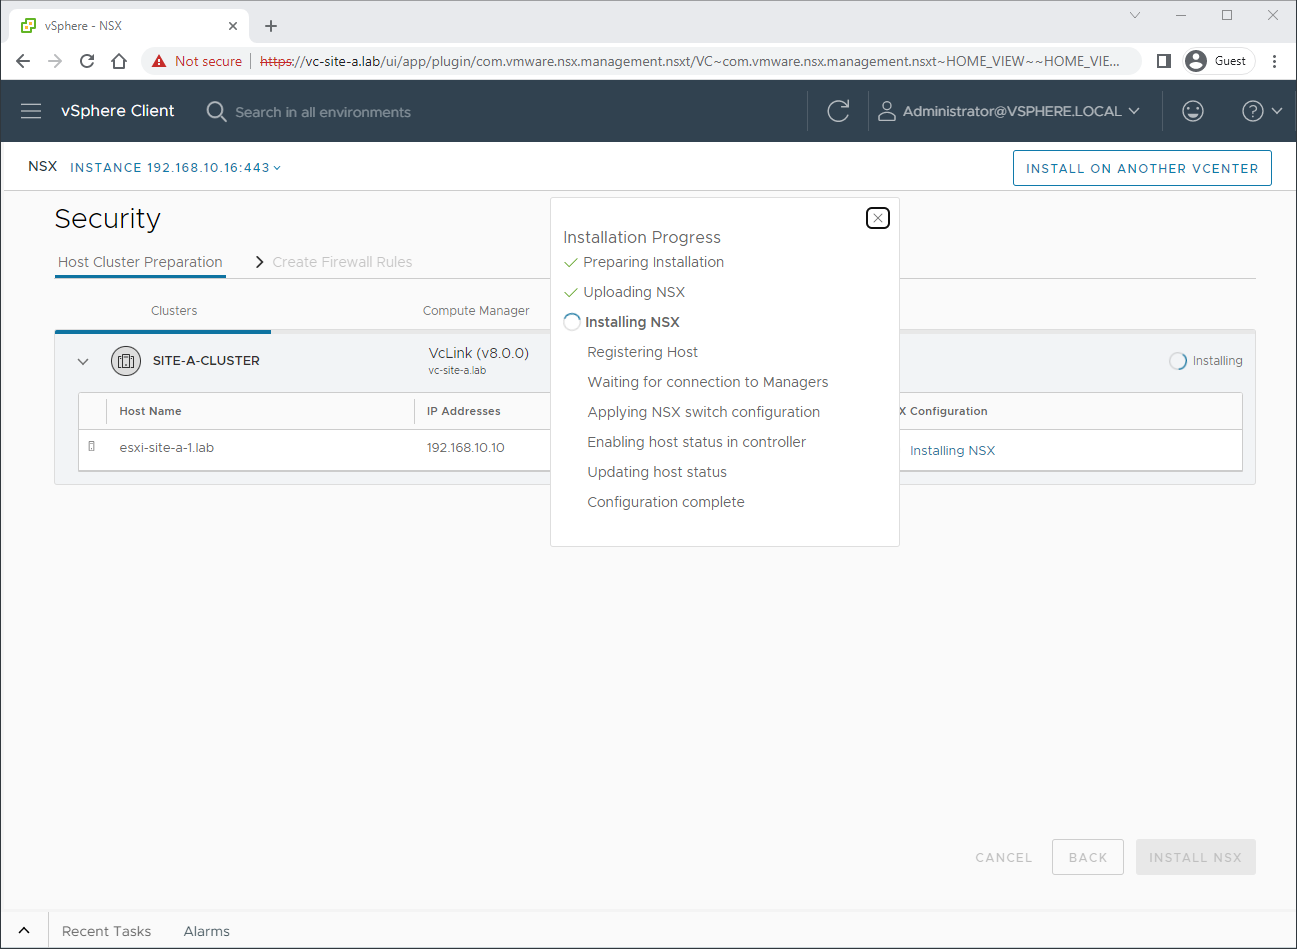
Once complete, we can see that our ESXi host is prepared with the correct version of NSX:
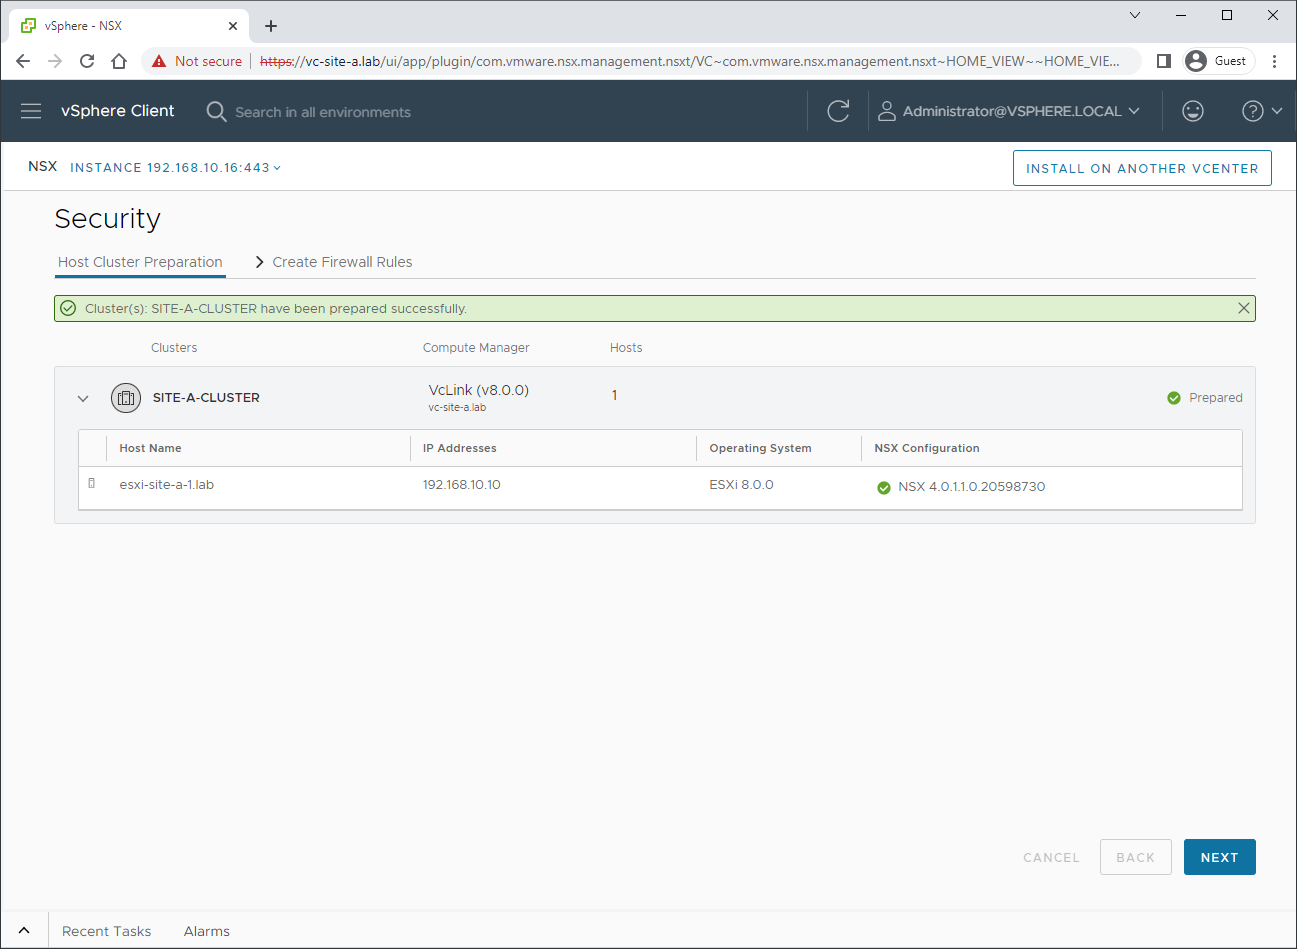
Click Next to continue.
Let’s start creating some firewall rules:
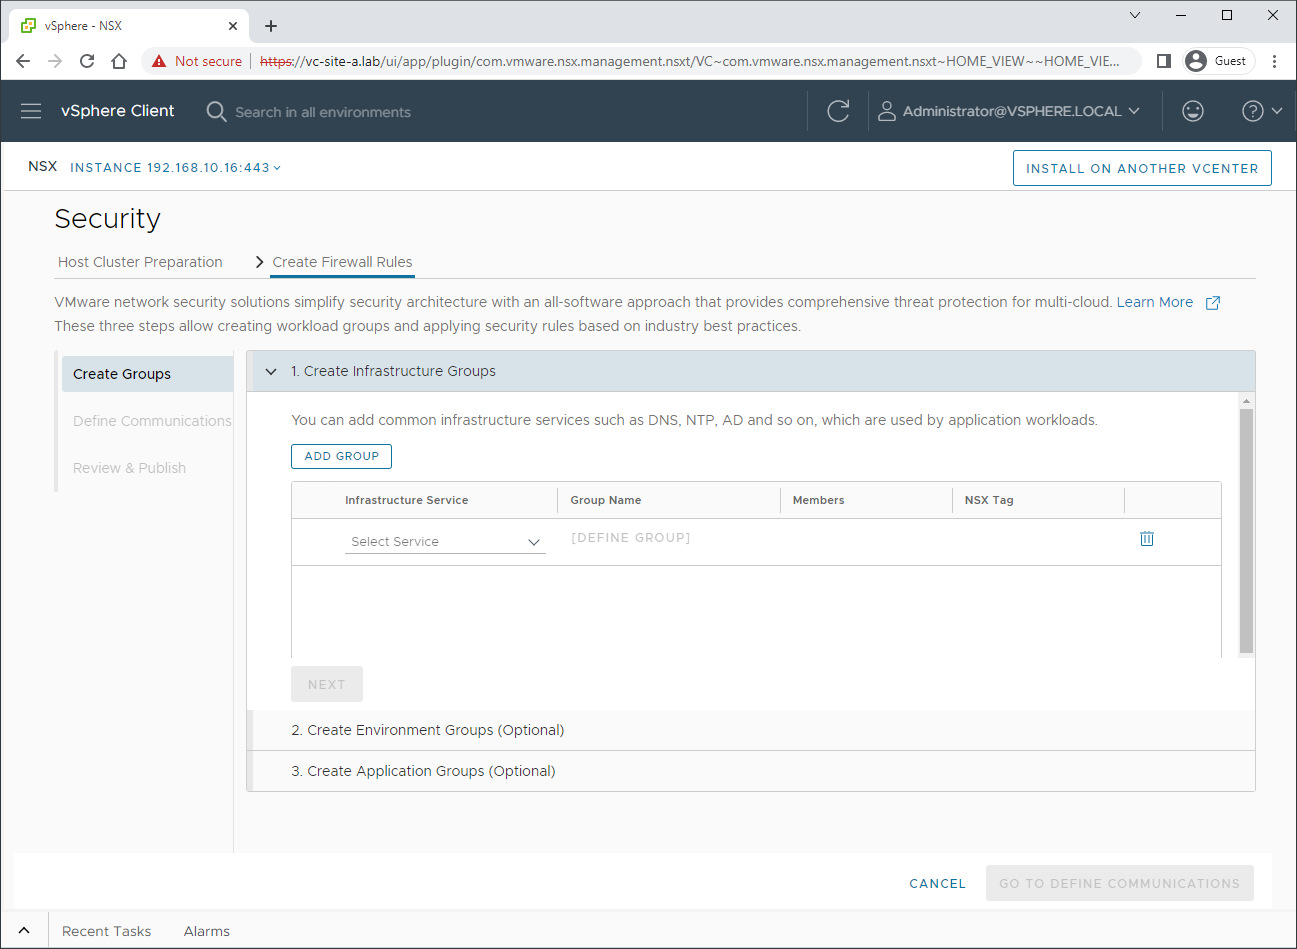
As we touched upon earlier, we can see the beginnings of our NSX firewall rule categories.
NOTE: As this is a demo environment, I’ll create just one rule for demonstration purposes. No doubt your environment will be different and will need significantly more than just one rule!
Lets create a group for our DNS Servers. Choose the DNS infrastructure service, and select Define Group:
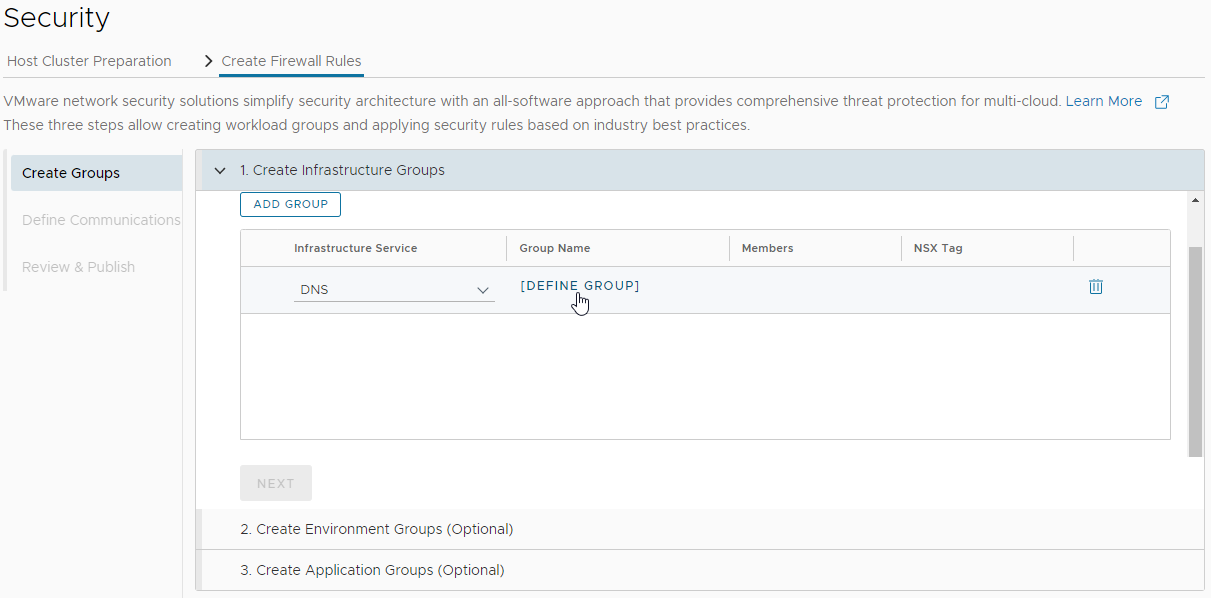
Let’s name the group, create the NSX Tag and as my DNS server is external to the vSphere environment, let’s supply it’s IP address:
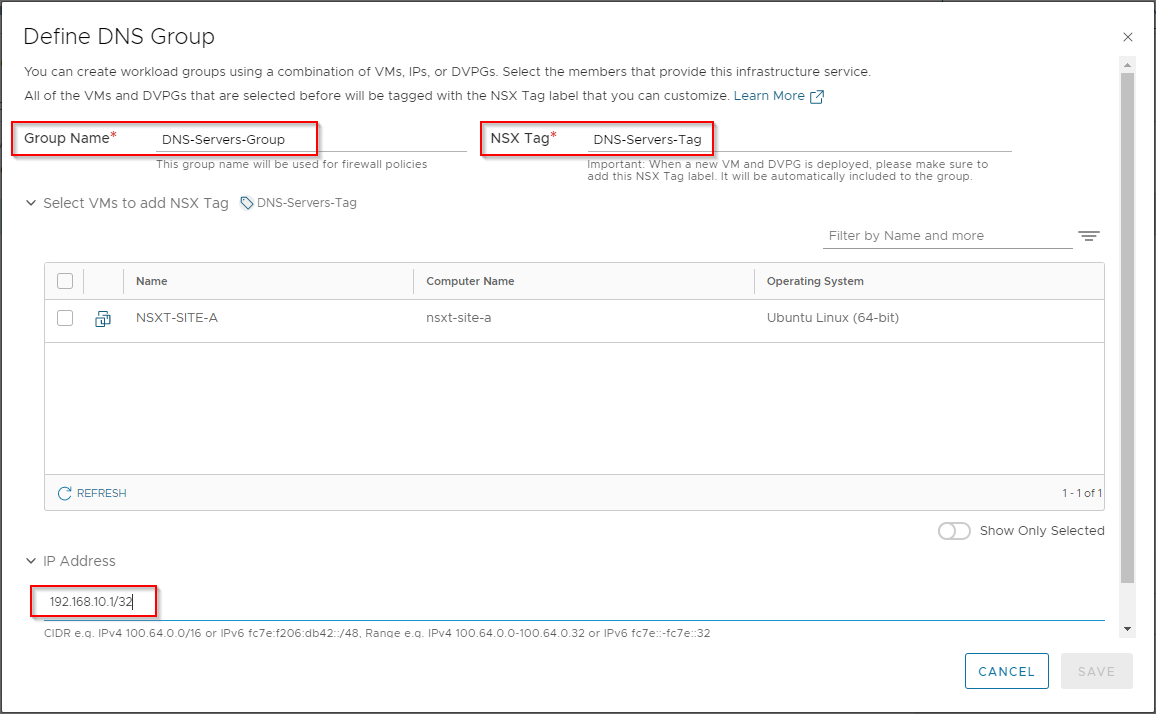
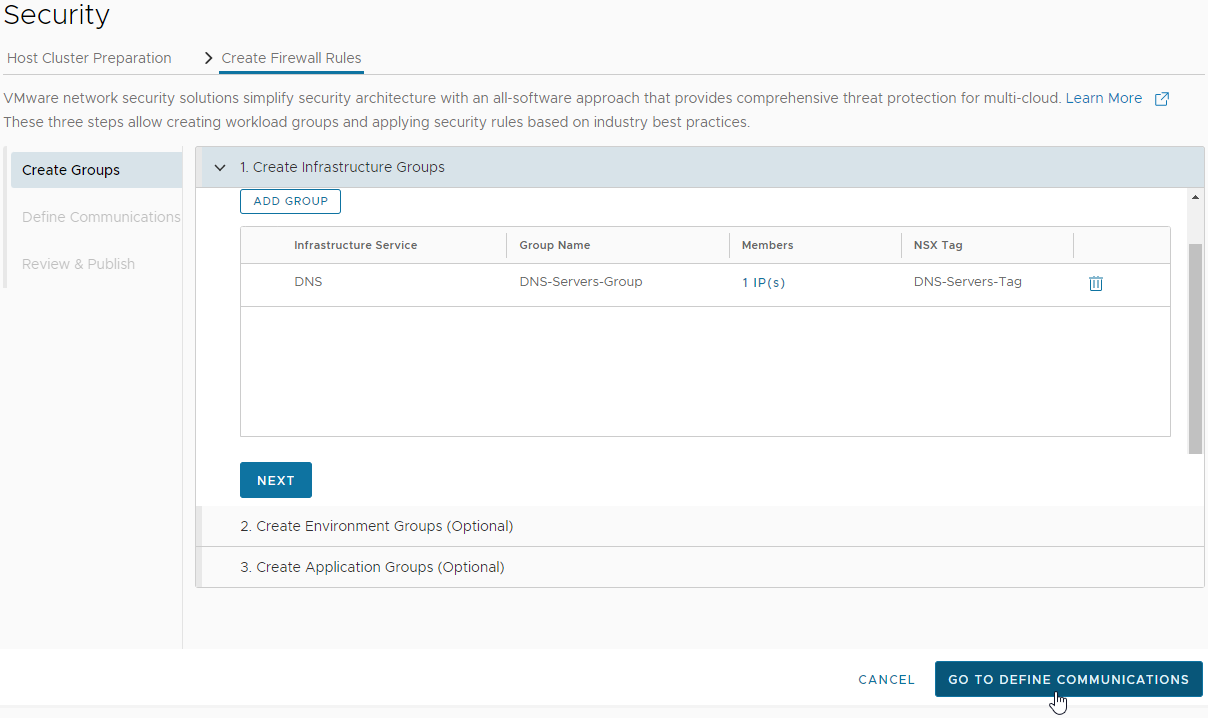
After saving, Let’s select Define Communications:
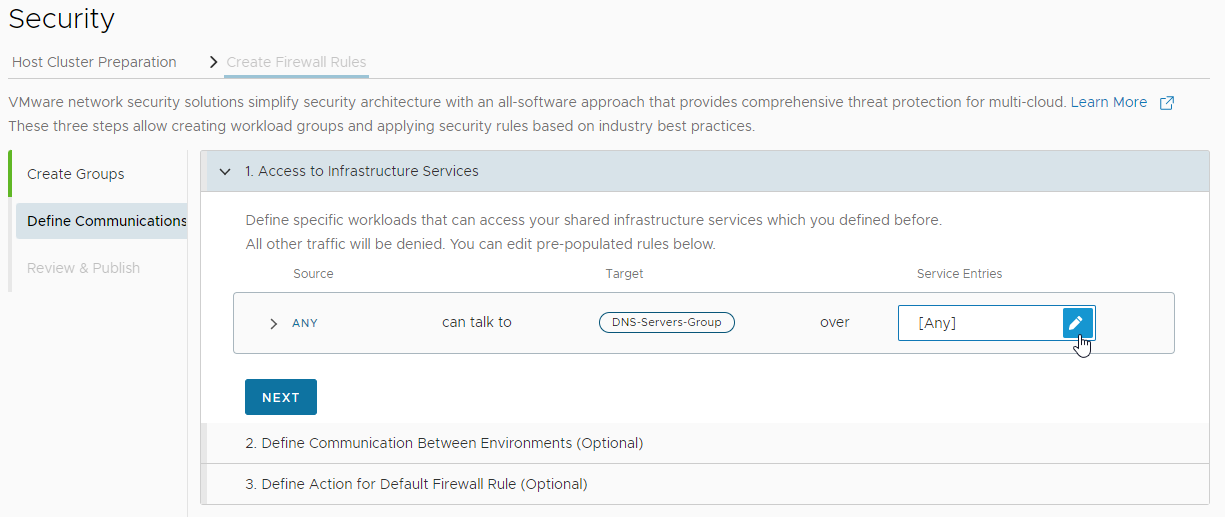
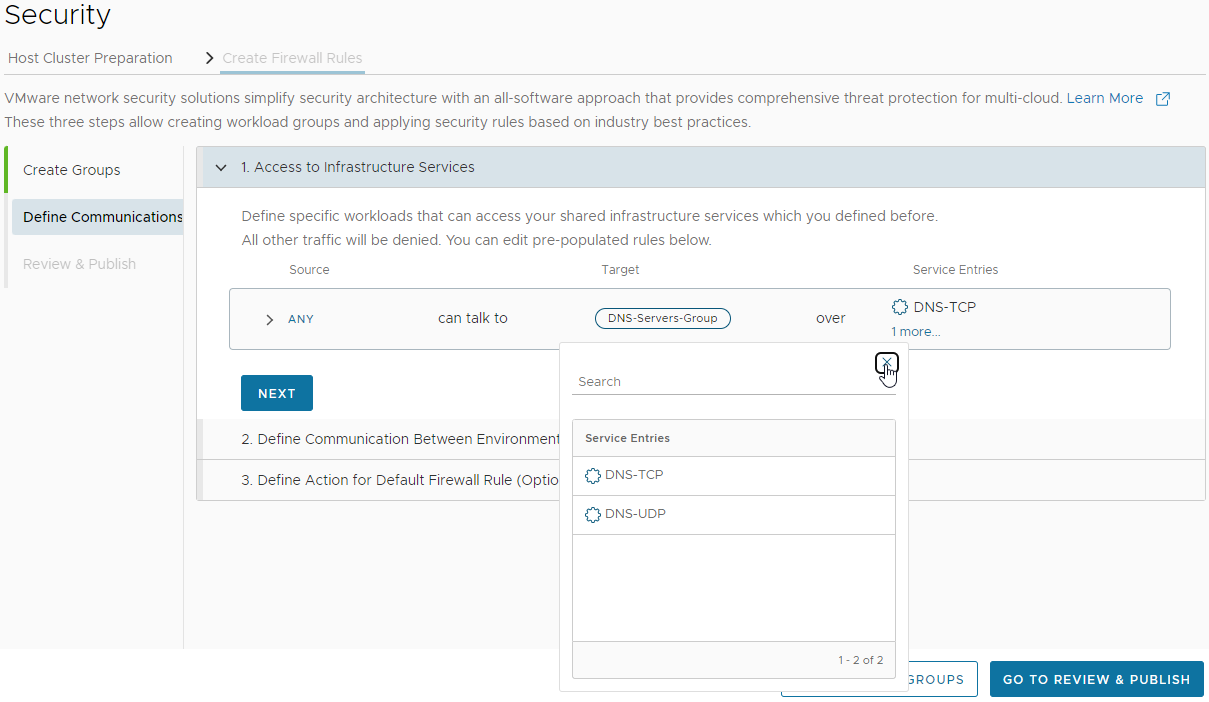
I’m happy that Any source can talk to my DNS-Servers-Group. Let’s select the service that they can use:
Filtering for TCP and UDP DNS services, lets select both and apply:
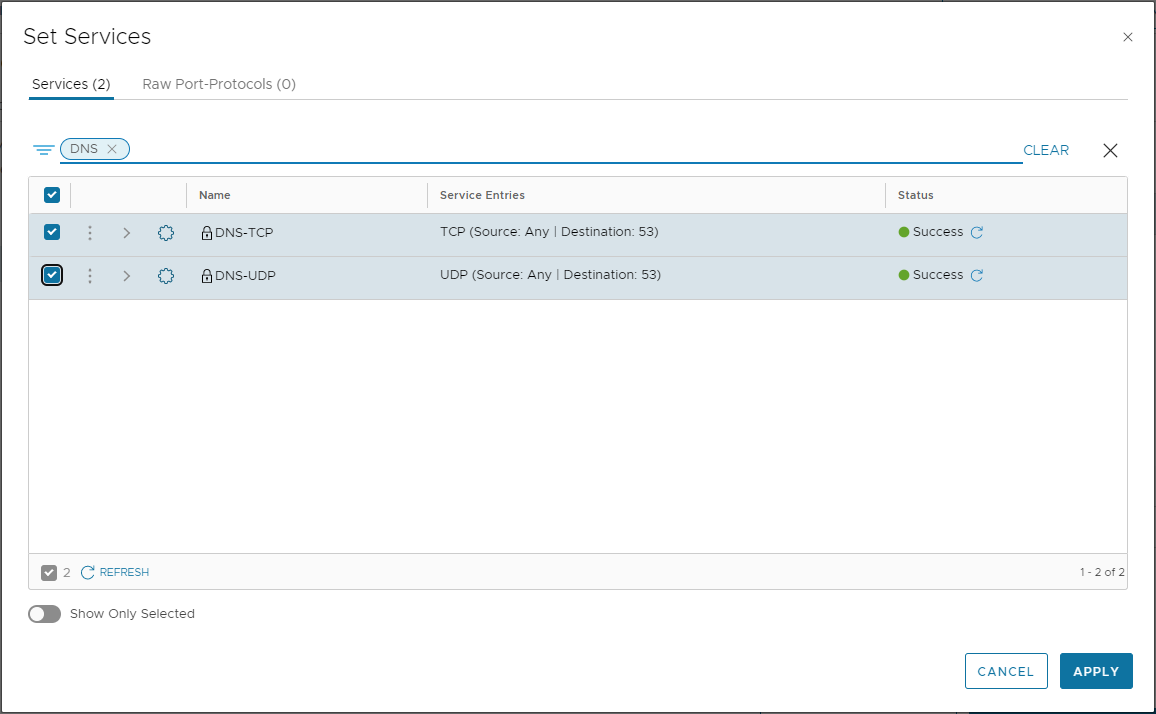
Looks good:
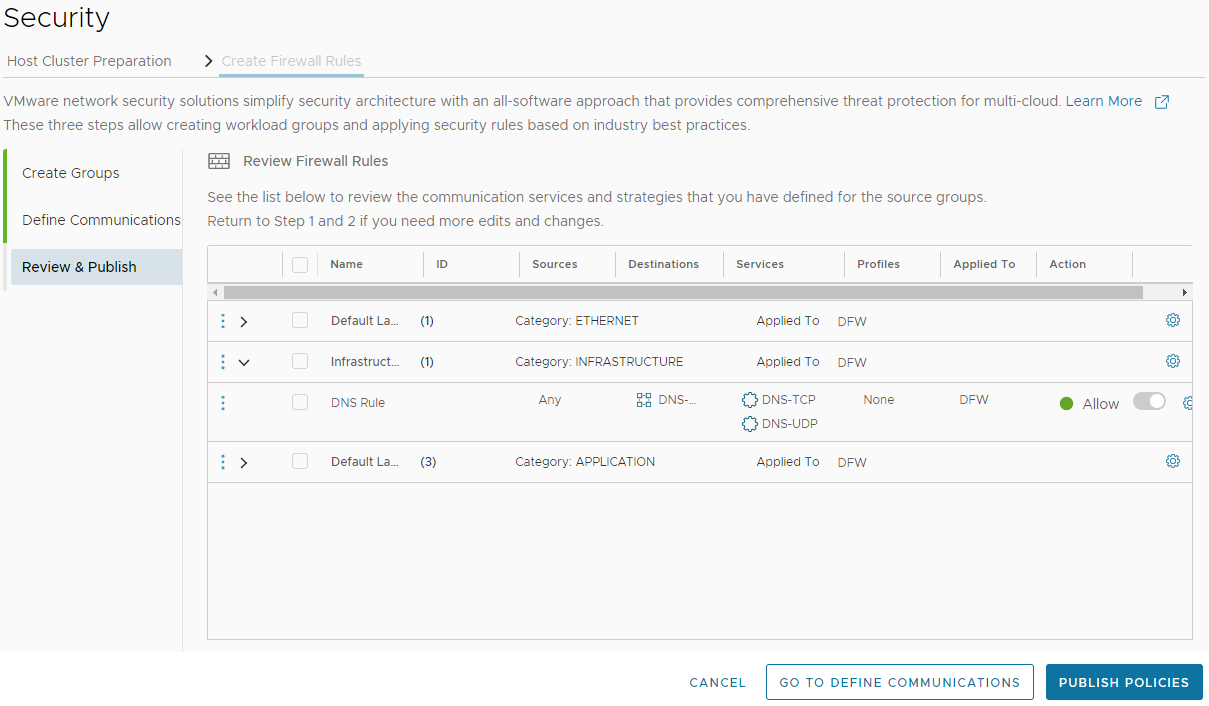
Let’s review and finally publish:
We are done!
OK, lets take a look at the distributed firewall from the NSX Dashboard:
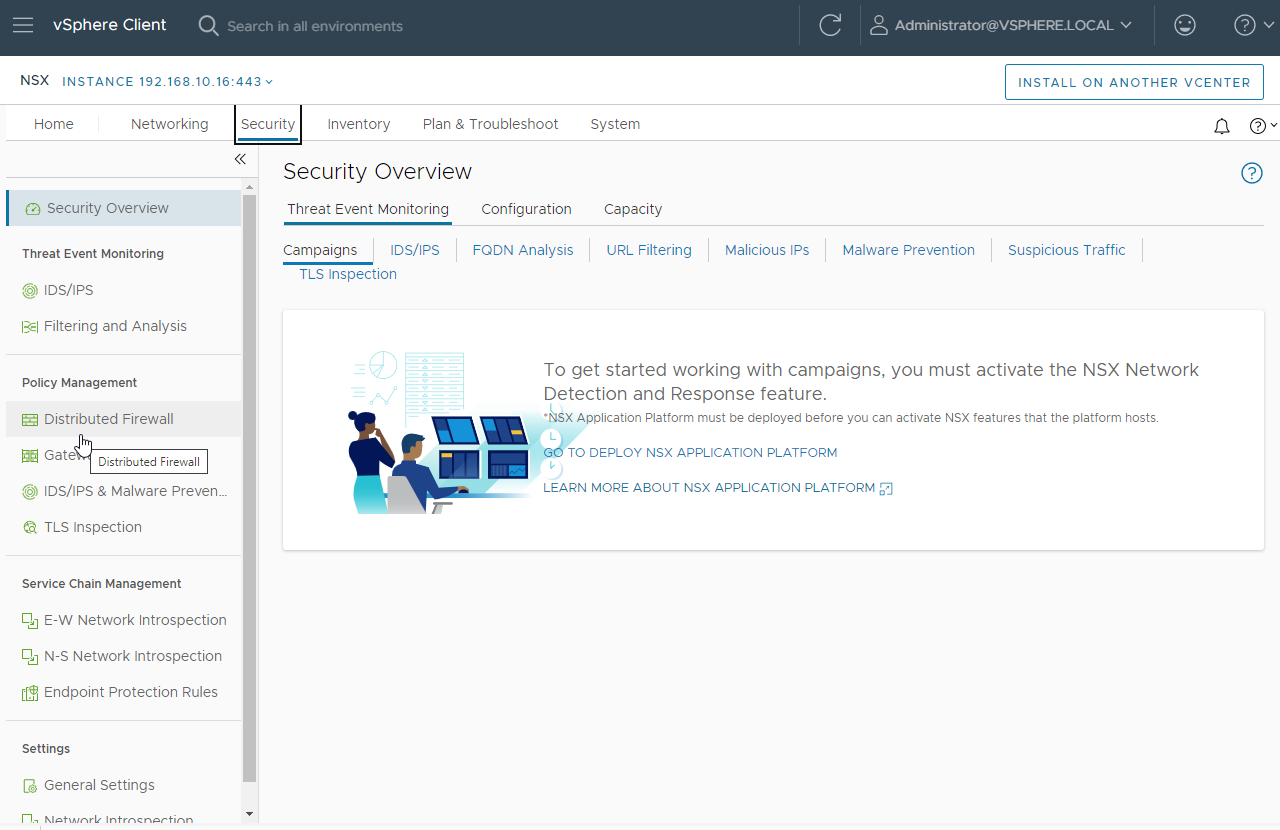
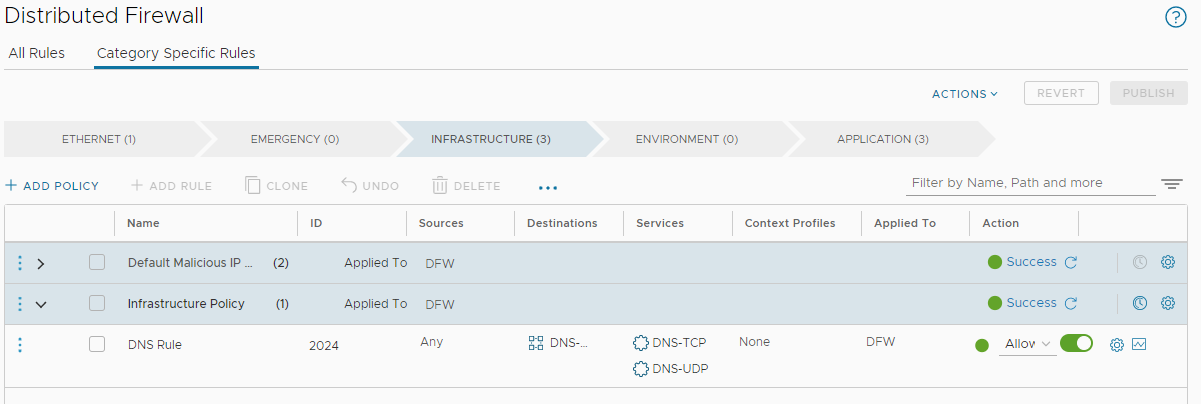
Looking in the infrastructure category, we can see our DNS firewall rule:
The NSX Distributed Firewall: Default Rule
STOP! Before continuing, take a look at my NSX DFW System Excluded VM List Empty post. Don’t saw off the branch you’re sitting on!
Upon a fresh install, out of the box, the very bottom three rules of the application category - that is the very last three rules to be evaluated - are set by default to allow any traffic from any source to any destination:
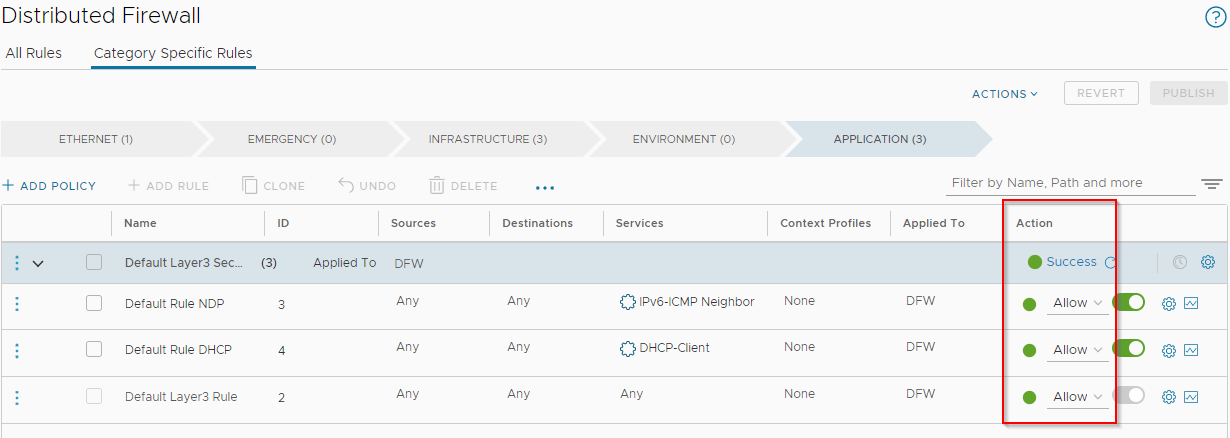
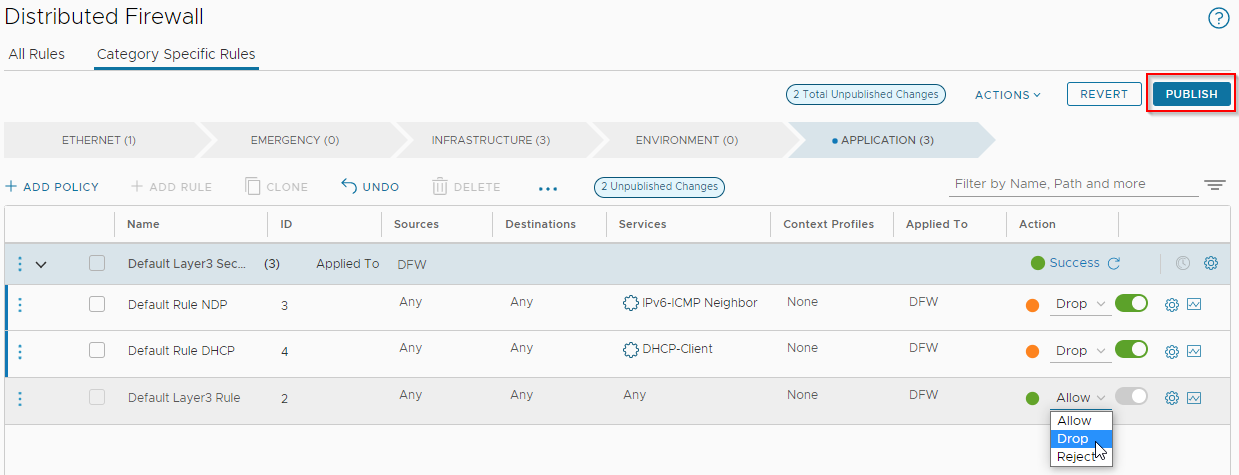
Depending on the security stance of your environment, it is advisable to review these and set these default rules as appropriate. If making changes, publish when complete:
Conclusion and Wrap Up
In this post we completed perhaps the simplest NSX installation model: an NSX Security Only Deployment via the vSphere vCenter Plug-in, using the quick start wizard.
If you are looking to “dip your toe into the world of NSX” then the deployment model covered in NSX vCenter Plug-in Deployment and this post will get your NSX environment up and running quickly and efficiently.
Having said that, there are caveats to using this deployment model that need to be considered prior to installation.
We will look at those next time.
-Chris


