


 In this post we will complete the basic configuration of our Nutanix AHV installation and deploy a VM into it.
This post is part 2 of a multipart series. Find the other parts here:
- Part 1: Now it’s Time for Something Different
- Part 2: This Part: Configuration and Test VM Build
Let’s continue.
Overview
Configuration
Since part 1 covered purely the deployment of Nutanix CE 2.0, there are some post installation configuration points that we need to cover off prior to deploying our first guest VM later on in this post.
CVM Certificate
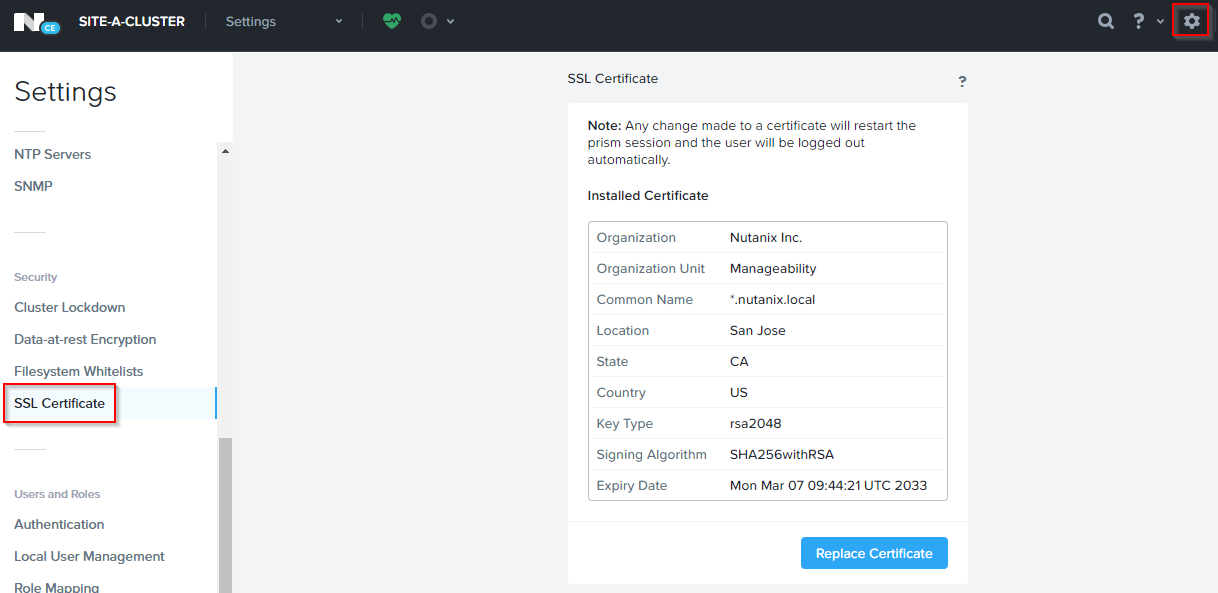
So that we no longer need to tell chrome thisisunsafe each time we access our CVM, let’s replace it’s SSL certificate.
Click the settings cog in the top right hand corner of the PRISM Elements UI, select SSL Certificate from the menu on the left:
Select Replace Certificate > Regenerate Self Signed Certificate and Apply:
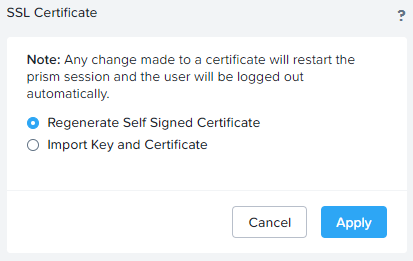
Allow time for the replacement to complete. That’s Chrome happy again!
Change Default Credentials
Both our Host and our CVM are using the default credentials:
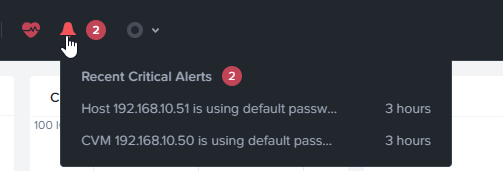
Clicking on each of the alarms in turn provides the following summaries:

And:

Let’s fix that.
For reference, the Nutanix KB article that covers changing both the Host and CVM default credentials is here: KB 6153.
Host Credentials
SSH to the AHV host as root (see Part 1 for default credentials) and issue the following command:
passwdCVM Credentials
SSH to the CVM as user nutanix (again see Part 1 for default credentials)and issue the following command:
sudo passwd nutanixJob done. Clicking on the alters and then clicking Resolve clears the alerts from the PRISM Element console.
Storage Tier Skew on a Node
From Nutanix KB 10718:
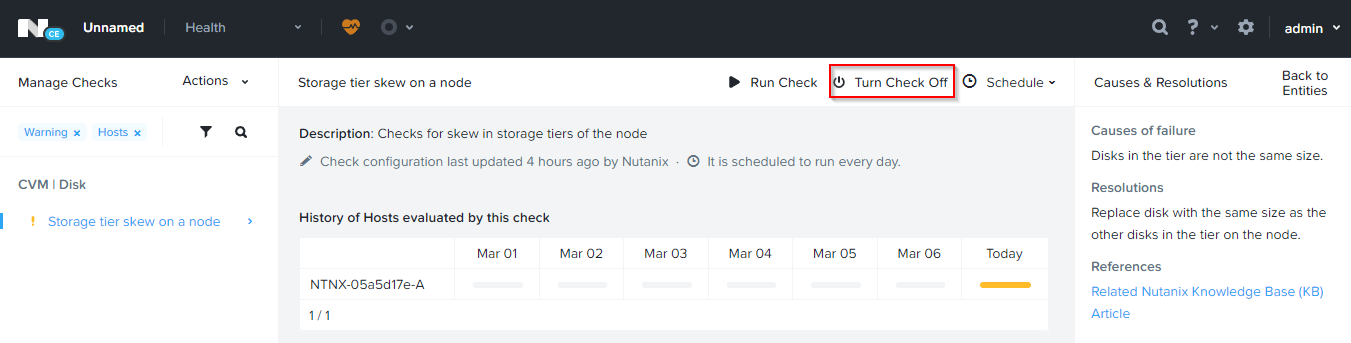
The NCC health check plugin node_storage_tier_skew_check reports disk capacity skew above 15% within a storage tier in each individual node in a Nutanix cluster.
As we have only the one host in our cluster, let’s turn this check off. Click Turn Check Off to complete.
Cluster Name
Let’s name our cluster. Click on the label Unnamed and enter a cluster name and virtual IP:
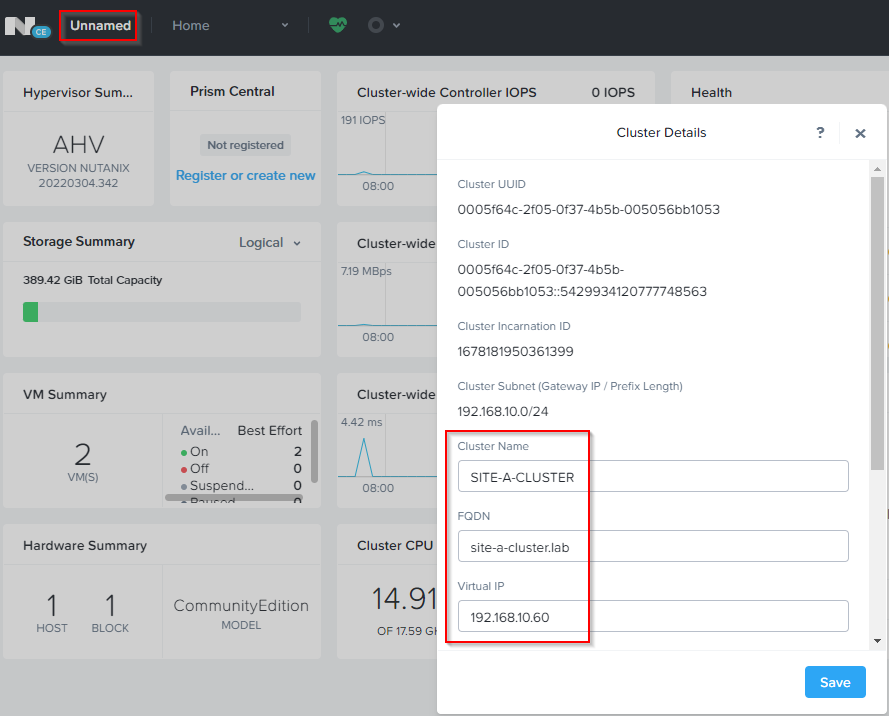
Click Save when done.
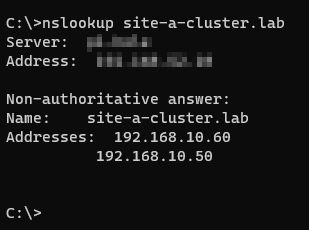
The cluster FQDN needs to resolve to both the cluster virtual IP and to the CVM IP(s). I’m using OPNsense Unbound DNS in my lab, so to achieve this simply add two cluster FQDN host overrides pointing to the virtual and CVM IPs:
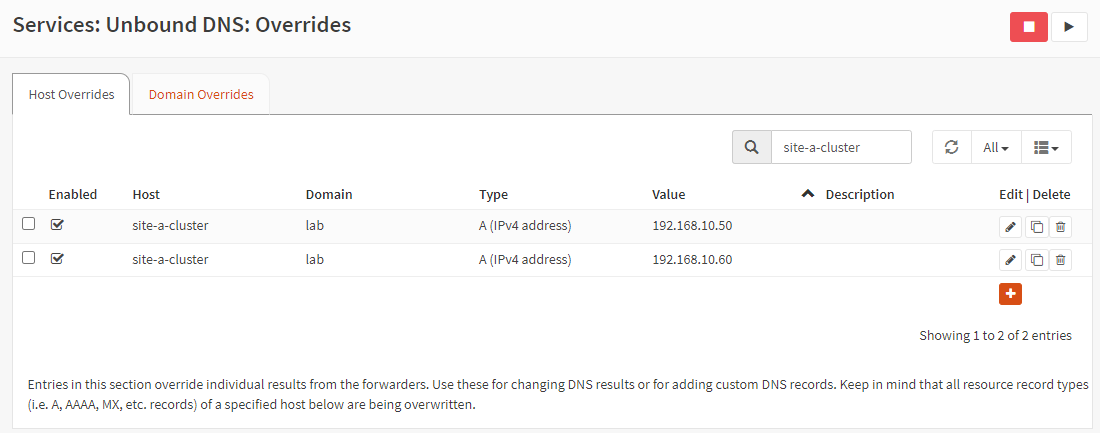
Nice:
Language Settings
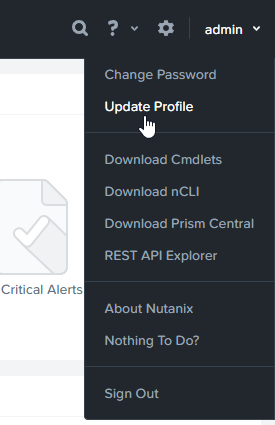
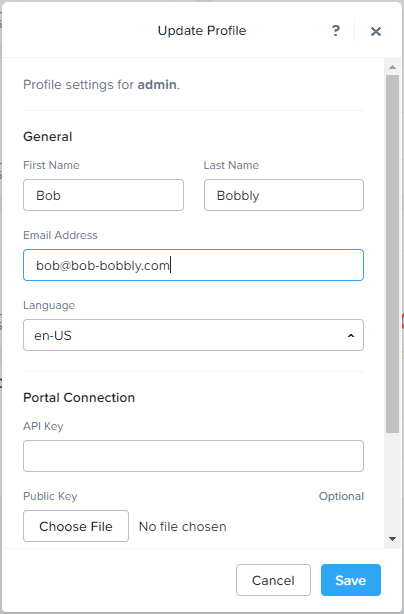
Select admin in the top right hand corner of the PRISM Element UI and select Update Profile:
Enter name and email address, hit Save when done:
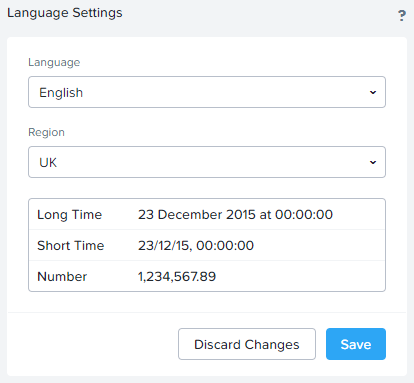
Click the settings cog in the top right hand corner of the PRISM Elements UI and select Language Configuration. Set Region accordingly and hit Save:
Networking
Next we will create a network to connect our VMs to.
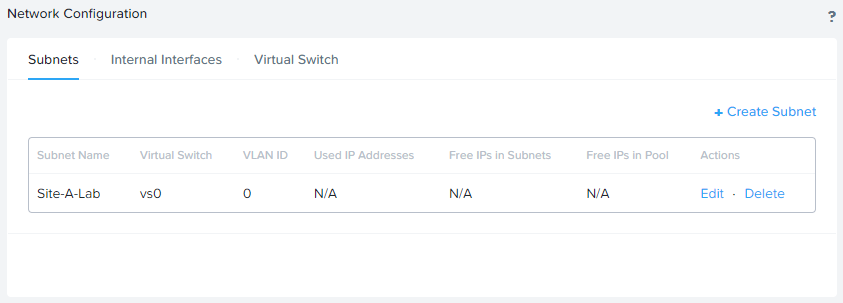
Click the settings cog in the top right hand corner of the PRISM Elements UI and select Network Configuration and Subnets:
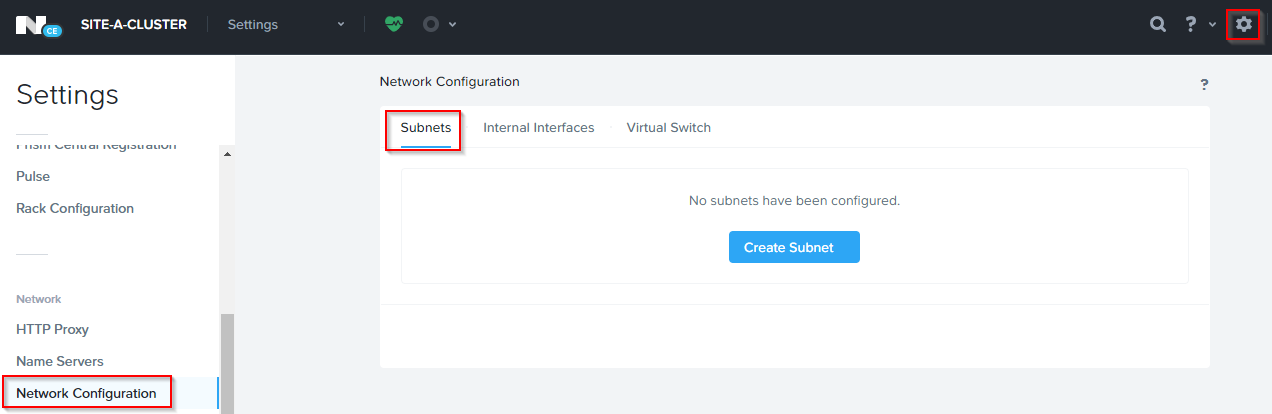
Click Create Subnet.
I’ll name my subnet Site-A-Lab, select vSwitch vs0 and set my VLAN ID to 0 (native VLAN):
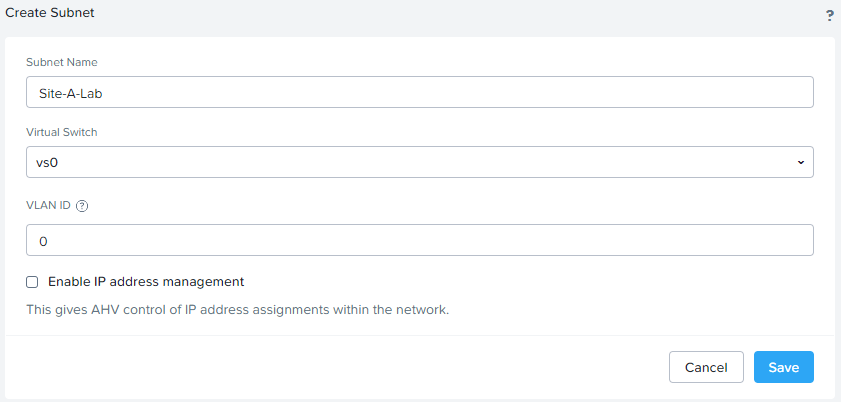
Click Save to complete. Job done:
Upload ISOs
Next, we need to upload our operating system ISO. Whilst we are at it, we will also upload the Nutanix VirtIO for Windows ISO as well (VirtIO ISO can be downloaded from HERE).
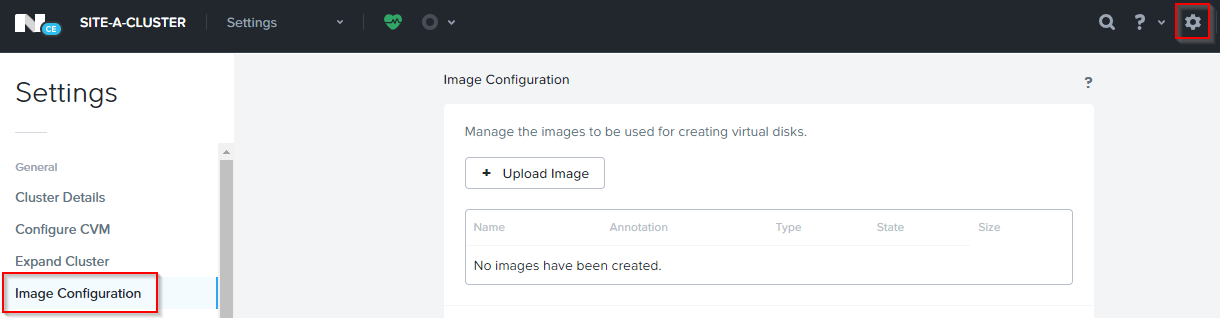
Click the settings cog in the top right hand corner of the PRISM Elements UI, select Image Configuration from the menu on the left:
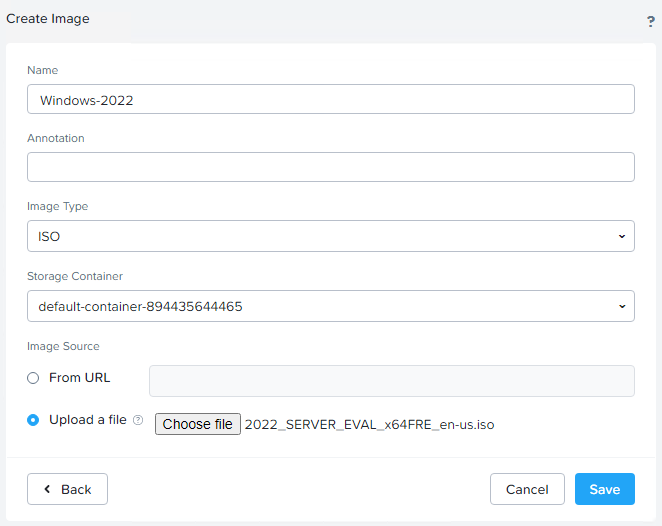
Select Upload Image. I’ll upload my Windows Server 2022 Evaluation ISO:
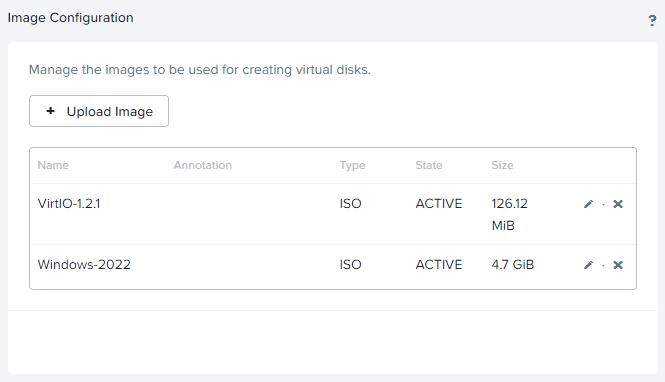
Allow time for the image to upload. Repeat for the VirtIO ISO.
Once complete, confirm both ISOs are marked as ACTIVE, ready to use:
VM Creation
Let’s create our first (not counting the CVM) Nutanix guest VM then! ![]()
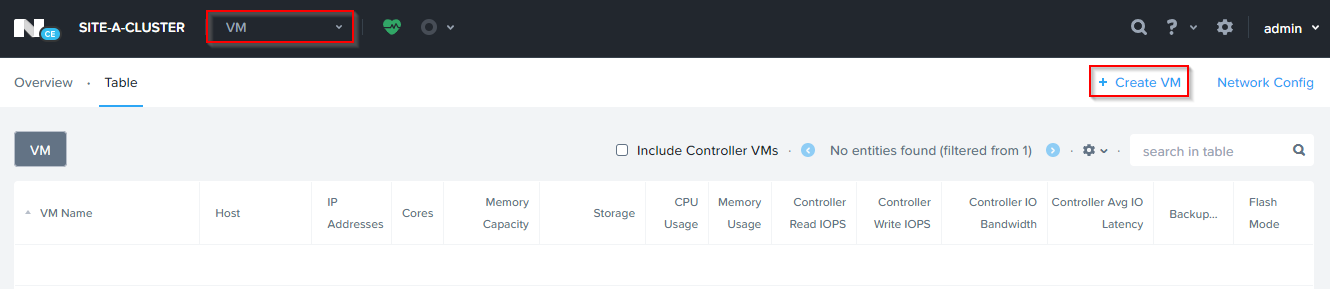
From the menu drop down select VM and Create VM:
I’ll configure the following:
- Name: Win-Srv-2022
- Timezone: Europe / London
- vCPUs: 2
- Cores per vCPU: 1
- Memory: 2GB
- Legacy BIOS
- NIC: Connected to Site-A-Lab
Finally, I’ll add a 60GB disk to my VM as follows:
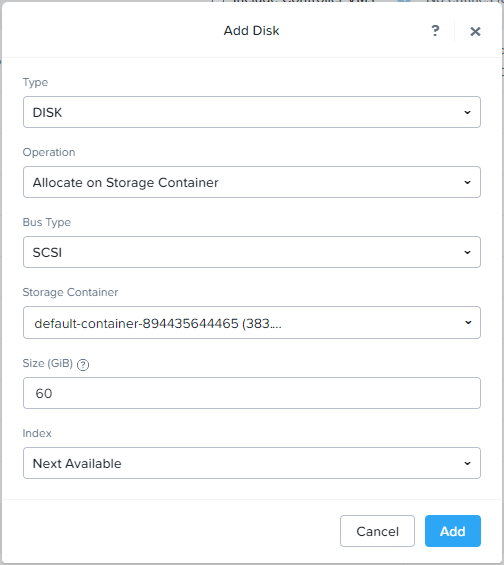
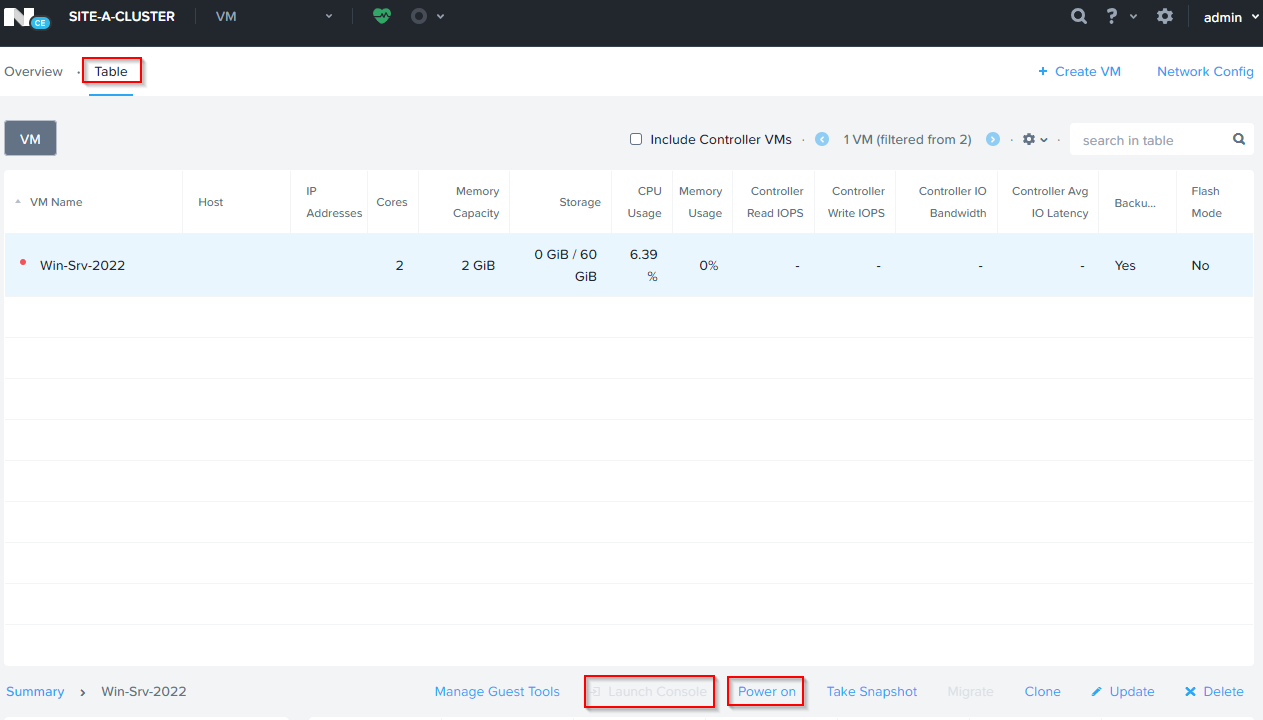
Click Save to complete. Select Table to view the VM in the list.
VM Power On and O/S Installation
Click Power on to start the VM and Launch Console to take a look at it:
Once the console of the newly created VM opens, select Mount ISO:

Select the O/S ISO uploaded earlier and select Mount:
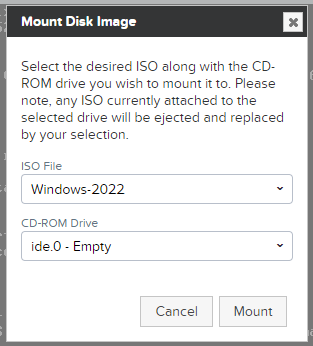
The VM should boot from the ISO:

I won’t cover the full installation of Windows here.
The only minor ripple to an otherwise normal Windows install was mounting the VirtIO ISO mid windows install to allow Windows to use the VirtIO SCSI controller driver:

Once the driver is loaded, hard disk discovered and selected, change the mounted ISO back to Windows and click Refresh within the Windows installer to get it to continue with the installation.
VirtIO and Nutanix Guest Tools
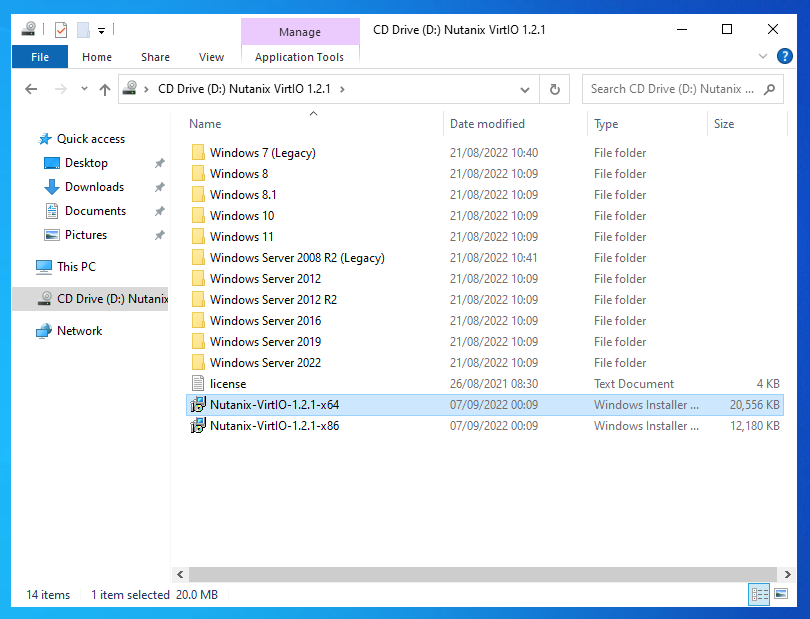
Upon completion of the Windows installation, mount the VirtIO ISO again and launch the x64 installer:
Complete the install.
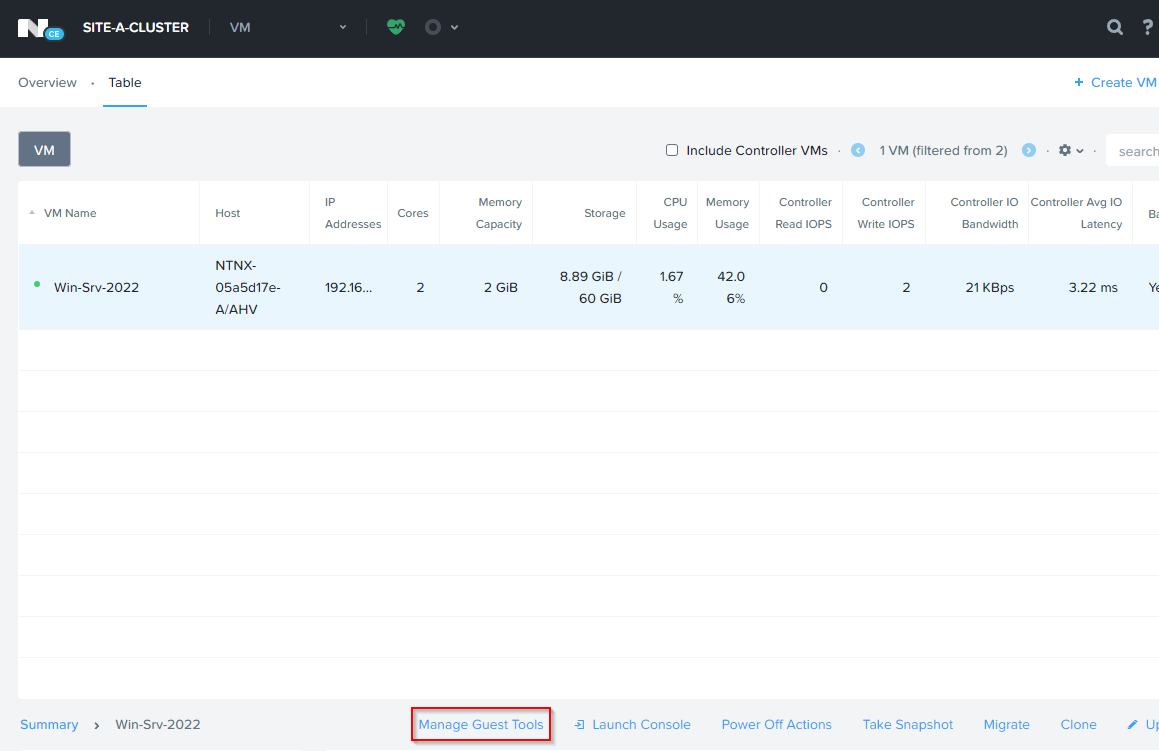
Back at the PRISM Element VM Table, select Manage Guest Tools:
I’m going to Enable and Mount the guest tools installer. I’ll investigate the other options another day:
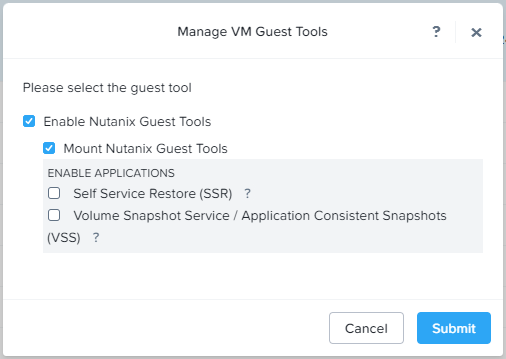
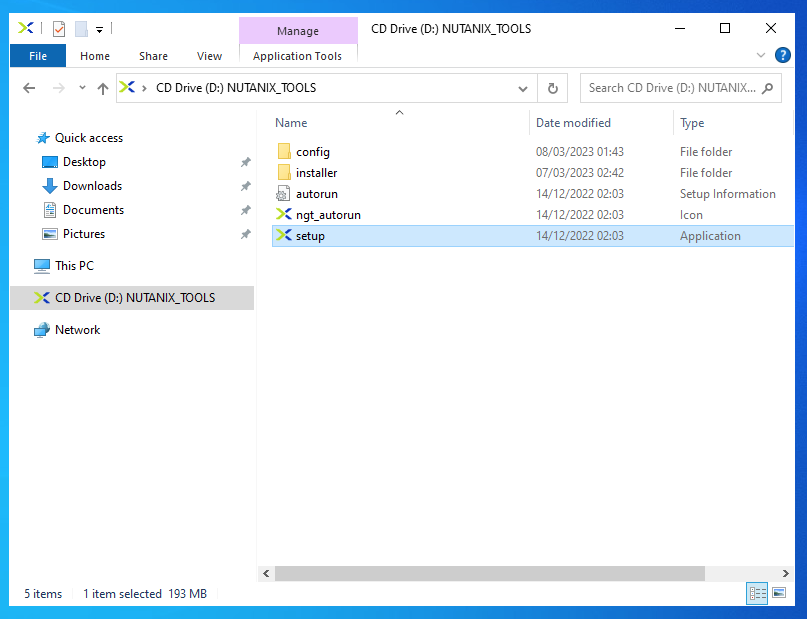
Submit to complete. Run the setup to install:
Power Down
Because UK Energy Crisis, let’s quickly cover safely powering down our Nutanix environment.
CVM Shutdown
After shutting down all other guest VMs, SSH to the CVM and issue the command:
cvm_shutdown -P now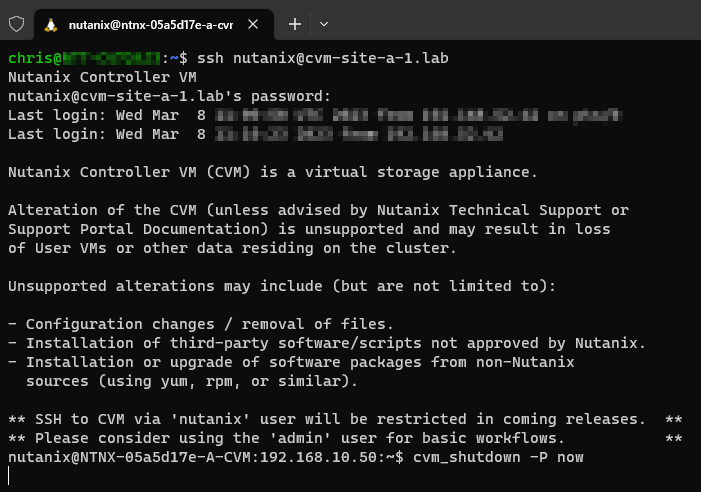
AHV Host Shutdown
Cheat!
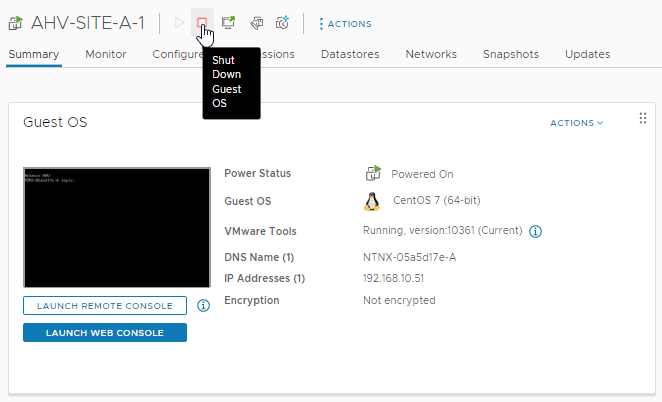
That’s why we installed VMTools in part 1. ![]()
Conclusion and Wrap Up
So there we have it. In this post we built upon the deployment of our Nutanix AHV host by completing it’s configuration.
After that, we deployed a test VM. Finally we looked at how to power the environment down.
Nice!
This post is part 2 of a multipart series. Find the other parts here:
- Part 1: Now it’s Time for Something Different
- Part 2: This Part: Configuration and Test VM Build
-Chris