


 So this little titbit got me interested:
Microsoft released Windows Server 2016 Technical Preview 5 on April 27, a test build that includes Nano Server as an installation option. First announced a year ago, Nano Server is a container- and cloud-friendly version of Windows Server that dispenses with the GUI, 32-bit support and other software components that compete for CPU cycles.
This week, Microsoft has incorporated Nano Server as a deployment option on both the Standard and Datacenter editions of Windows Server 2016 Technical Preview 5.
“It is a remotely managed option similar to Windows Server in Server Core mode, but significantly smaller, has no local logon capability, and only supports 64-bit applications, tools, and agents,” according to an online support document. “It takes up far less disk space, sets up significantly faster, and requires far fewer updates and restarts than Windows Server with the full desktop experience.” According to Microsoft’s estimates, Nano Server’s image is 25 times smaller than that of a full Windows Server image with desktop functionality.
From: http://www.eweek.com/enterprise-apps/microsoft-adds-nano-server-option-to-windows-server-2016.html
Which prompted:
But will 2016 nano server run in VMware VM? #ChallengeAccepted https://t.co/5M8YaNVGiy
— Chris Hall (@chall32) May 4, 2016
To which I received the following unexpected reply:
@chall32 I didn't test that but it should and if it doesn't - let us know and we'll get on that.
— jsnover (@jsnover) May 4, 2016
Wow!! Wasn’t expecting that :o)
For those of you unfamilliar with Jeffery Snover, take a look at: www.jsnover.com. Yes, Jeffery Snover INVENTED Windows Powershell!!!
….I guess I better get playing sorry testing then!!
Overview
So first off, lets create a standard Server 2016 VM, inside of which we will build our nano server image for deployment to a second VMware VM. Ultimately we will also need the first VM to manage the nano server VM once it is up and running.
The VMs
To keep things nice and simple, I’ll name our two VMware VMs as follows:
- 2016-MGMT - Our Nano server image build server and Hyper-V management server
- 2016-NANO - Our Nano Server VM itself
I’m using VMware Workstation 12 for the moment. I will keep the testing on ESXi for another day.
2016-MGMT VM Install
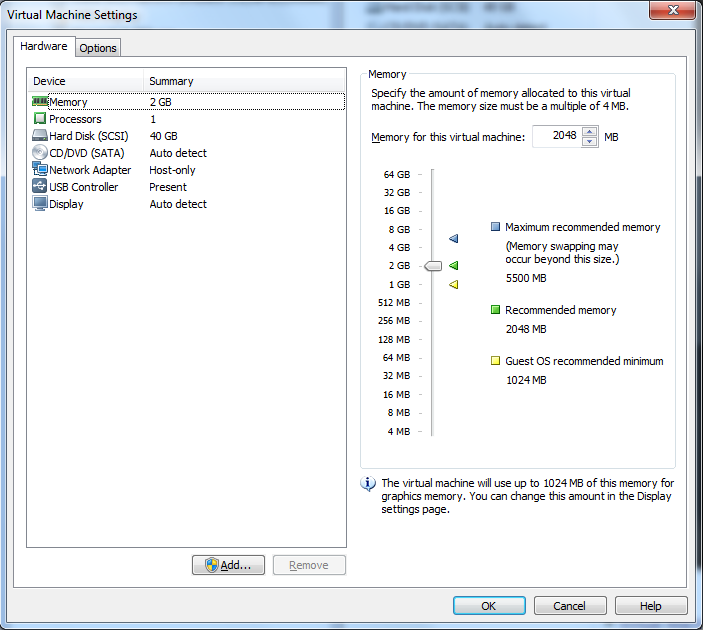
All standard stuff. For the VMware VM configuration (I used Windows 10 x64 in the VM’s guest O/S config):
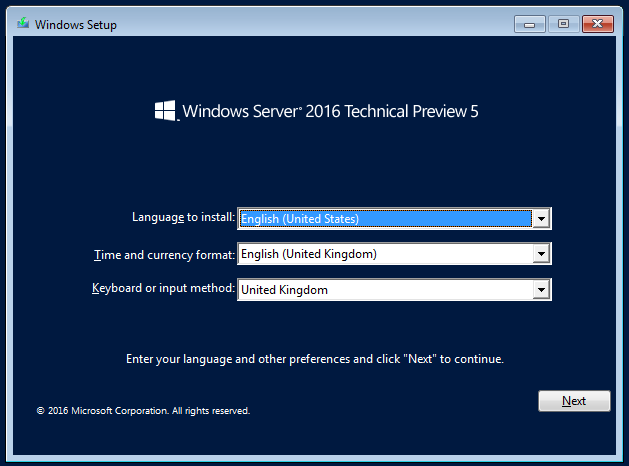
Hookup 2016 Server Tech Preview 5 iso image and boot the 2016-MGMT VM:
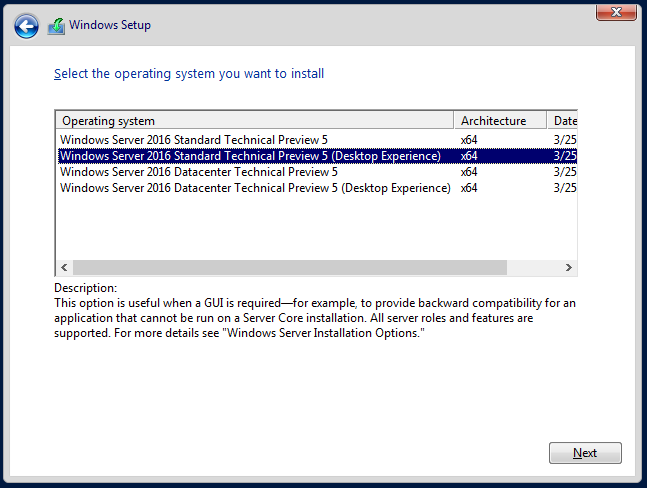
As this VM is going to be our nano build and management VM, lets go for the full desktop experience:
Let the install complete, and thats that for the time being.
Nano Server Image Build
Logon to 2016-MGMT and complete the following:
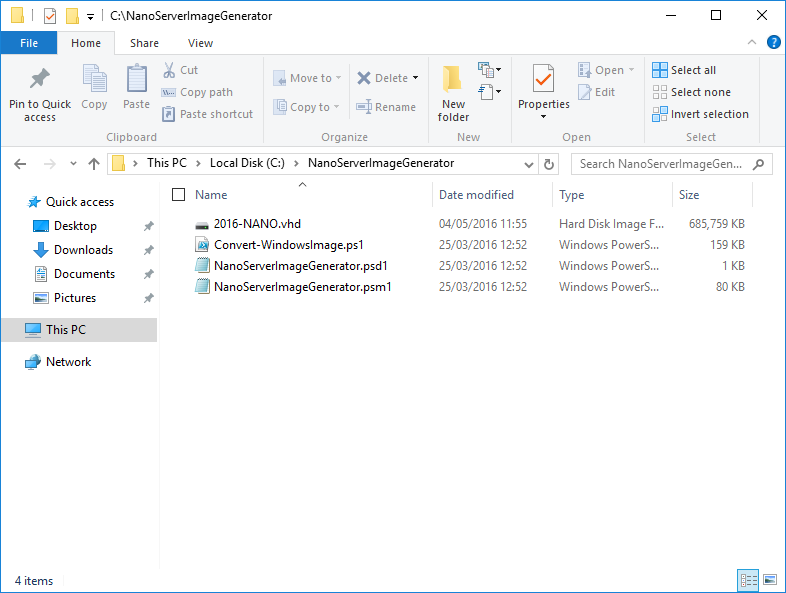
Copy \NanoServerImageGenerator folder in the Windows Server Technical Preview ISO to a folder on your hard drive. I copied mine to C:\NanoServerImageGenerator
Start Windows PowerShell as an administrator and cd to C:\NanoServerImageGenerator
Tweak the execution policy: Set-ExecutionPolicy RemoteSigned
Import the NanoServerImageGenerator Powershell module: Import-Module .\NanoServerImageGenerator.psd1 -verbose
Issue the following command to create the Nano Hyper-V boot image:
New-NanoServerImage -Edition Standard -DeploymentType Host -MediaPath d:\ `
-TargetPath .\2016-NANO.vhd -ComputerName 2016-NANO -OEMDrivers -Compute
Where:
-Edition Standard or Datacenter - In our case Standard
-DeploymentType Host or Guest - In our case Host
-MediaPath specifies a path to the root of the contents of the Technical Preview ISO - In our case d:\
-TargetPath specifies a path, including the filename and extension, where the resulting VHD or VHDX will be created. In our case the current folder
-ComputerName is the computer name for the Nano Server you are creating. In our case “2016-NANO”
-OEMDrivers Basic drivers for a variety of network adapters and storage controllers. This is the same set of drivers included in a Server Core installation of Windows Server 2016 Technical Preview
-Compute enables the Hyper-V role
Which looks like this:

Looking in the folder, we can see we have indeed created a 2016 Nano Server image:
OK, so we have a Windows .vhd virtual disk file. How can we convert this to a VMware .vmdk virtual disk file?
Easy! Use WinImage www.winimage.com to convert the disk file.
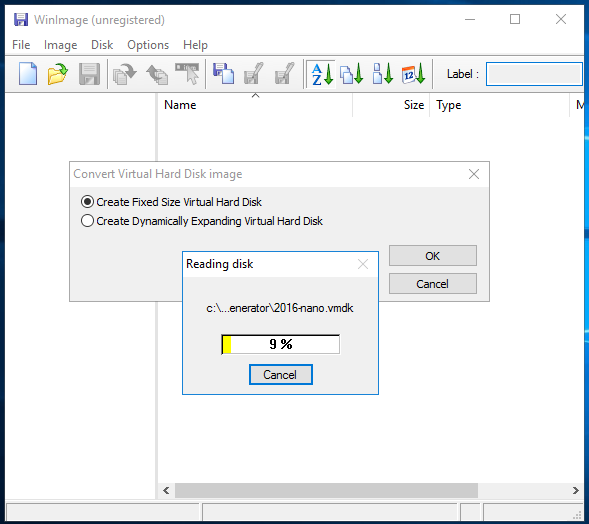
Install WinImage on to 2016-MGMT VM, Open WinImage, click “Disk” and “Convert Virtual Hard Disk Image”, Select file type “Virtual Hard Disk (.vhd)” under file type field, open the 2016-NANO.vhd file, select “Create Fixed Size Virtual Hard Disk”, Select file type “VMware VMDK (.vmdk)” under file type field. Choose the folder where the destination virtual disk will be created, type the virtual disk name and then click “Save”.
Give it time to convert:
Copy out the resulting .vmdk file to the host system.
2016-NANO VM Config
Simply create another VM called 2016-NANO with the same hardware make up as 2016-MGMT (as detailed above), however when prompted to create a new virtual disk, select “use existing virtual disk” and point the VMware VM creation wizard to the .vmdk file created using WinImage earlier.
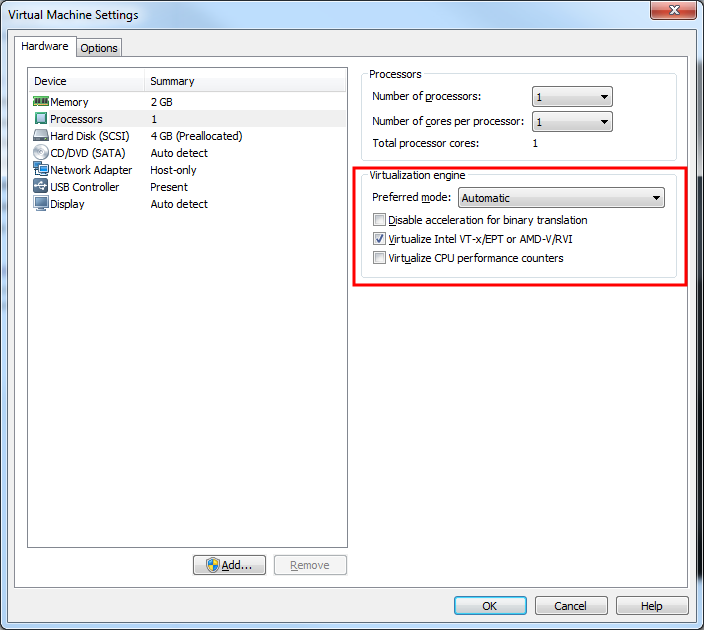
Before starting the 2016-NANO VM for the first time, there is a quick tweak needed to allow us to run Hyper-V VMs under VMware Workstation. That is we need to enable the visualisation engine in the VM’s settings within VMware:
Testing
Time to power on the the 2016-NANO VM to see if it runs….
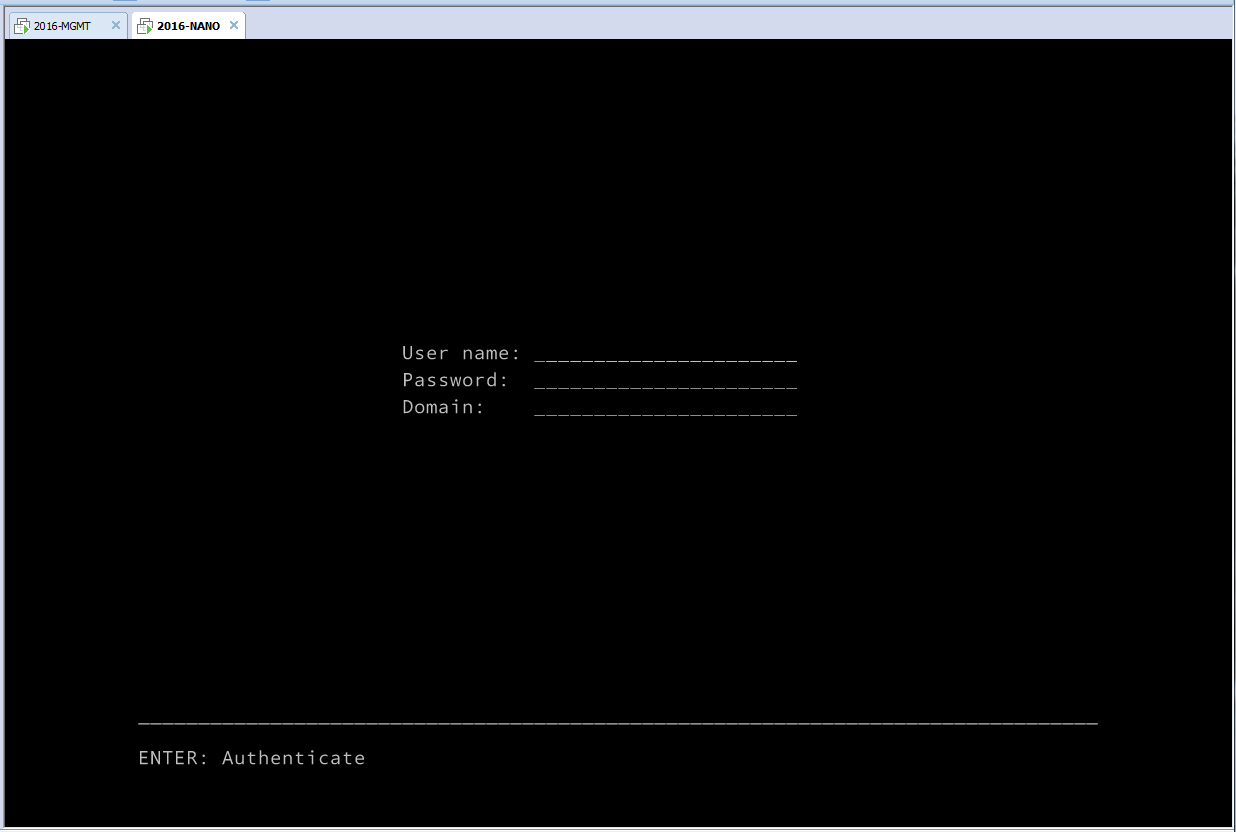
Sucess!!!!!
Next time: Configuring the 2016-NANO’s networking and managing it from our 2016-MGMT VM.
-Chris