 Just under a year ago now I was fortunate enough to be able to upgrade from ADSL to FTTC (Fibre To The Cabinet) VDSL broadband.
Overview
Overnight my internet connection jumped from around 4Mb/s to over 60Mb/s!
Understandably internet connetivity was good:
Happy with that! pic.twitter.com/j0yv5nXuLW
— Chris Hall (@chall32) May 7, 2014And for just under 12 months, all was good.
Just recently however, I had an issue with water ingress on my line and it became necessary once again to keep an eye on my broadband stats. But surely we can do something a bit more “web 2.0” than just running an app on a desktop / server somewhere. Apps are all well and good, but it does require a level of effort to login and check the output of the monitoring app.
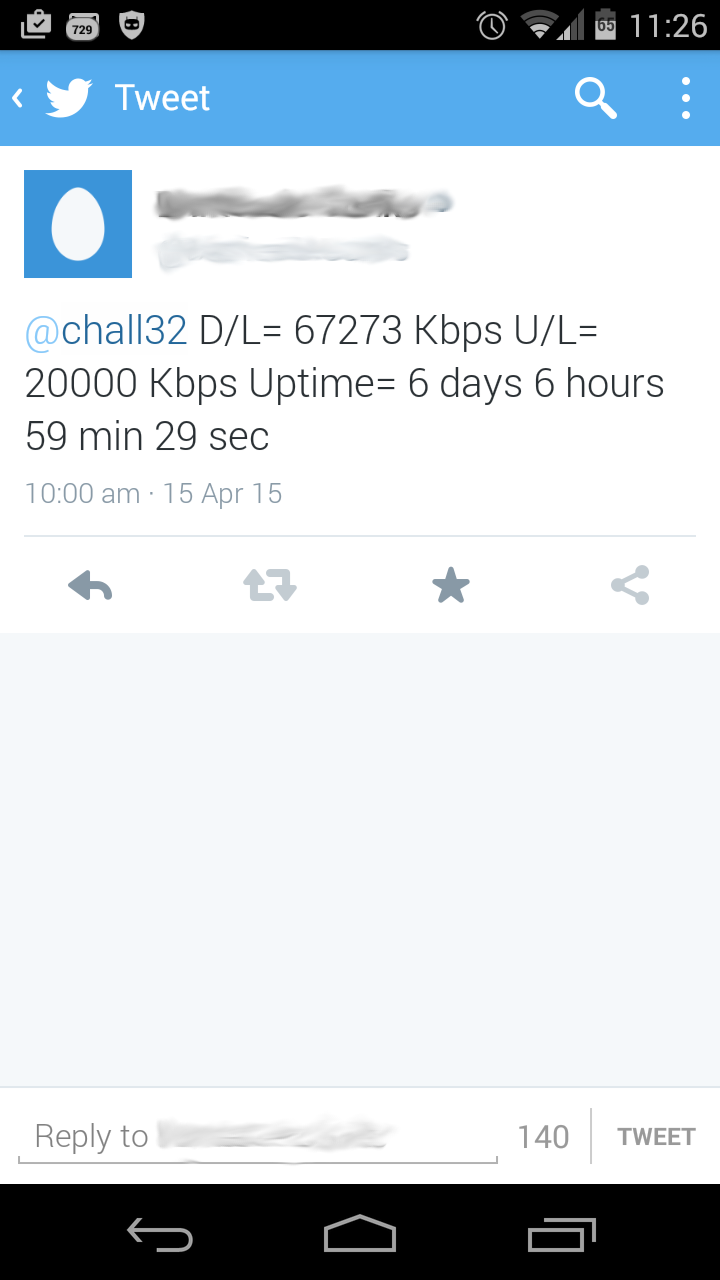
Wouldn’t it be good if I just received the basics via a push notification to me on my phone wherever I am?
In a twitter notification type of way……. :oD
I personally use twitter for all sorts of notifications; blog posts, traffic incidents, etc. So that I get notifications, I use a second private twitter account and suffix all my tweets @chall32 so that my phone twitter client picks up on the notifications and make the appropriate noises, buzzes etc.
Hence I came up with a very simple powershell script based on Martin Pugh’s telnet Powershell script available at: http://community.spiceworks.com
Team this with the native python twitter client https://pypi.python.org/pypi/twitter (because it’s soo much easier to use than coding your own twitter o-auth stuff in Powershell) and job done. Here’s how.
Step 1: Understand your Modem / Router
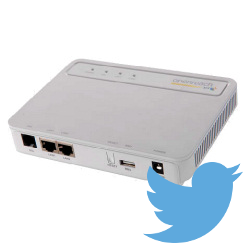
I now (I didn’t before - but thats a different story for another day) run a Huawei HG612 Modem on my VDSL broadband connection. I’ve loaded custom firmware on it as detailed on the brilliant Kitz Wiki: Huawei HG612 FTTC Modem & Line Stats
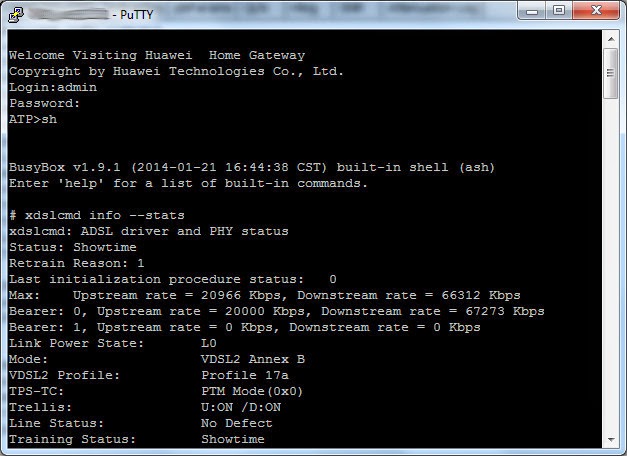
My modem requires a couple of telnet commands to offer me up it’s line stats:

So that’s sh (to open busybox) and xdslcmd info --stats to get the goods.
Step 2: Powershell Telnet
Dead simple. I just copied one of Martin’s examples. My command ended up looking like this:
Get-Telnet -RemoteHost "192.168.0.1" -Commands "admin","password","sh", `
"xdslcmd info --stats" -OutputPath "C:\out.txt" -WaitTime 1500
Breaking this command down, the command logs onto my modem at IP address 192.168.0.1 (yours will probably be at at a different IP address) using admin and password for credentials. It then issues the commands sh and xdslcmd info --stats to the modem, saves the output of the whole telnet session to a textfile C:\out.txt after waiting for 1500 milliseconds, closing the telnet session and continuing with the rest of the script.
Step 3: Powershell Text File Crunching
This is the tricky part. As we are going to be notifying via twitter, we just want the salient points in our tweet - we have no need for the other gumph.
My modem returns the up and down link speed stats in this format:
Bearer: 0, Upstream rate = 20000 Kbps, Downstream rate = 67273 KbpsSo I use this command to get my download speed:
$dnspeed = (Select-String -Path c:\out.txt -pattern "Bearer: 0, Upstream rate =").Line.Split("=,")[4]Here I’m searching the text file C:\out.txt for "Bearer: 0, Upstream rate =", once I find that line of text, I then splitting the text up into chunks using = and , as delimiters. From there I grab the fourth chunk of text (text chunks start at 0) which is 67273 Kbps and save it to the variable $dnspeed.
I repeat that for upload speed, but select text chunk 2 instead:
$upspeed = (Select-String -Path c:\out.txt -pattern "Bearer: 0, Upstream rate =").Line.Split("=,")[2]For link time, handily my modem gives me this via the same command:
Since Link time = 4 days 15 hours 19 min 11 secThat’ll do. I’ll just grab that time out of that using:
$uptime = (Select-String -Path c:\out.txt -pattern "Since Link time").Line.Split("=")[1] Split the line of text on = and grab the second chunk of text, chunk 1.
Finally, pull everything into one variable, called $tweet:
$tweet = "@chall32 D/L=$dnspeed U/L=$upspeed Uptime=$uptime"Step 4: Powershell Tweeting
Rather than coding something in Powershell to handle twitter o-auth authentication and sending of tweets, I cheat and use the ready made twitter command line executable available here: https://pypi.python.org/pypi/twitter
The Steps to enable tweeting from the command line (and hence Powershell) are as follows:
- Download and install python from https://www.python.org/downloads/
- Once python is installed, open a command prompt and navigate to C:\python34\Scripts
- Issue the command
pip install twitter -
You should see the following run though:

- Now issue the command
twitter.exe - A browser window should open prompting you to enter your twitter account credentials (remember to use a twitter account other than you main twitter account so that twitter notifications trigger correctly)
-
Authorize the app and enter the pin into the command line:

-
Quick test:

- Ah yea, all good:

To tweet from powershell, we just use Invoke-Command as follows:
Invoke-Command {C:\Python34\Scripts\twitter.exe set $tweet}Finally save the script and schedule via windows task scheduler:

That’s it !!!

For a full copy of the script, head on over to https://github.com/chall32/Tweet-DSLStats
-Chris


