


Winter is coming… Well to the UK anyway!
This morning I went to checkout why my central heating had not come on as usual, I was met with the following when checking the thermostat:
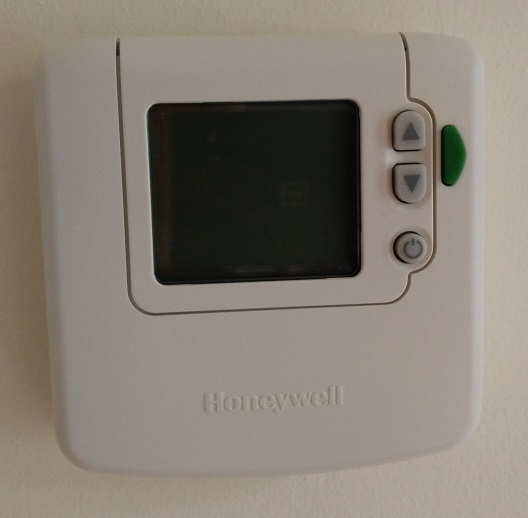
Hmm no temperature display…
Full disclosure, this is not the first time I’ve had this issue with this thermostat. A couple of days earlier I had the same issue and discovered that the Duracell batteries I had fitted over two years ago had started to leak. Grrr I thought Duracells were supposed to be “a higher standard battery…”
At that time, I had cleaned the battery compartment of Duracell battery “juice” and I assumed that was that. I guess not!
Right time to tear the unit down. Here is what I found and how I fixed the issue.
First off, isolate the central heating system from the mains. Turn the central heating system power off. No shocks for me today thank you.
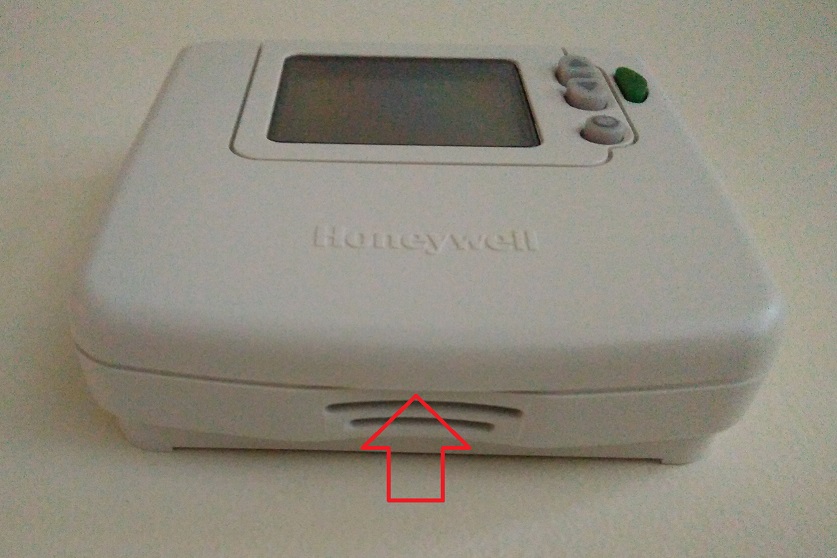
Then pull the top cover away from the unit:
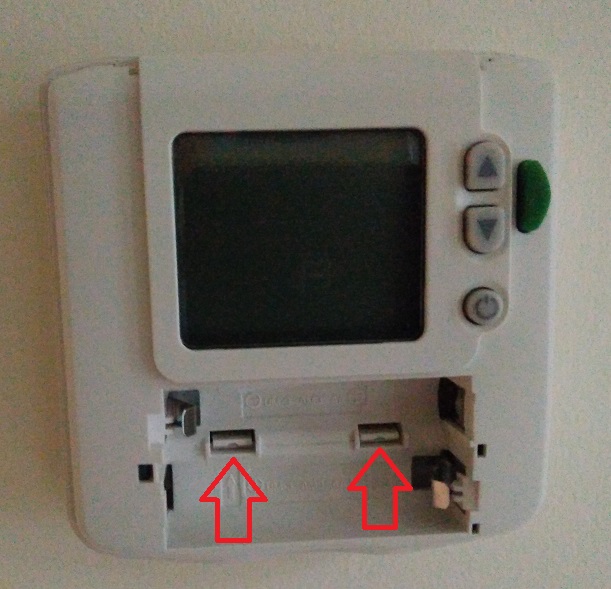
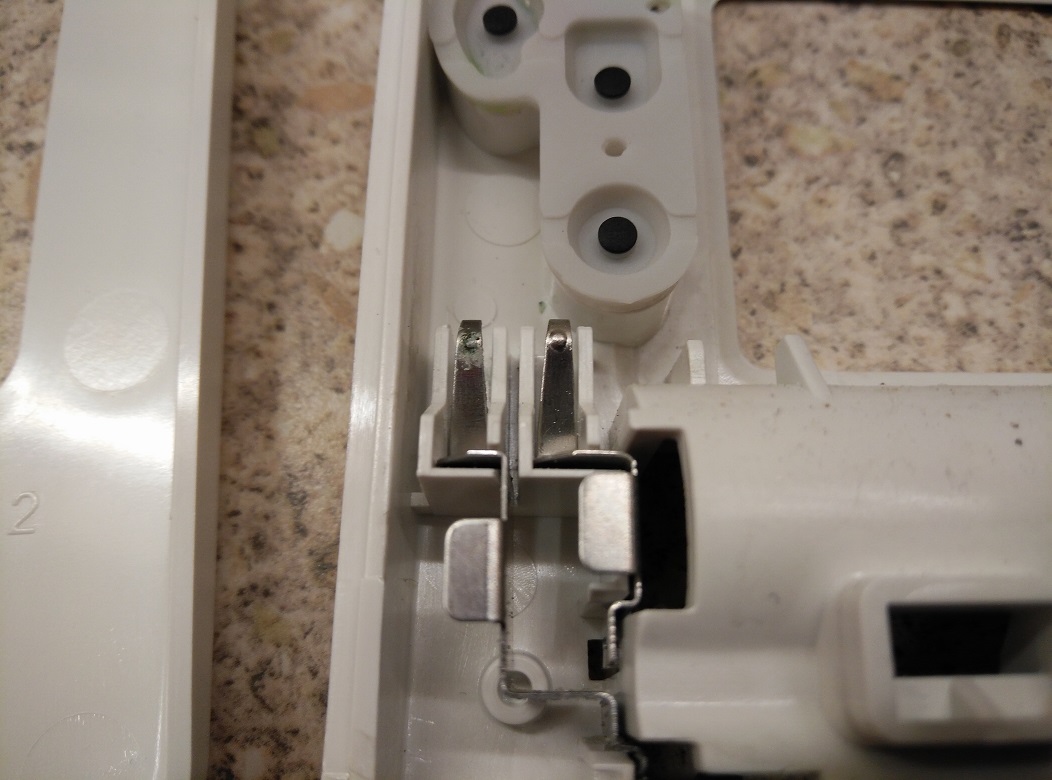
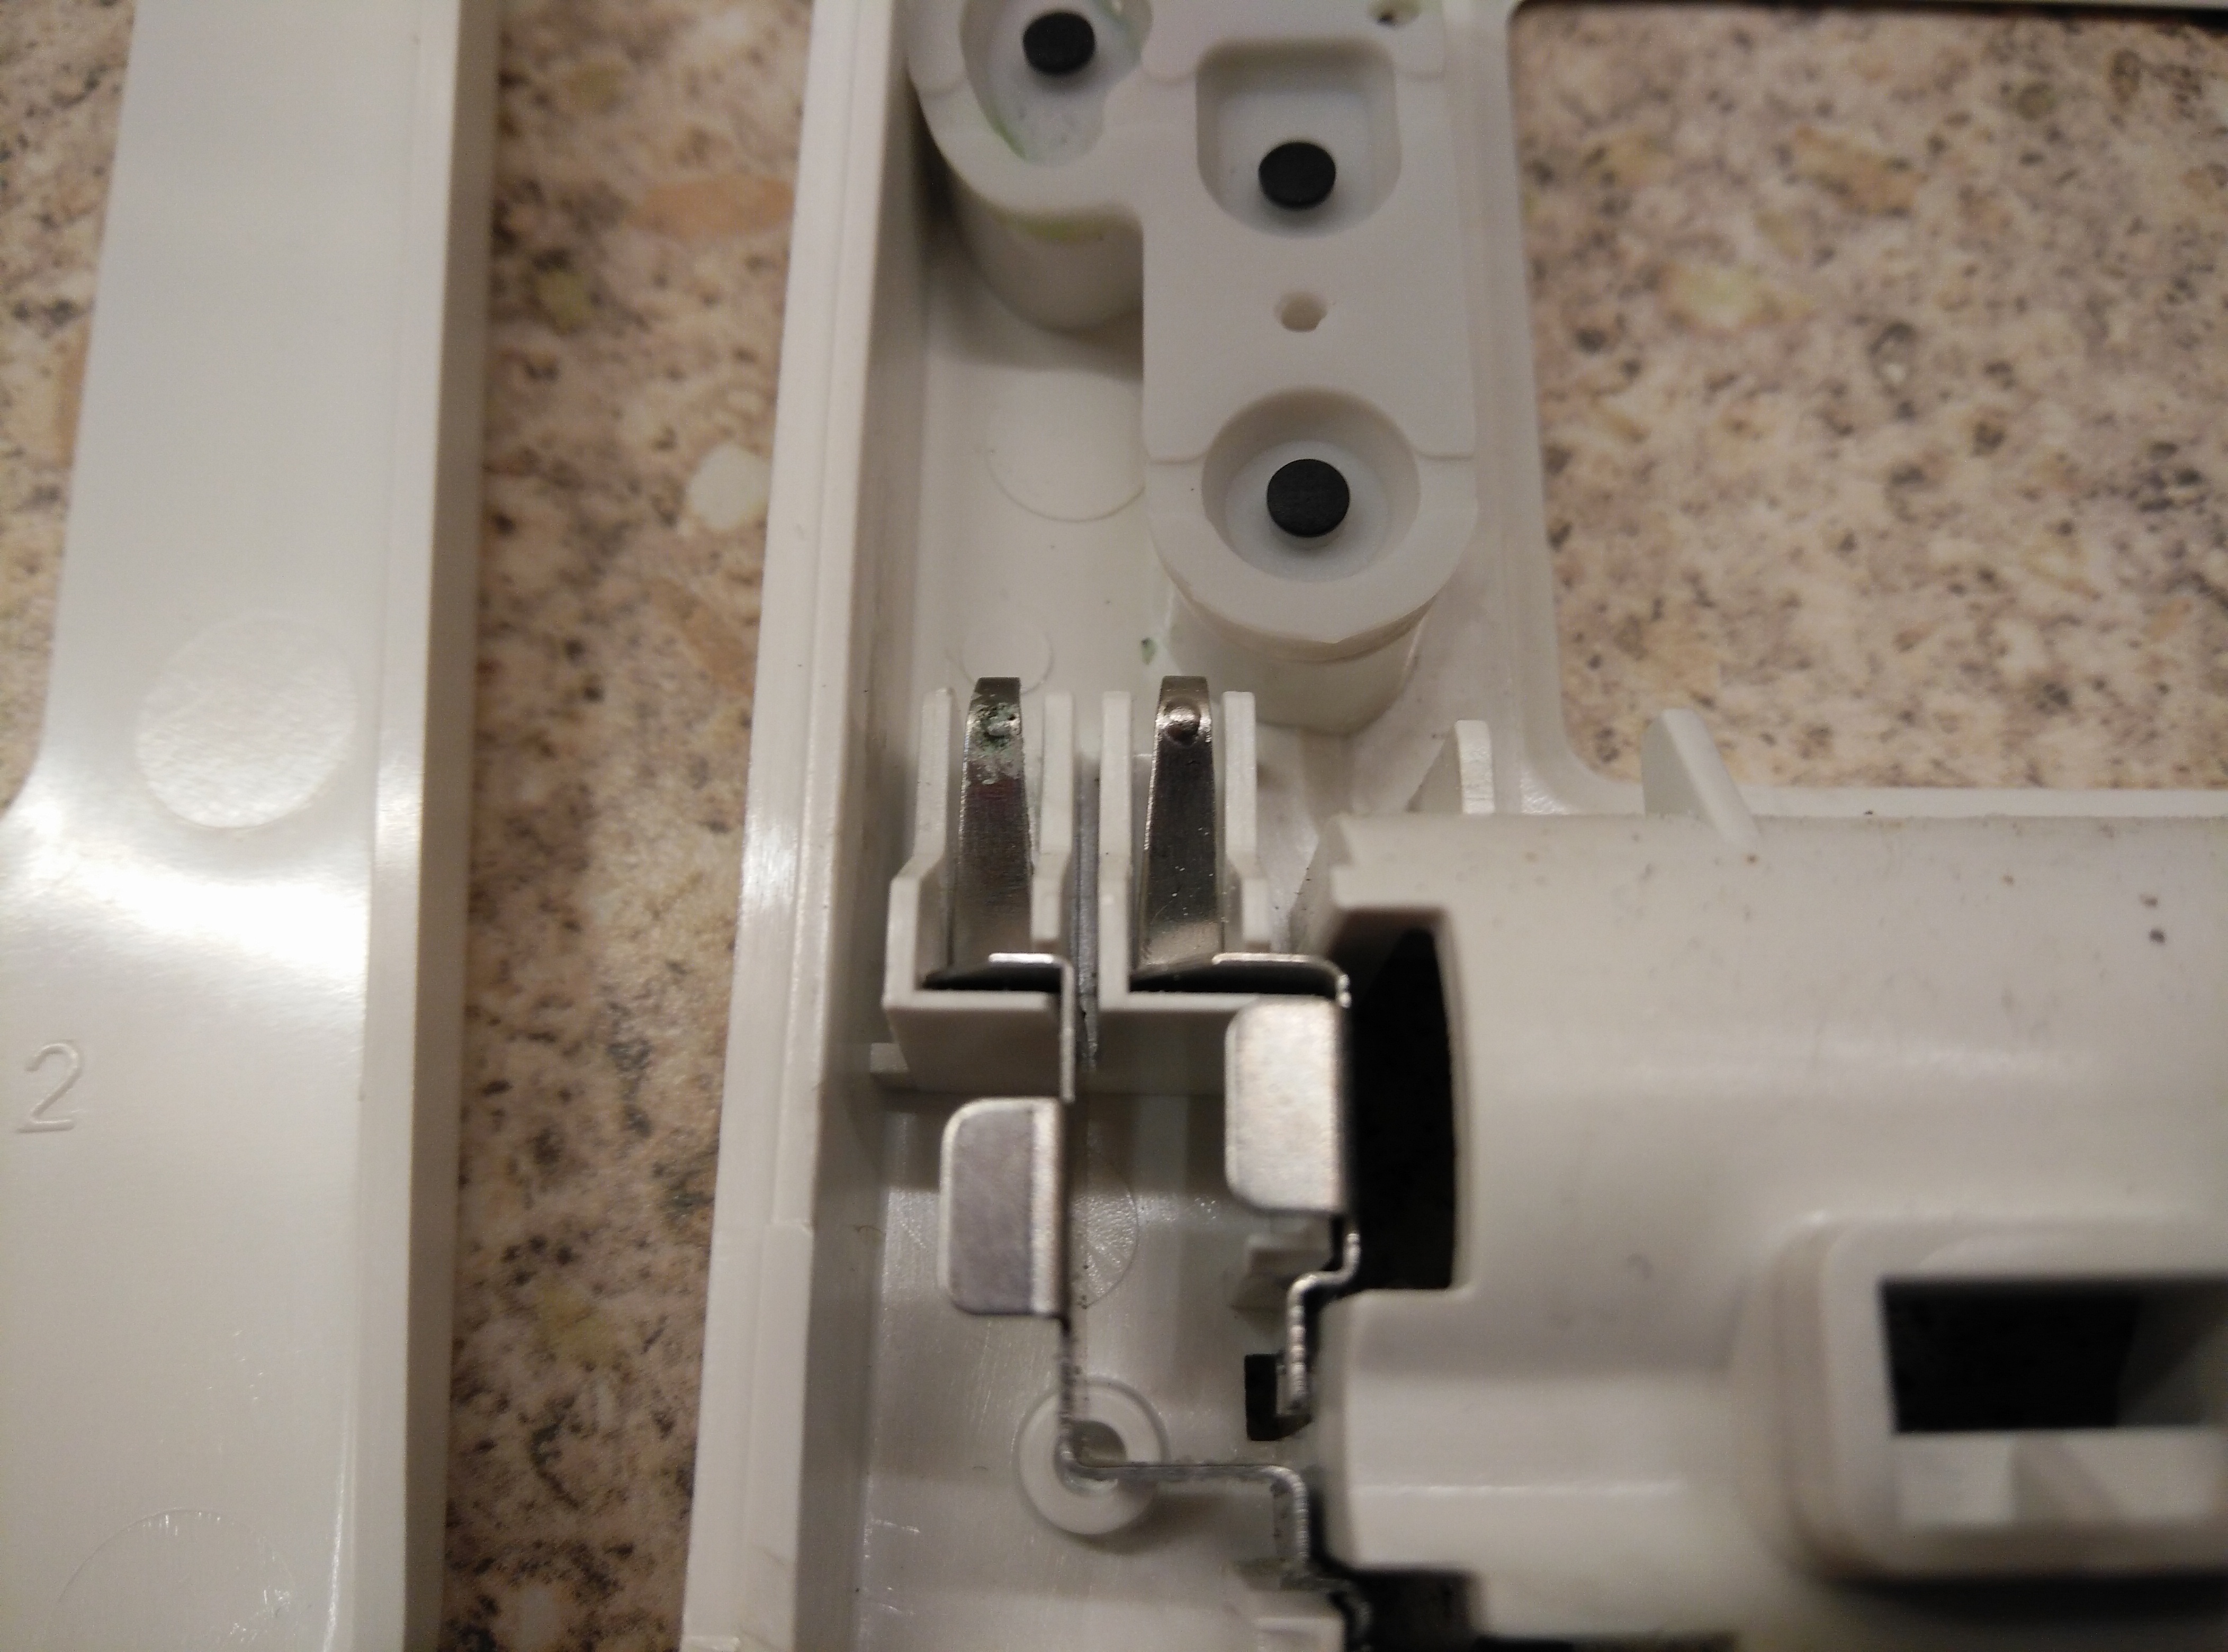
Remove the batteries and using a small screwdriver, lift the two small tabs located inside the battery compartment:
Then, lifting from the bottom, pivot the unit at the top to remove the thermostat from it’s mounting plate.
Once the thermostat is away from the wall you can take it to the bench - or in my case the kitchen work surface!
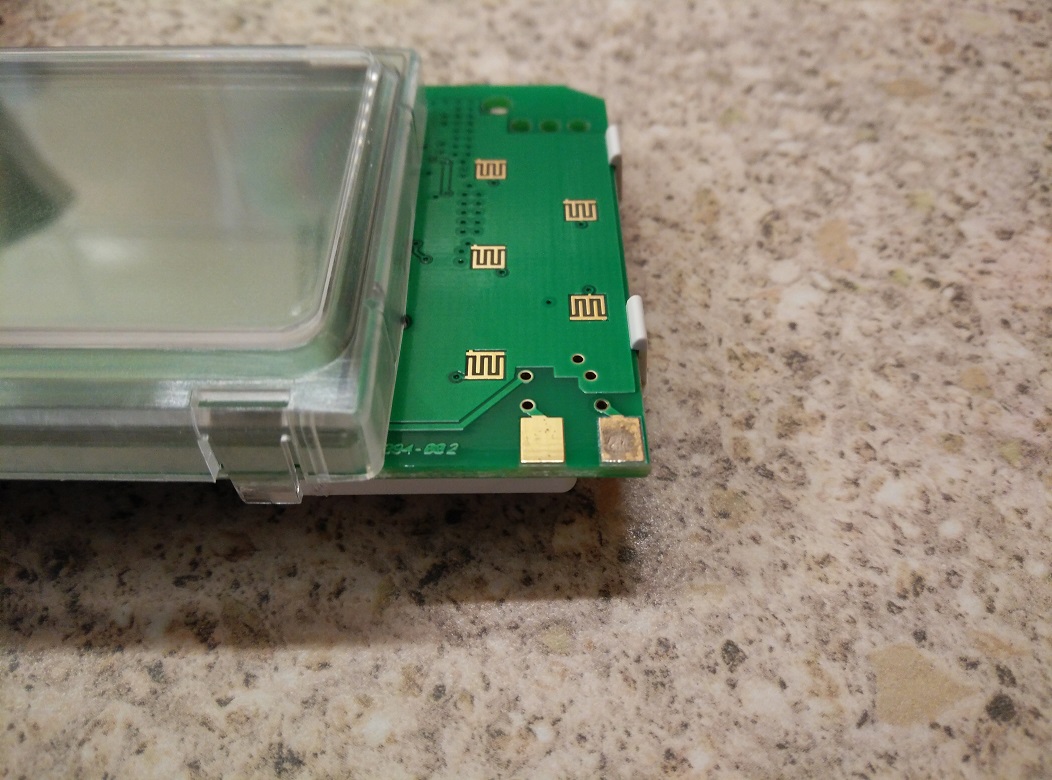
Next, lifting the tab highlighted below, gently remove the circuit board up and away from the unit:
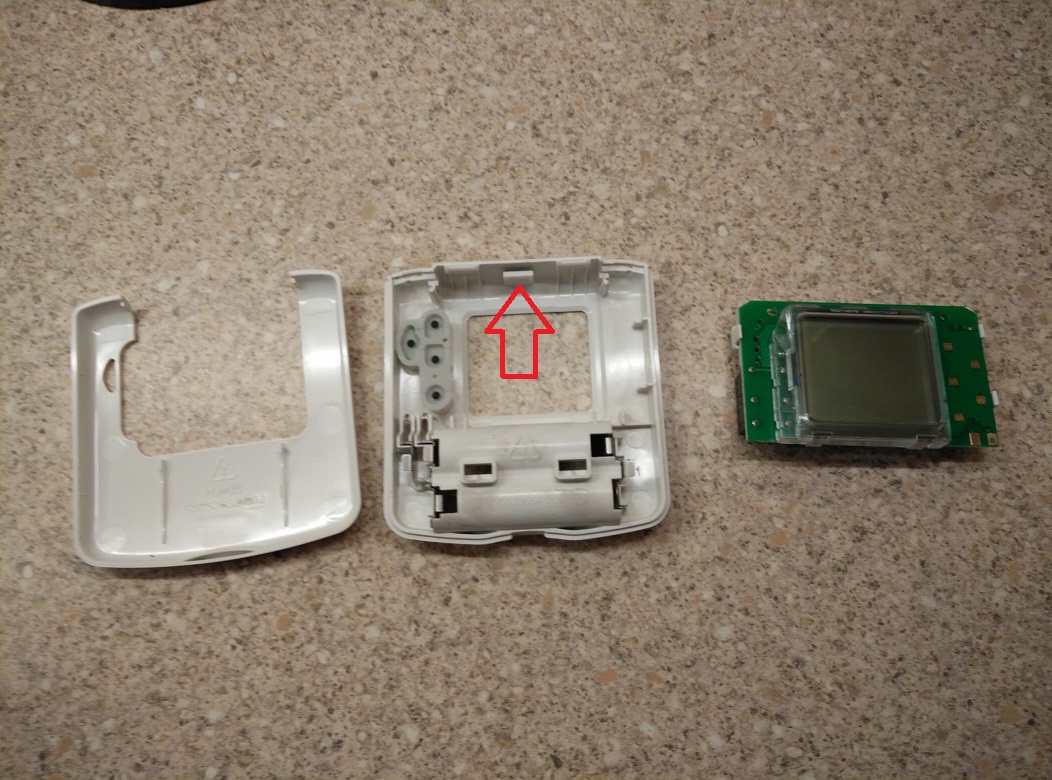
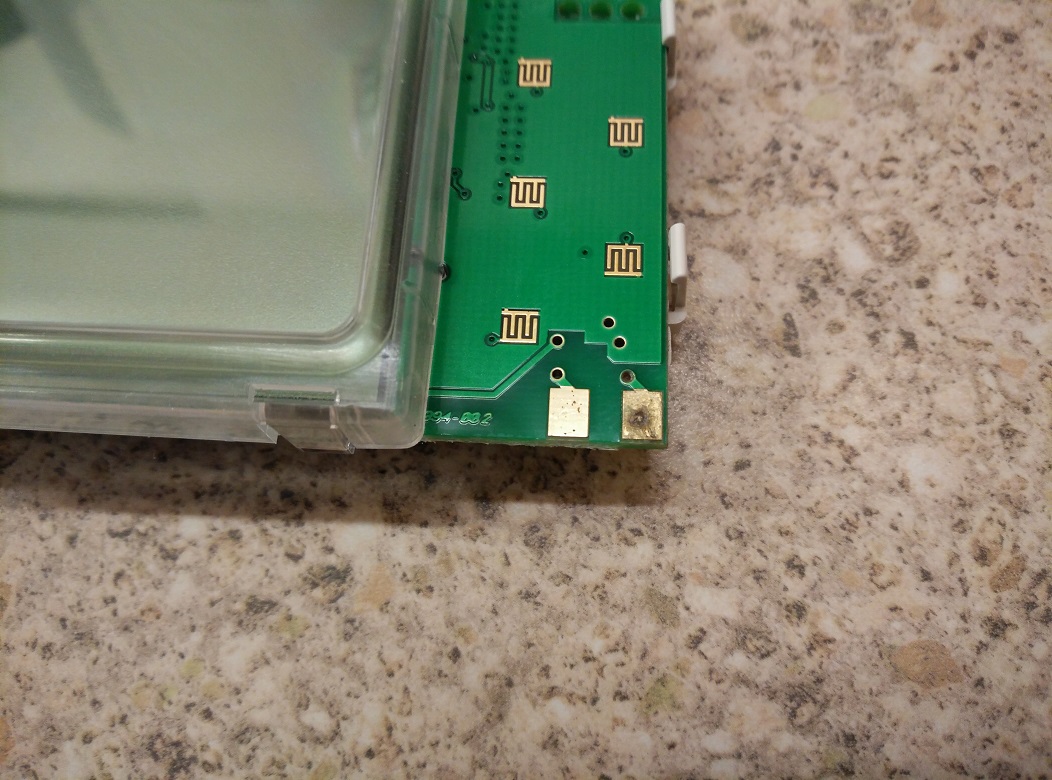
Right down to business. Inspecting the board and the battery contacts to the circuit board, I discovered the following:
 Click here to see a high res image
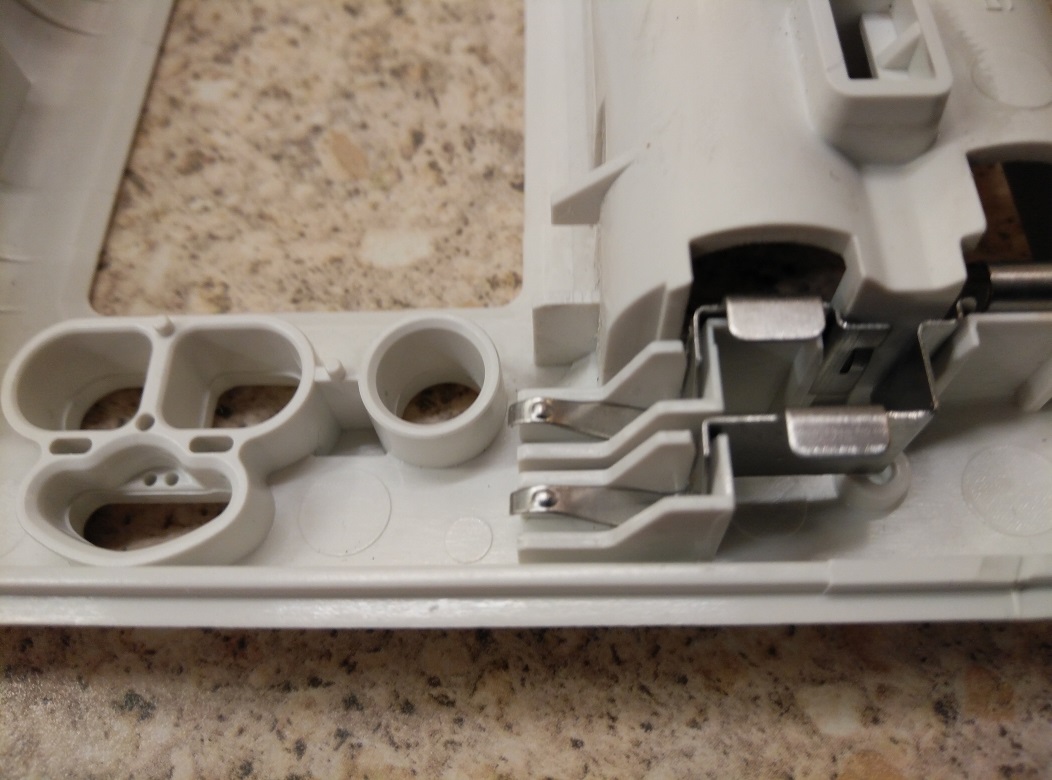
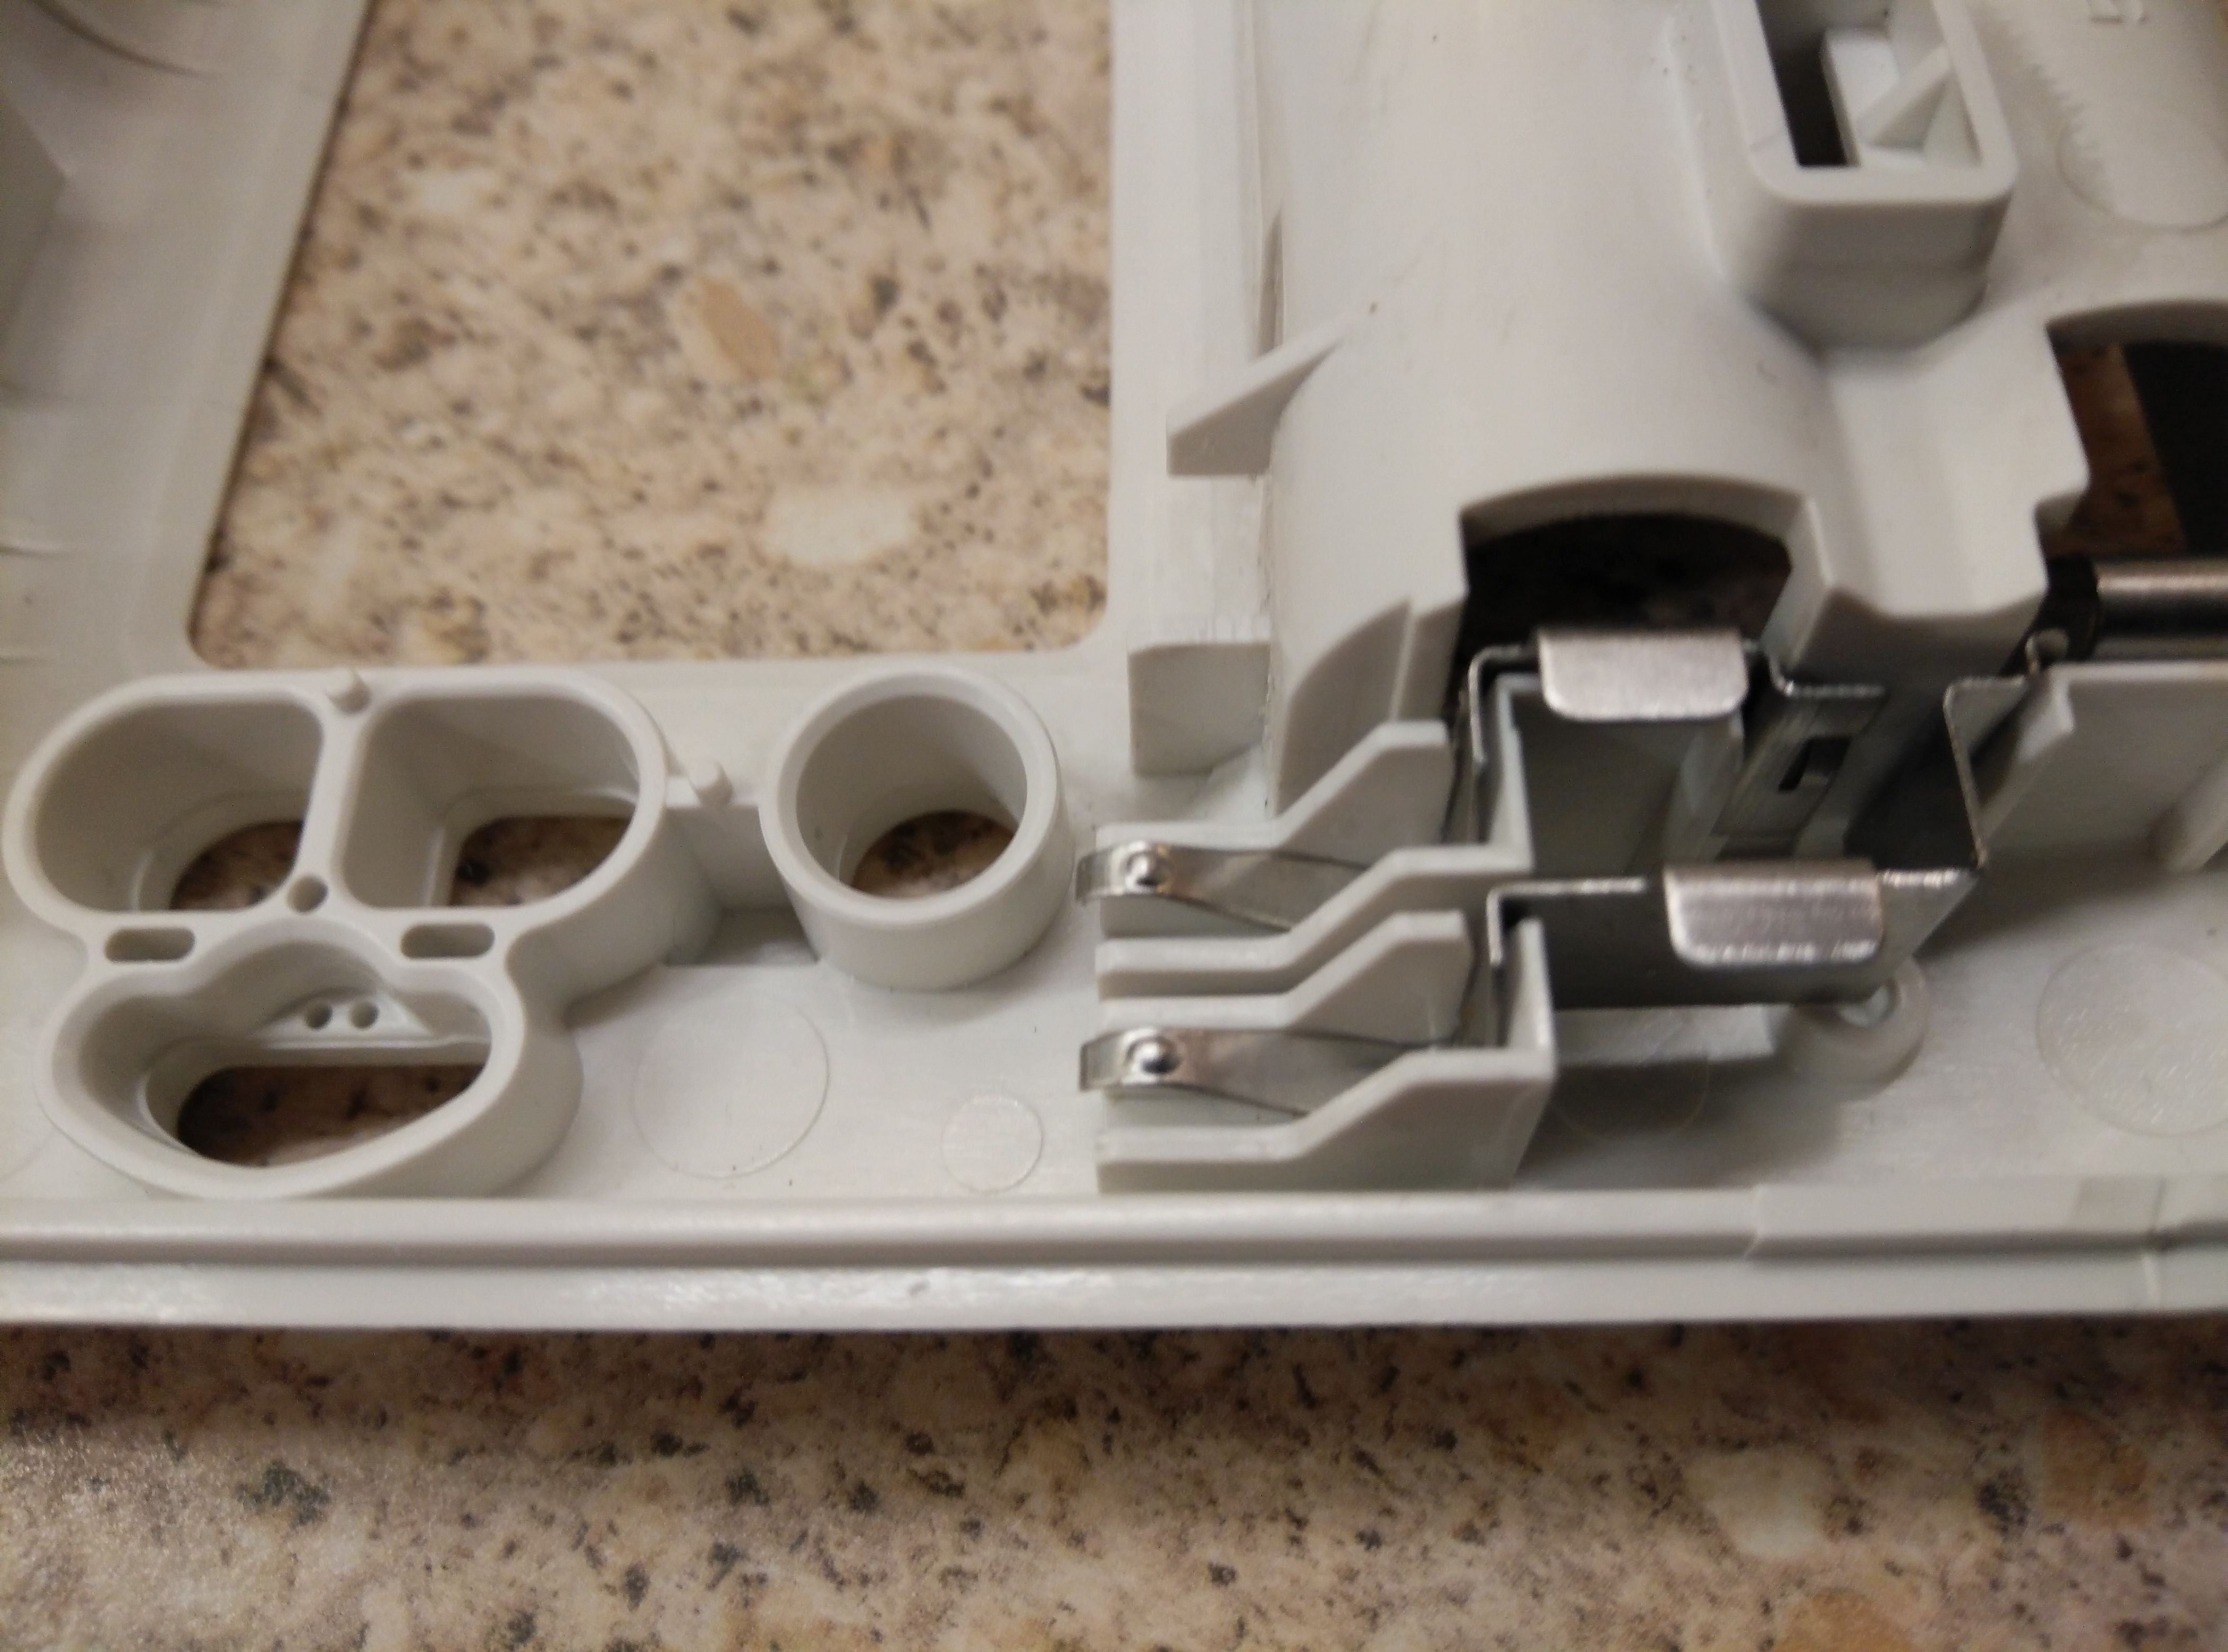
Yep, corrosion on the right hand battery connection pad. Lets look at it’s corresponding battery compartment connection tab:
 Click here to see a high res image
The elderly Duracell battery leak had made it’s way from the battery compartment onto the circuit board via the battery connection tab.
To clean the corrosion from the circuit board, I grabbed the following:
- Nail varnish remover (Acetone) - rubbing alcohol would do
- Cotton buds
- Dull kitchen knife
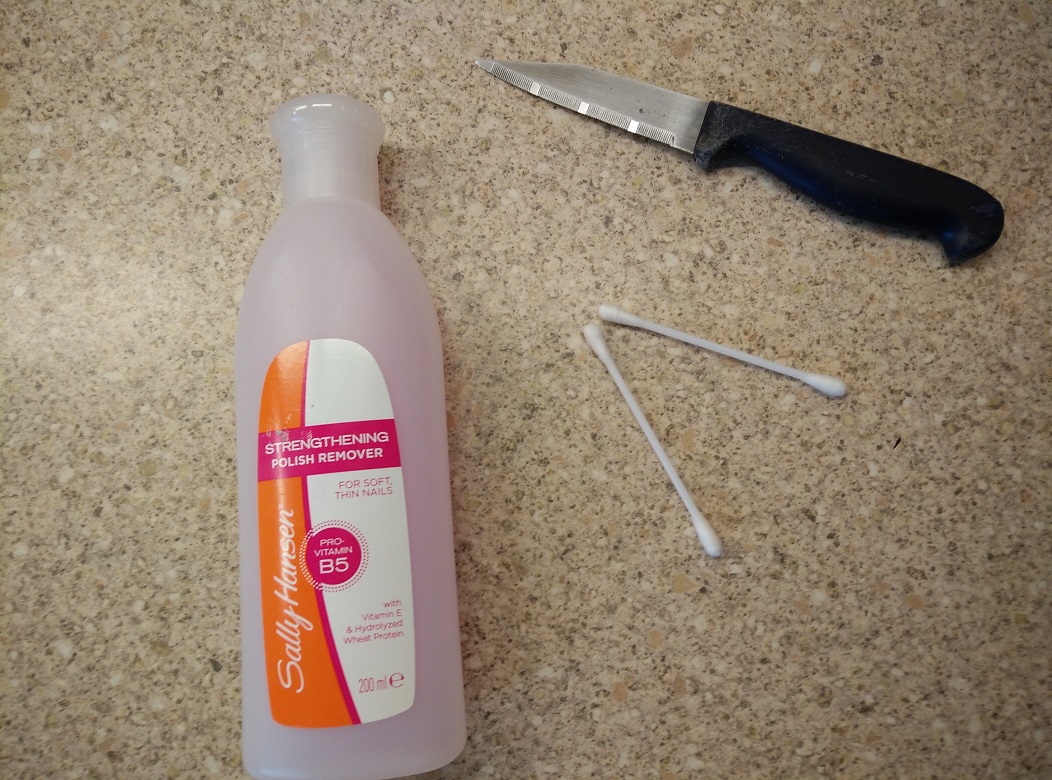
Yep, Acetone:
The aim is to remove the corrosion from both the circuit board and the battery connection tab.
A bit of cleaning and a bit careful scraping of the board later:
 Click here to see a high res image
 Click here to see a high res image
I also very gently bent the battery connection tabs upwards slightly to ensure that the made a stronger contact with the circuit board.
Not pretty, but functional.
Replacing the board into the plastic unit bottom first, a bit fiddly but easy enough, it was time to replace the batteries and test.
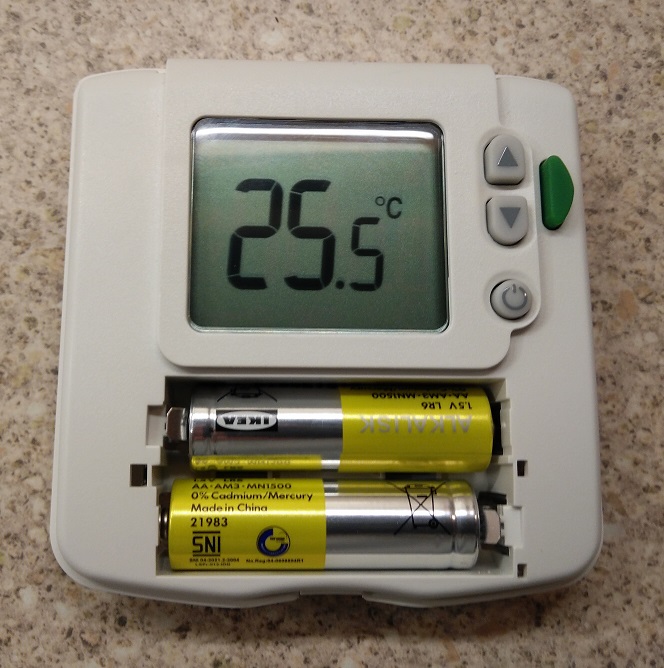
Yay, it now works! (Excuse the Ikea batteries, they are all I had to hand!)
Refit back onto the backing place on the wall, replace the cover, turn the heating system power back on and it’s job done:
That’s that then.
For completeness I’ve also uploaded the DT90E Installer Guide and the DT90E User Guide to this blog.
Job done. Toasty.
-Chris