 A quick post to show how to handle the creation of Virtual Machines (VMs) that require Trusted Platform Modules (TPMs) to function.
A Trusted Platform Module, or TPM, is a secure crypto processor that secures a computer via an integrated cryptographic key. But in more basic terms, it’s like a security alarm for your computer (or virtual machine) to prevent hackers or malware from accessing data.
Overview
TPMs and vTPMs
A TPM is a requirement run some modern operating systems such as Windows 11 (Windows 11 requirements) without workarounds. Therefore to be able to run, for example Windows 11 as a virtual machine, our VM is going to need a Virtual TPM or vTPM.
Let’s look closer at creating a VM with a VTPM.
Create vSphere Native Key Provider
Before we can provision VMs with vTPMs, we need a key provider. For deployments of vSphere 7.0 update 2 or later, vCenter has a key provider built in. VMware calls this the vSphere Native Key Provider.
For an overview of the vSphere Native Key Provider, see the Native Key Provider documentation.
For the purposes of this post, let’s set up a Native Key Provider.
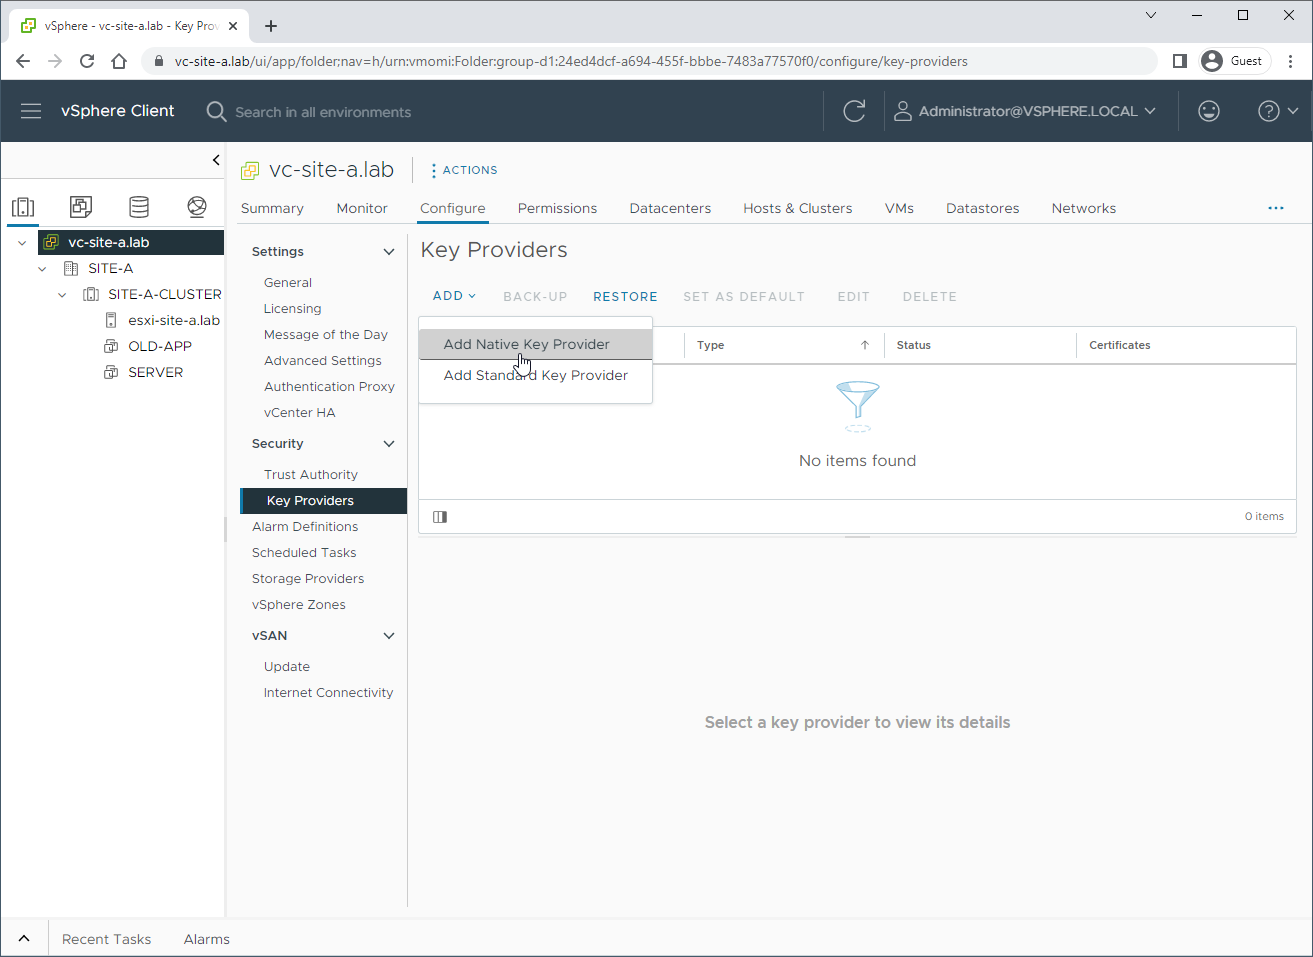
From the vSphere client select the vCenter instance at the top of the inventory list. Then select Configure > Security > Add > Add Native Key Provider:
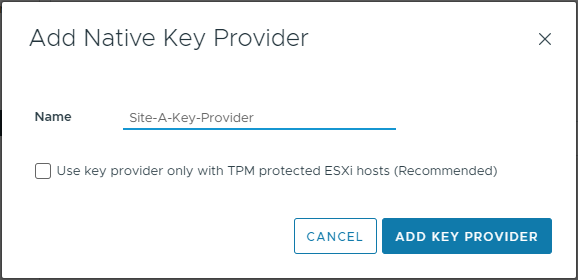
Name the provider:
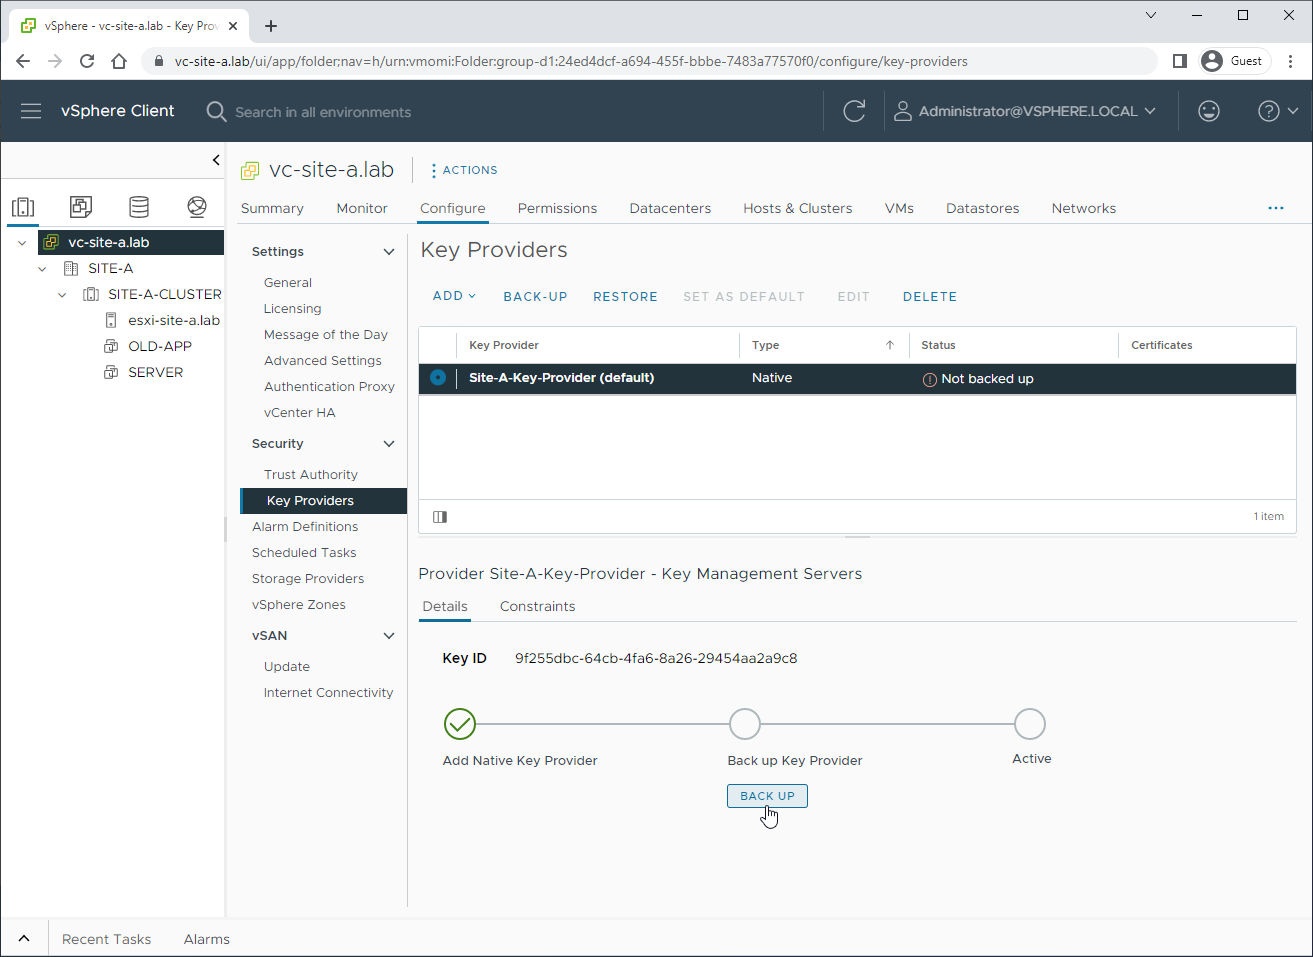
After creation of the provider, but before we can use it, we need to back up the provider configuration. Select Back Up to continue:
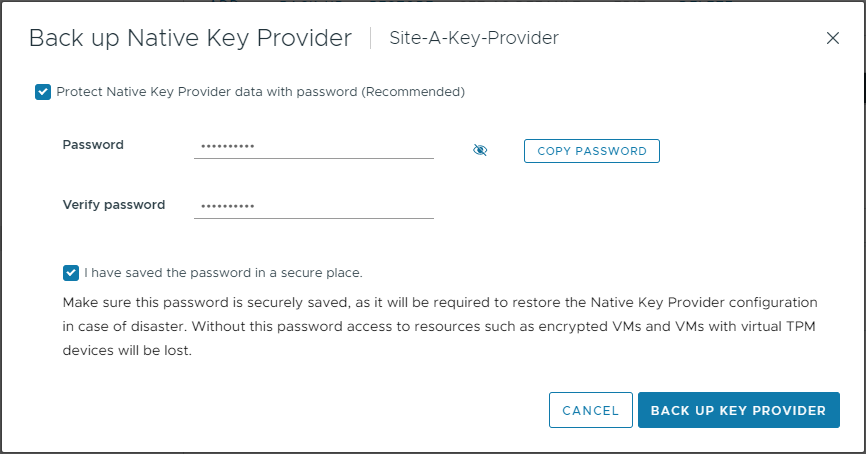
Supply a suitably complex password and select Back Up Key Provider:
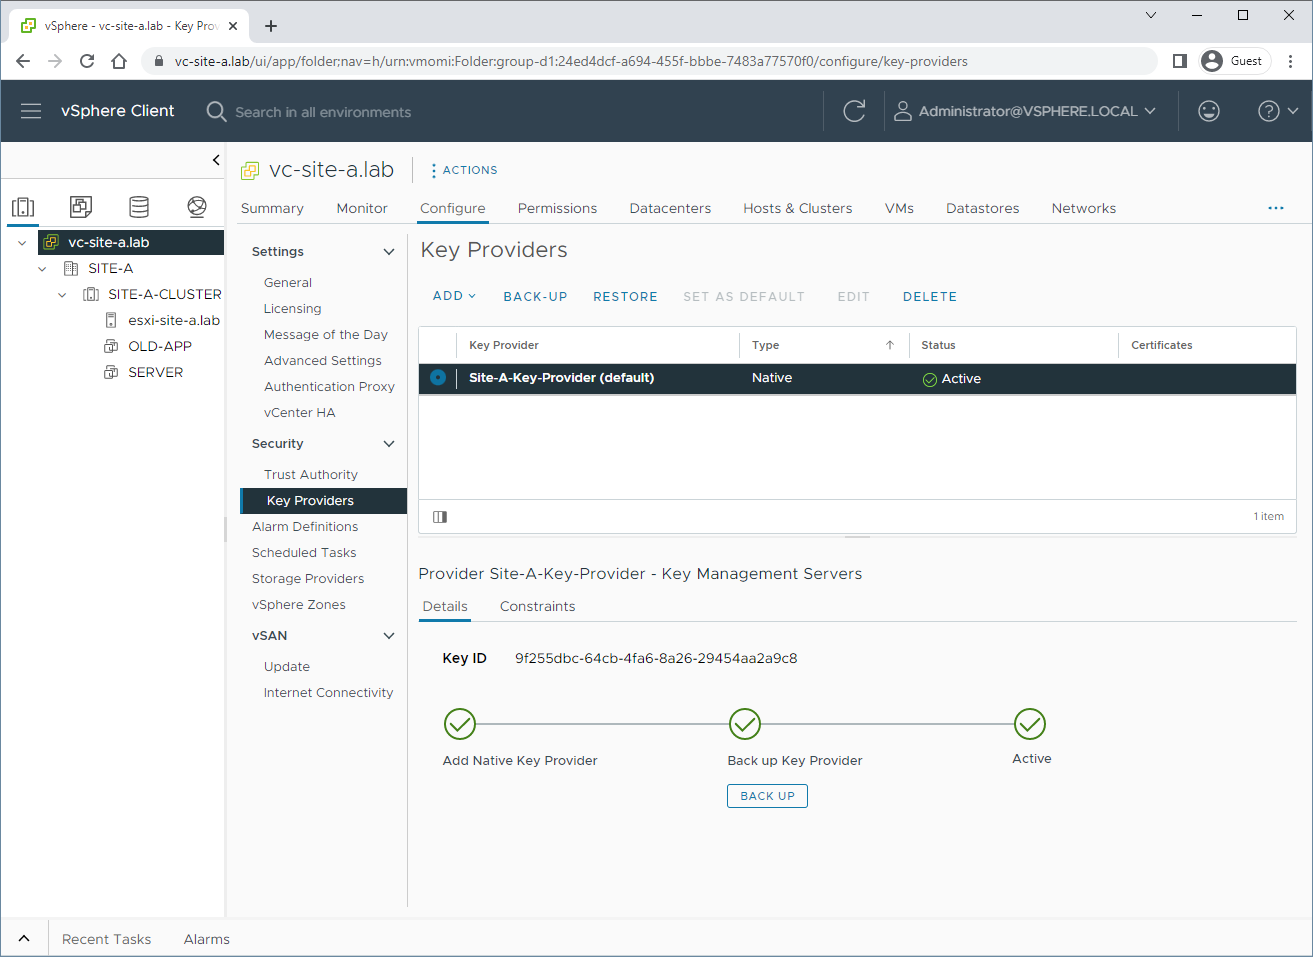
Once the backup completes, the provider becomes active and available for use:
Provision a VM with a vTPM
Right. Let’s create a Windows 11 VM. For brevity, I’ll cover just the salient vTPM points below.
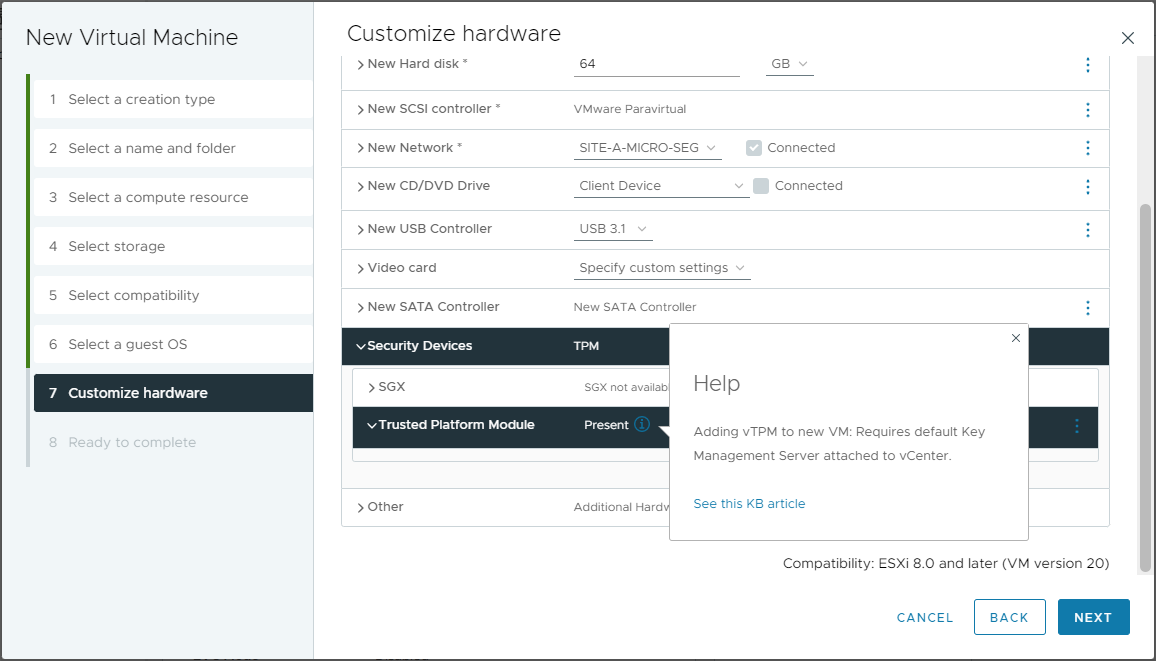
During the Windows 11 VM creation, we can see that the VM will be provided with a vTPM:
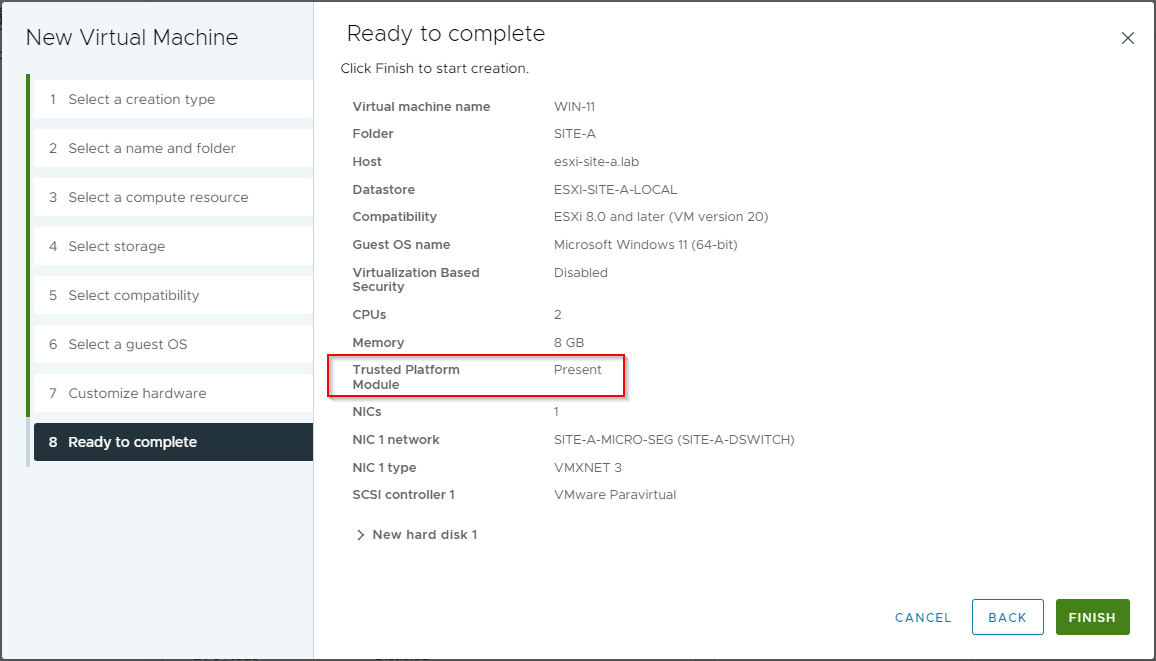
Confirming the VM configuration prior to completion, all looks good:
Let’s fire our VM up:
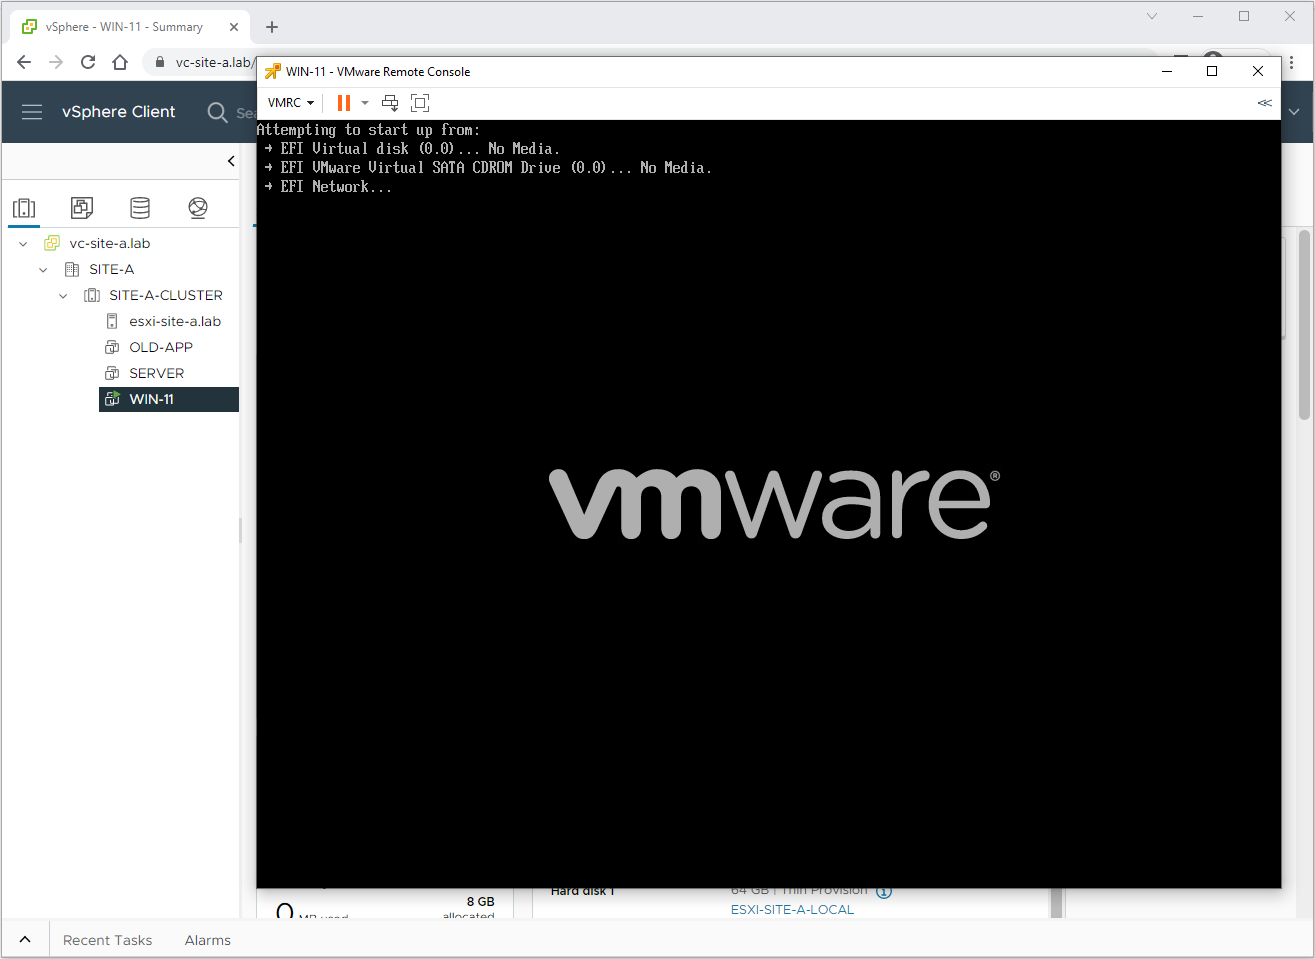
Install Windows 11:
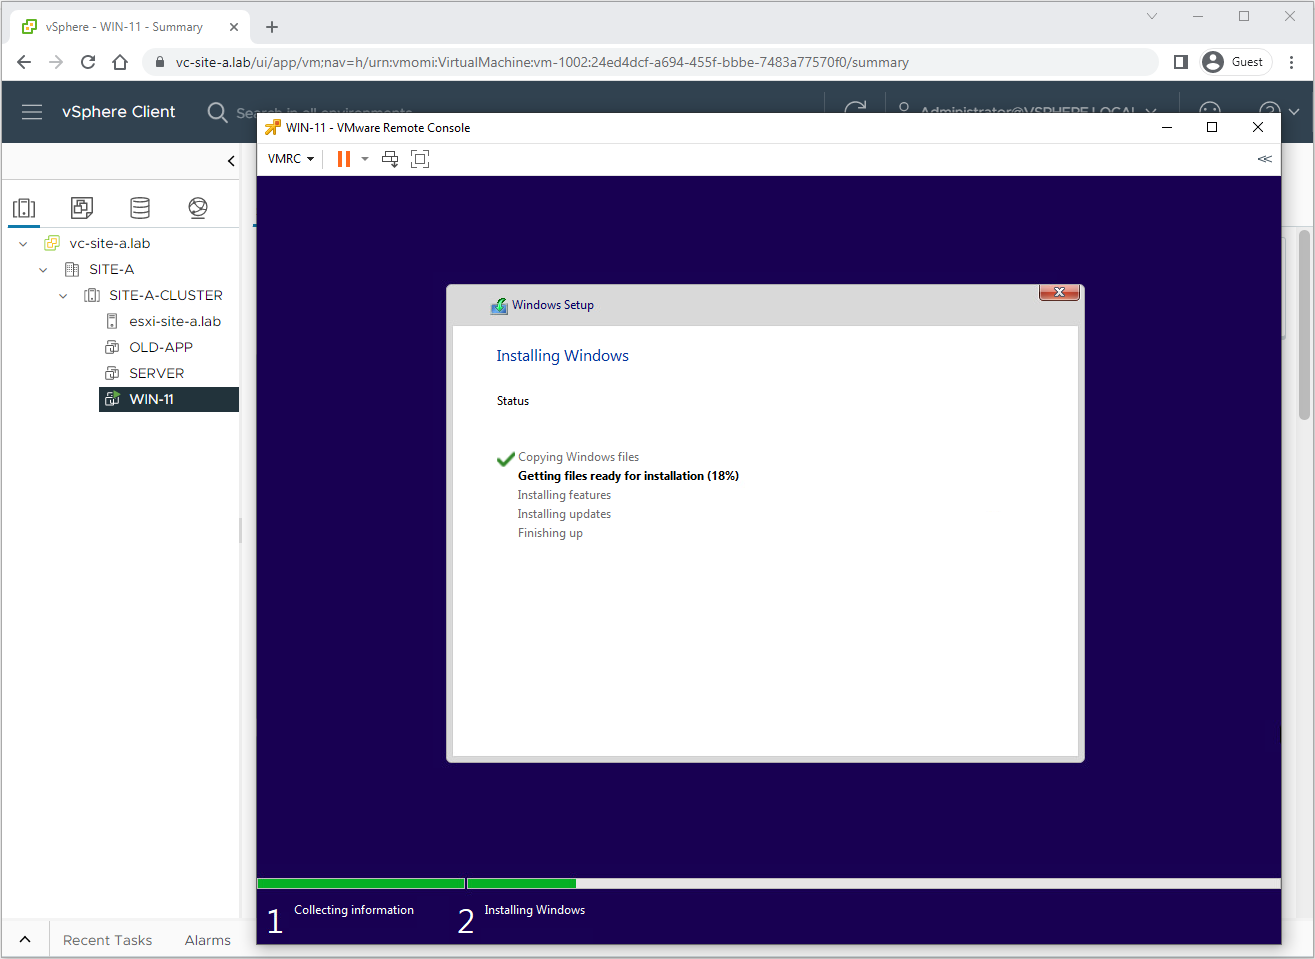
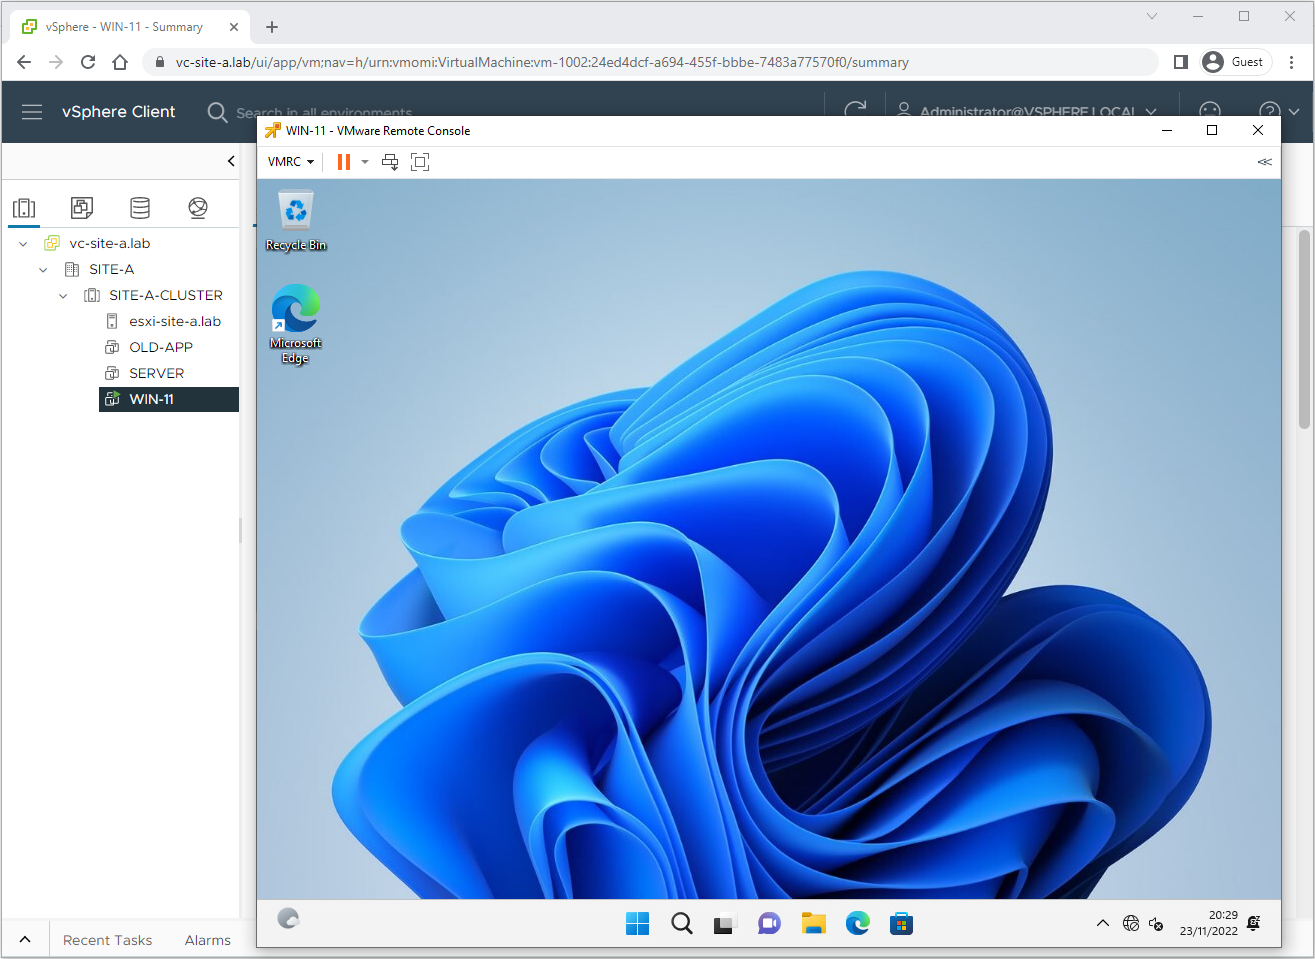
Looks good:
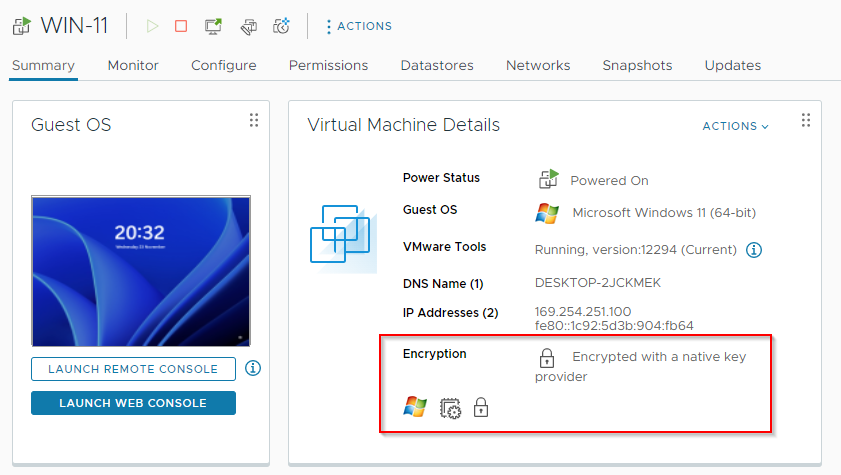
Checking our VM details, we can see that the VM is encrypted with a native key provider:
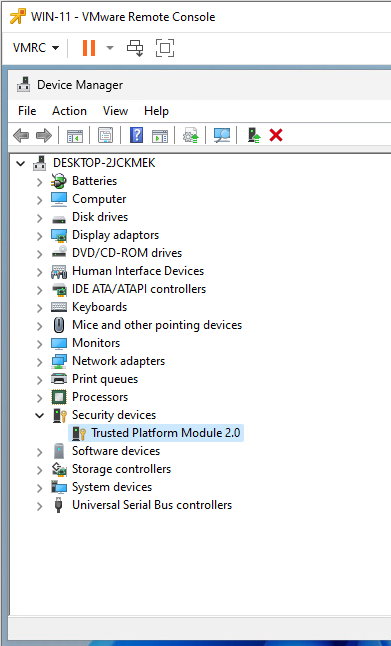
Looking at the virtual hardware from the Windows install within the VM, a TPM can be seen:
And that’s all there is to it! Simple, easy peasy!
Deletion of a Key Provider
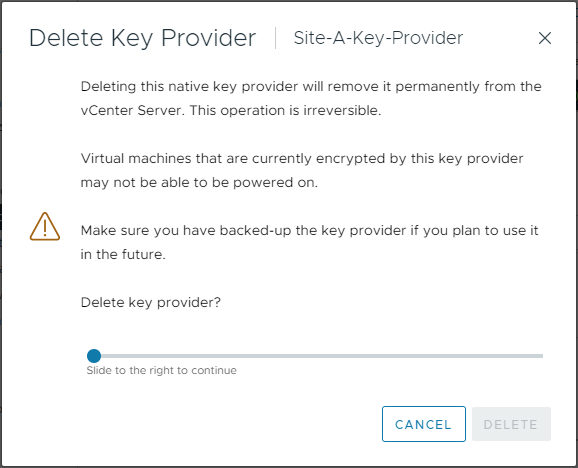
In the interests of “I wonder what happens when…”, let’s simulate the loss of a Key Provider. First, I’ll delete my Key Provider:
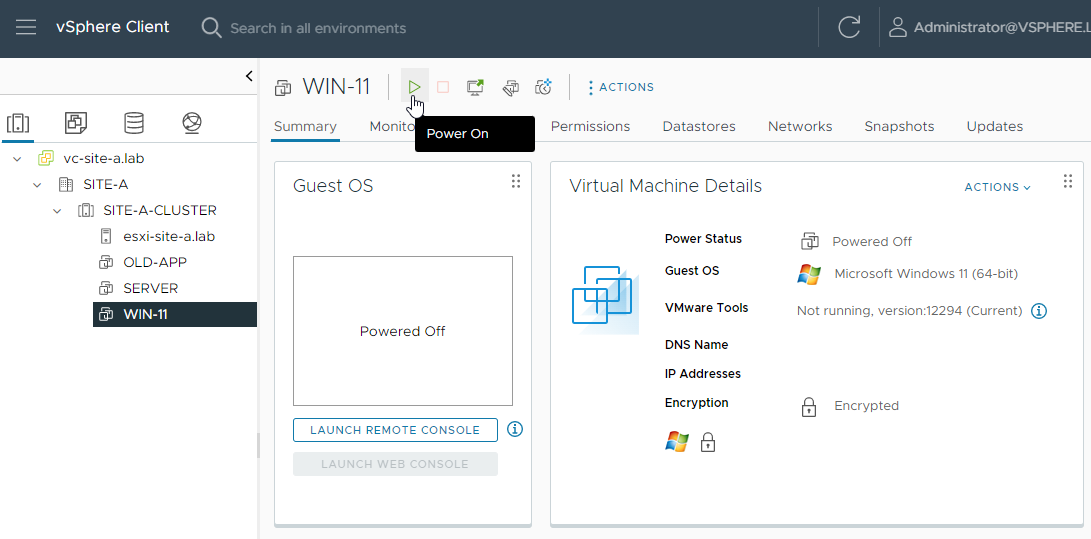
Let’s see if our Windows VM will continue to operate correctly. Powering on:
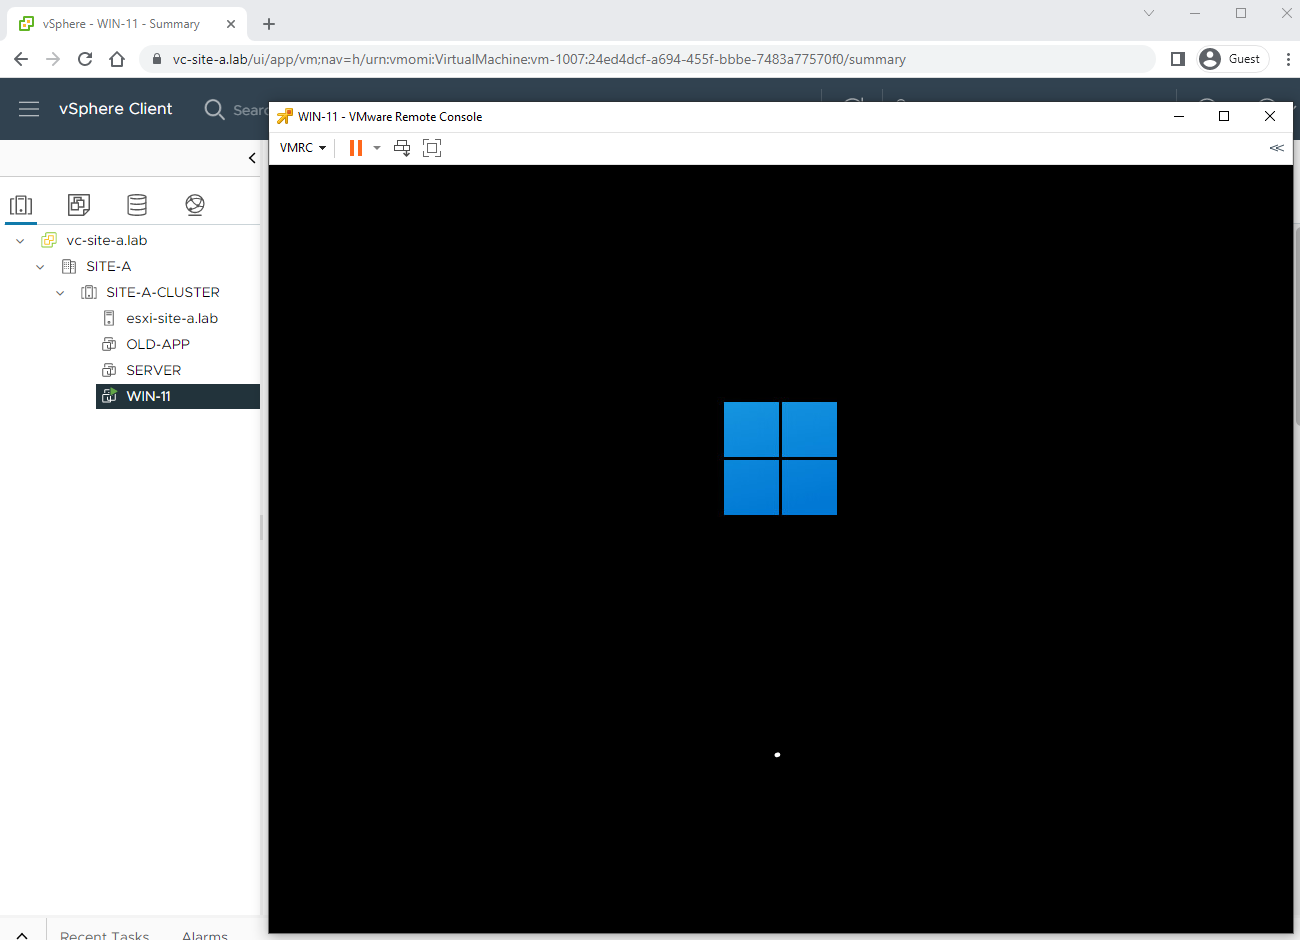
Yep, VM is starting up OK:
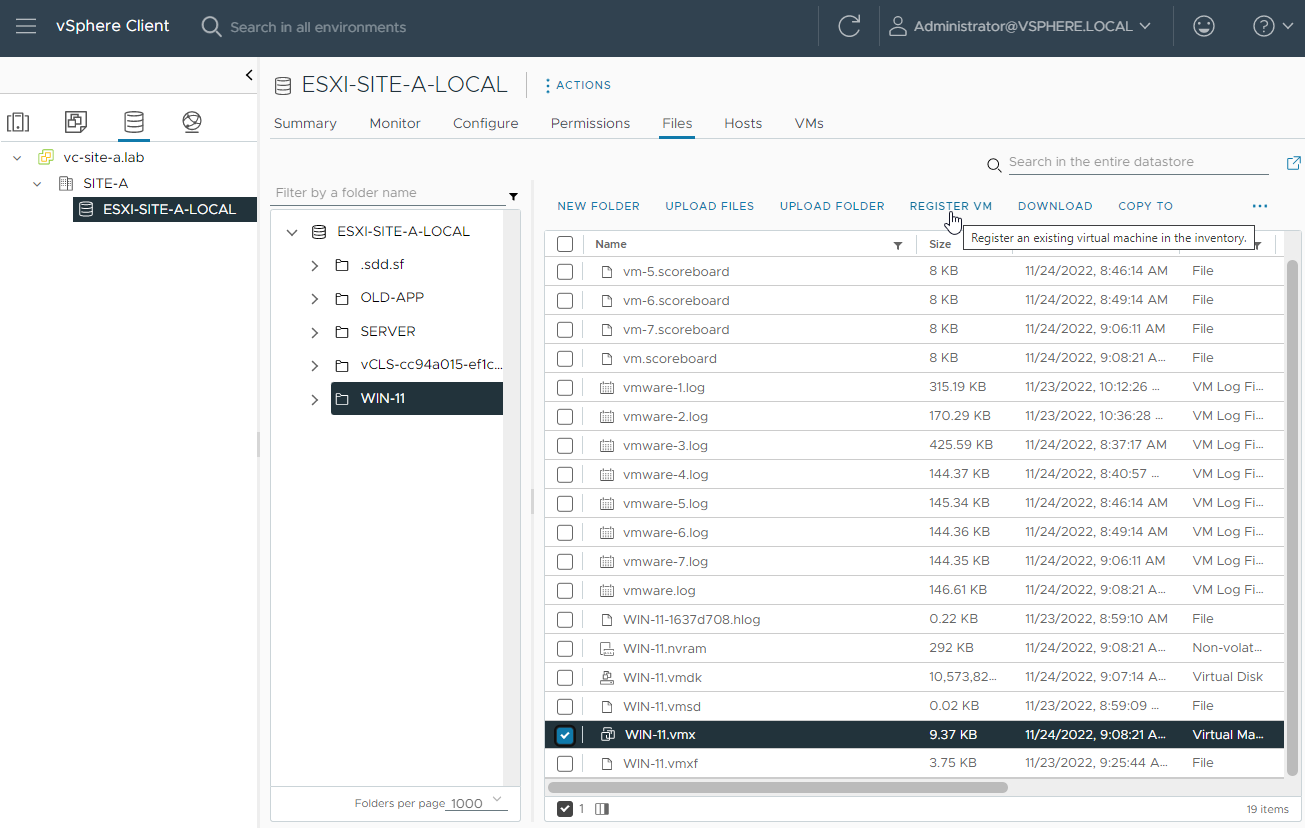
OK, I’ll power off and remove it from the vCenter inventory:

Next, I’ll re-register the VM back into the vCenter inventory:
From the start the VM is marked as invalid:
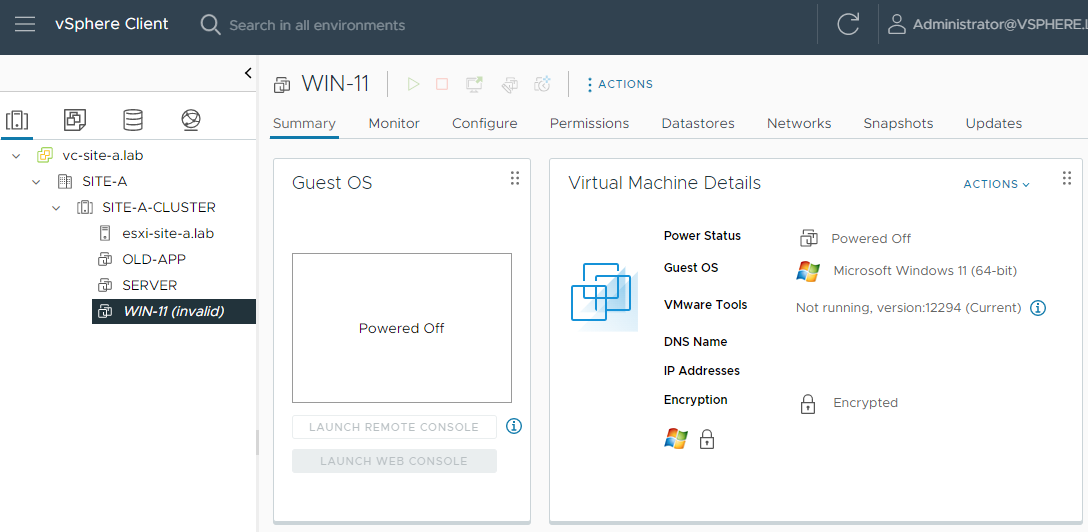
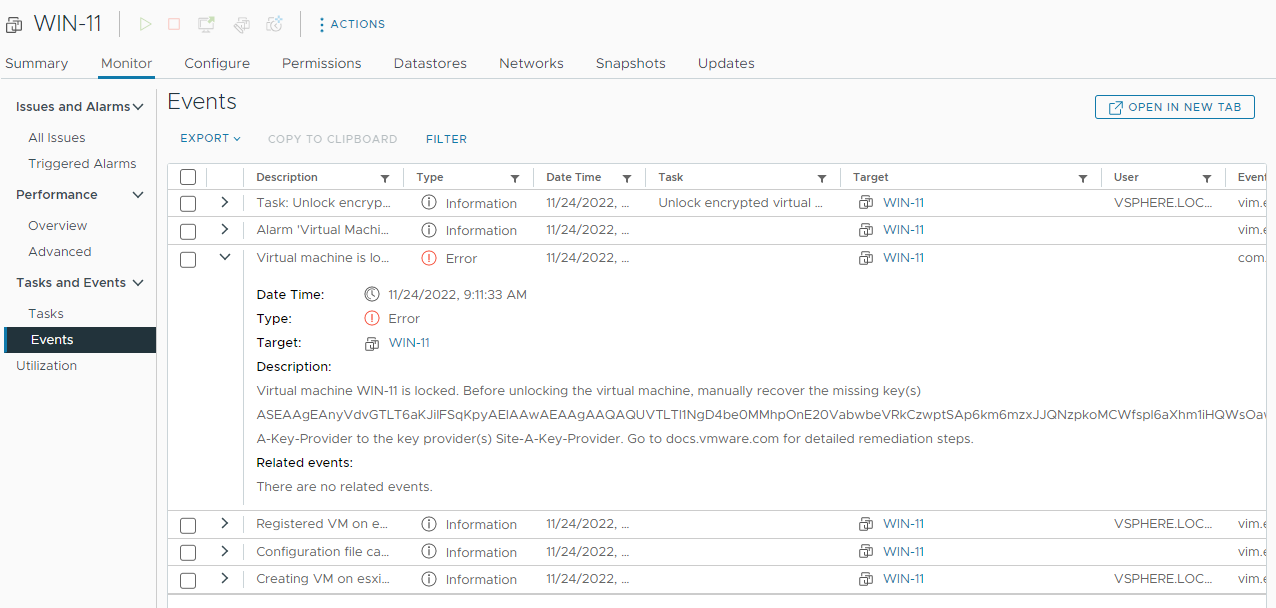
After sometime, I receive a “Virtual Machine Locked Alarm”. OK, let’s try an Unlock VM:

OK, vCenter will try to transmit an encryption key to my VM:
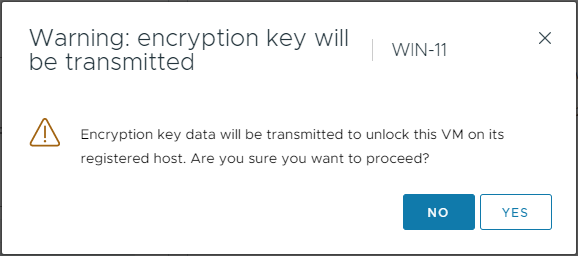
As suspected, because the Site-A-Key-Provider no longer exists, I cannot unlock the VM in order to power it on:
Restore Key Provider
Remember the backup we took before we were able to complete the creation of the Native Key Provider?
Let’s restore that backup now:
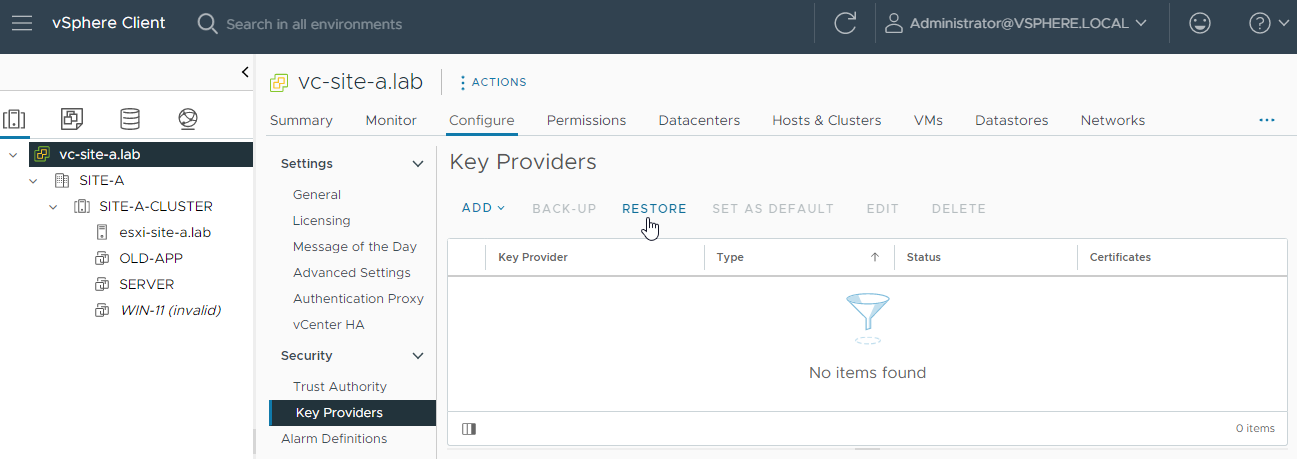
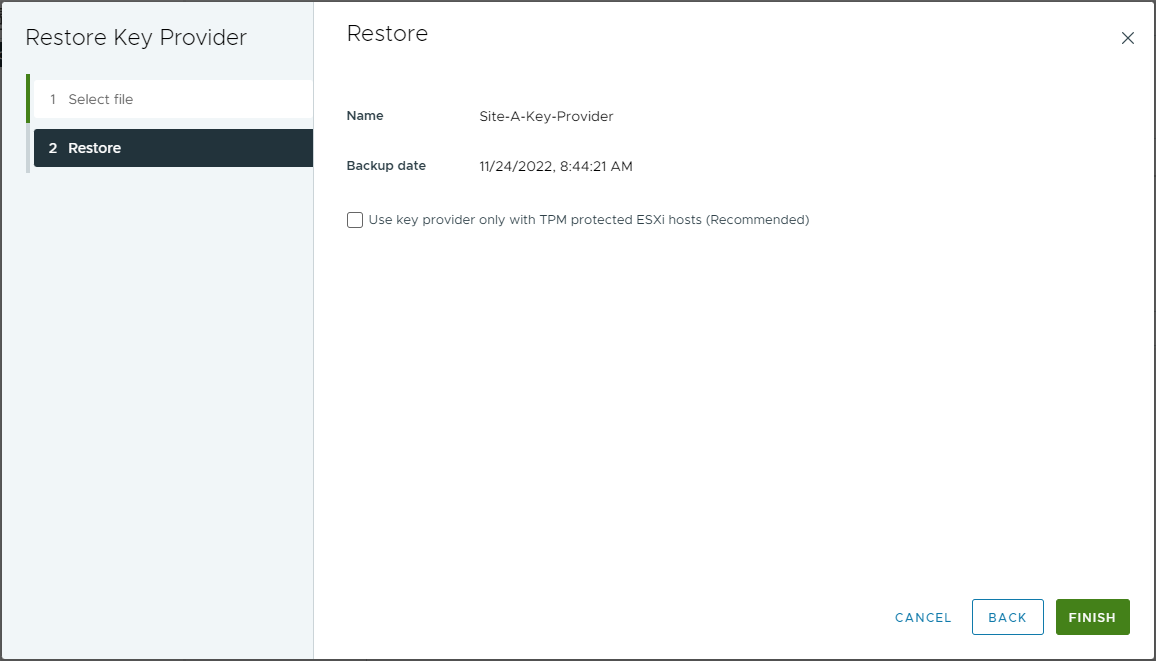
With the key provider restored, let’s try to unlock our VM again:

Finally, let’s power the VM on:
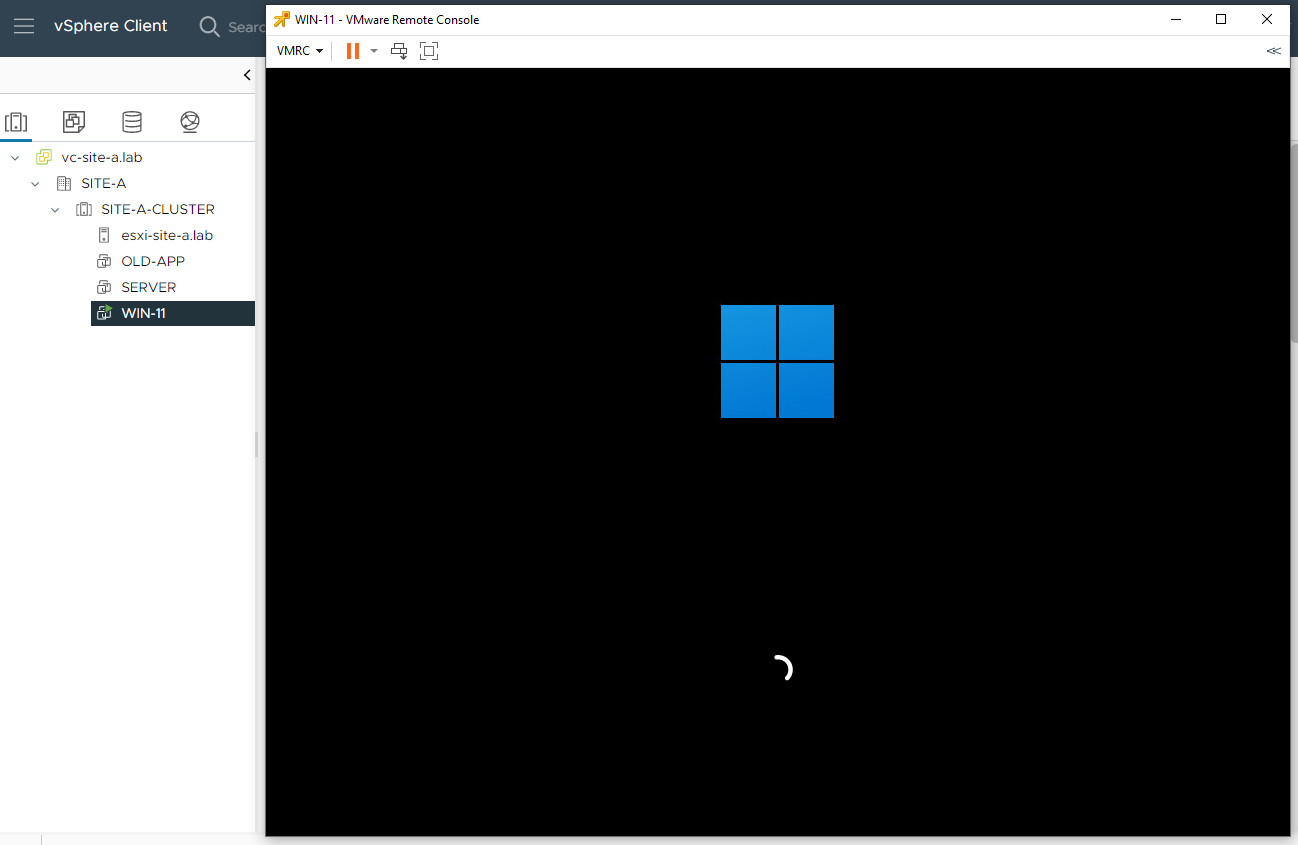
Looks good. Our Windows 11 VM is able to boot again.
Conclusion and Wrap Up
With a bit of up front configuration, deploying TPM enabled modern operating system based VMs such as Windows 11 are simple enough to complete when using the vSphere Native Key Provider.
-Chris


